Simple, Cheap Art with Leather Texture

I had a huge blanket wall in my basement.  I hated looking at it.  Seriously!  So when my when opened our new clothes I had a little a-ha moment.  Its actually kinda embarrassing that I have cardboard on my wall.


 So here is how I did it.

I took the 2 pieces of cardboard.  They are about 2 1/2 ft square and 1 inch thick. 
 I gathered my other supplies (paint, tissue paper, and painting supplies)
 Then we got to work painting. 
 First roll a coat of paint on.  I work in sections about as big as my tissue paper. 
 After you have painted a spot then place the wrinkled tissue paper onto the board. After you have done that with all of the board then do another coat or 2 over the tissue paper so that it is all covered. 
Then after I painted I took some stain and did a little rubbing of it all over to get it into the creases to age it a bit.  

 Then after I painted with the tissue paper texture I painted a couple lines for the stems. Then I used some of the clay buttons I made a while ago, and some metal flowers I got from Pick Your Plum and hot glued them onto the board.

So yes, I now have some cheap ol art to cover up my big huge blank wall. 
 Follow Me on Pinterest Photobucket

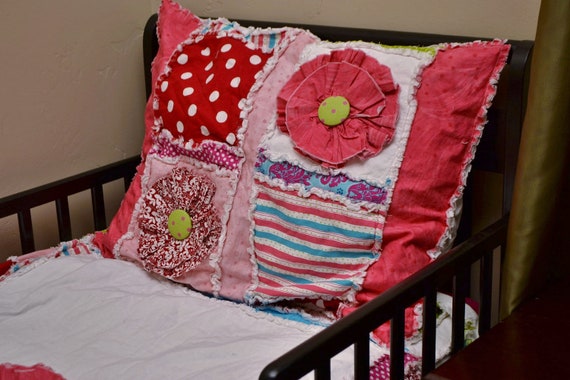
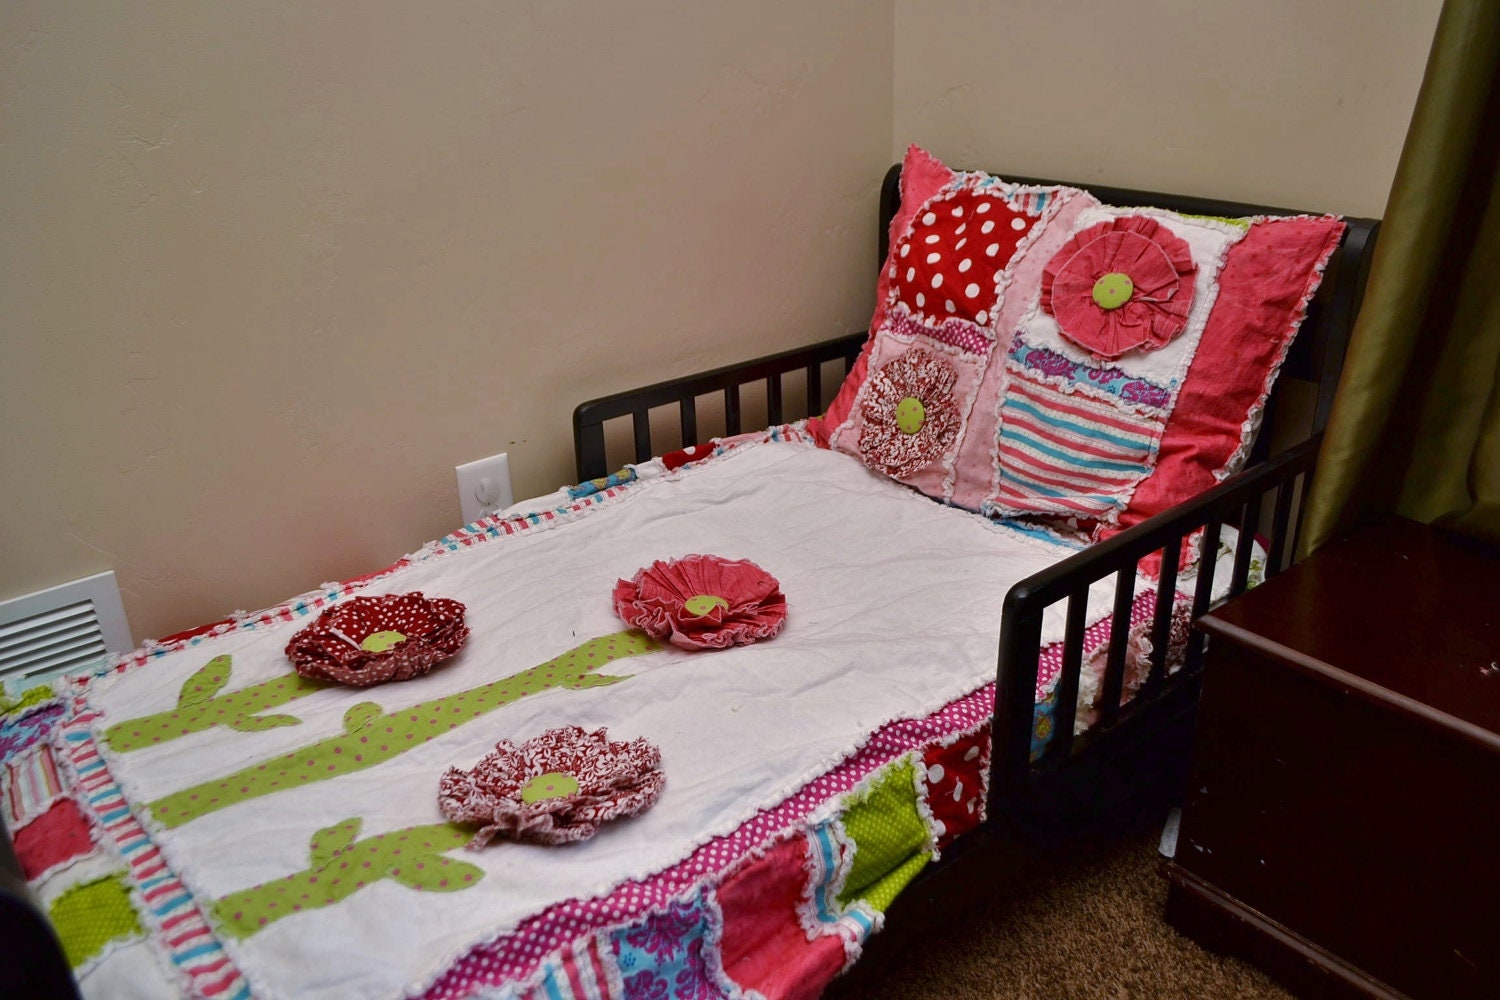
Rag Quilt Pillow Shams

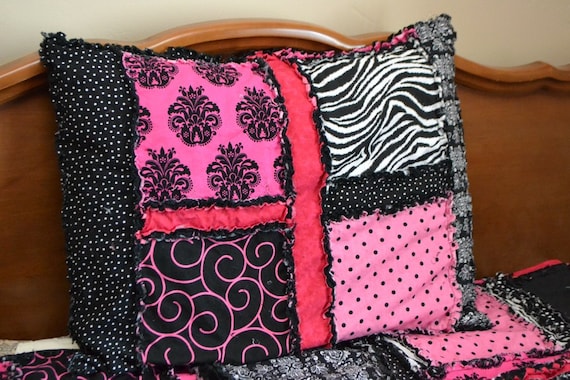
I have been making a few custom rag quilt pillow shams lately for customers. Here are 2 of them:

Ruffled flower pillow sham 


Zebra and hot pink pillow sham
Want to make your own? I now offer the sewing pattern in my etsy shop


  Follow Me on Pinterest Photobucket

Ruffle and Minky Baby Blanket


I think this is one of my favorite blankets I have made so far for my little baby girl.  It has minky on one side and ruffled fabric on the other. 

To start out I cut my minky into a 44 inch square.  Then I cut my ruffled fabric into the same size.  I have noticed that the ruffle fabric comes in different widths.  I wanted my blanket square and the ruffle fabric came in 44 inches wide.  When I cut in between the ruffles I cut right in the middle so that I would have something to sew without catching the ruffle. 
then take one of your pieces and lay it down with the right side facing you.  Then put the other one on top of that with the wrong side facing you like the picture above.  Pin them together.  Just make sure that all of your ruffles are heading the same direction
Sew all the way around the blanket but make sure to leave a little hole big enough for you to turn the blanket right side out.  I like to use a walking foot when I work with minky.  When you are done pull out ALL of the pins (for some reason I left one in and had to unpick a spot so I could get it out)
Make sure to check around the blanket for any missed sewed spots or if you caught any ruffles going the wrong direction. 
I didn't take a picture of this part but, sew your little hole closed.  The minky will hide really well where you sew the hole shut.  I hid the sewing on the ruffle side by flipping up ruffle and sewing under neath it. 

This blanket I think took me about 45 minutes and most of that time was in pinning the ruffles.  I get so many compliments on how cute this blanket is, and now that it is getting cold around here I think I need to make her a couple more. 

Follow Me on Pinterest Photobucket

Old Trunk Turned Sofa Table

 If you follow me on Instagram you would know a couple months ago I found this awesome trunk for a steal of $10!  It is OLD.  Its cracked.  Its definitely not in very good shape but I think in its oldness there is a lot of beauty!
 At the same garage sale I found a table. So of course I bought the table.  It was only $10 (now I have to figure out what to do with the table top) and made my trunk into a table itself.  Its not quite finished yet.  I need to make a shelf for about 8 inches off the floor and pain that board red.  But all in due time. 
 So I painted and distressed the legs and my husband helped me attach the legs to the trunk.
 Lets just say I love looking down my stairs now seeing my trunk. 

Follow Me on Pinterest Photobucket

Shabby Vintage Outdoor Wedding Reception

A few weeks ago my baby sister got married.  My mom decorated everything.  Lets just say she thinks of EVERY detail.  I thought you would all enjoy checking out some of the fun decorations that we had.  
Photo booth props (and yes I forgot to take a picture of just the photo booth).  If I find a picture of it then I will post it for you all.   

The fun lanterns leading the way
Sign in table.  My sister really wanted a quilt for everyone to sign.  Well time was a little short so no quilt was made but we did provide the guests with some fabric squares so that they could sign and she could make a quilt later on. 

Love the chandeliers!
This cute green truck was my english teachers (and driver education instructors)  He was so nice to let us use his "Frankenstein truck".  I told him how nice his truck was and he informed he that this truck is bits and pieces from all sorts of places and vehicles so he calls it his Frankenstein.  Then I had to admit that I hadn't ever read that book.  Oops!
The backdrop.  My poor brother had to climb the trees and fasten everything up there for my mom.  Lucky for us he LOVES being a monkey.
The back of the chairs.  And yes my mom and sister created all those beautiful flowers. 
The cake table.  This nice little cove is our families fire pit and that table is balanced on top of the fire pit itself. 
Bird Cage and Crystal centerpieces

The refreshment table.  Oh and those awesome cupcakes were DIVINE!

Follow Me on Pinterest Photobucket

Boy blankets

I've been working away on lots of boy quilts lately. Here are just a few of them. I think my favorite is the vintage airplane crib quilt.

Almond White Chocolate Rolls with White Chocolate Frosting

Lucky me...my sister decided to make cinnamon rolls and orange rolls the other day.  Then I came up with a little idea for a new kinda roll...I love white chocolate, almonds, and craisins so what better than to try and combine these ingredients.  They were delicious!  We also added a little coconut to them.  Thankfully, my sister let me try them out with only 6 rolls.  Lets just say my butt might have grown a few inches if I had made any more!

Recipe:
Your favorite cinnamon roll bread mine is
1 quart hot water
1 1/3 c sugar
2 Tbsp salt
2/3 c shortening
7 c flour
2/3 c dry milk
4 Tbsp yeast dissolved in 2/3 c warm water
3-4 c more flour

mix first 6 ingredients.  Add yeast mixture, mix well, then add last flour.  Beat well.  Let rise 30 minutes.  Using one half of the dough roll out on floured table. This recipe makes around 36-40 large rolls. Place on pan.   Let rise, then bake at 350 for 20 minutes. 

Almond, White Chocolate Rolls with White Chocolate frosting:
1/4 c butter softened
1 c chopped almonds
1/2 c white chocolate chips chopped
1 c coconut
1/2 c craisins

Spread softened butter on rolled out dough.  Then sprinkle the remaining ingredients onto dough.  Roll and cut with either floss or thread.  You can cut the roll by sliding the thread under the roll and then crossing it at the top.  Pull tight and it should cut roll. 

White Chocolate Frosting
1 c melted white chocolate chips
1 tsp vanilla extract
1/4 c butter softenend
powdered sugar

mix all the ingredients together.  I never know exactly how much powdered sugar I need I just dump and mix until I get the right consistency.  If you end up making it too powdery just add a little milk to cream it up again.  Make sure to frost the rolls when they are good and hot.  It is best to have this frosting on the thinner side so that it will spread easily once the chocolate cools and thickens the mixture a bit. 

Boy Blanket- Brown & Orange

 I am in love with these boy colors.  Perfect size crib quilt, toddler bed or baby blanket.  I love the super soft Minky.  Such a Dream!  Found HERE in my Etsy Shop A Vision to Remember
Follow Me on Pinterest Photobucket

Let's Get Social

Image HTML map generator


Featured Post

Where Can I Buy Personalized LDS Baptism Gifts Online?