Showing posts with label home decor. Show all posts
Showing posts with label home decor. Show all posts
Quickest...Simplest Pumpkin Pillow Ever. From Scratch!
It is so dark and dreary here. It has been so bright and warm and cheerful here that I have almost forgotten that Winter is coming. But sadly, that was just a dream. Now the rain is here and I needed something bright to warm up my living room. So this is what I made to chase the blues away.


How to Decorate a Large Wall with a Monogram Wreath, Large Clock, and Cabinet Door Wall Art
I was so excited when we were building our house that we would have cathedral vaulted ceilings. We have a really large living room connected to our kitchen. It is perfect for entertaining. We have had almost 100 people in those 2 rooms on a couple occasions, and even though we are crowded, we fit and the cathedral ceilings make us all not so claustrophobic.


Easy and Fun Pumpkin Crafts Ideas
You all know how much I love pinterest, Right? I can't help but notice all the awesome pumpkin crafts out there right now. Plus, it seems the only thing I am able to grow in my garden are pumpkins (mini and big ones) Here are just some of my favorites that I found via Pinterest and The Creative Exchange Link Party and are pinned onto my fall (Halloween and thanksgiving) board but they are linked directly to the original idea

Pumpkin using mason jar twisty lids from Simply Klassic Home

4x4 Tall Wooden Pumpkins from You Craft Me Up
 The Cottage Home has some adorable fabric pumpkins ( I saw a white one of these at Tai Pan last week and HAVE to make some!)
 The Butlers have an adorable front porch adorned with a beautiful monogrammed pumpkin (painted of course)
 Shanty 2 Chic have a really cute pumpkin and pine cone centerpiece

The Casual Craftlete and a Chalky Paint Pumpkin

Ribbons and Glue with a DIY Pumpkin Planter

Pet Scribbles and DIY Metallic Pumpkins

Feelin inspired? I know I am!


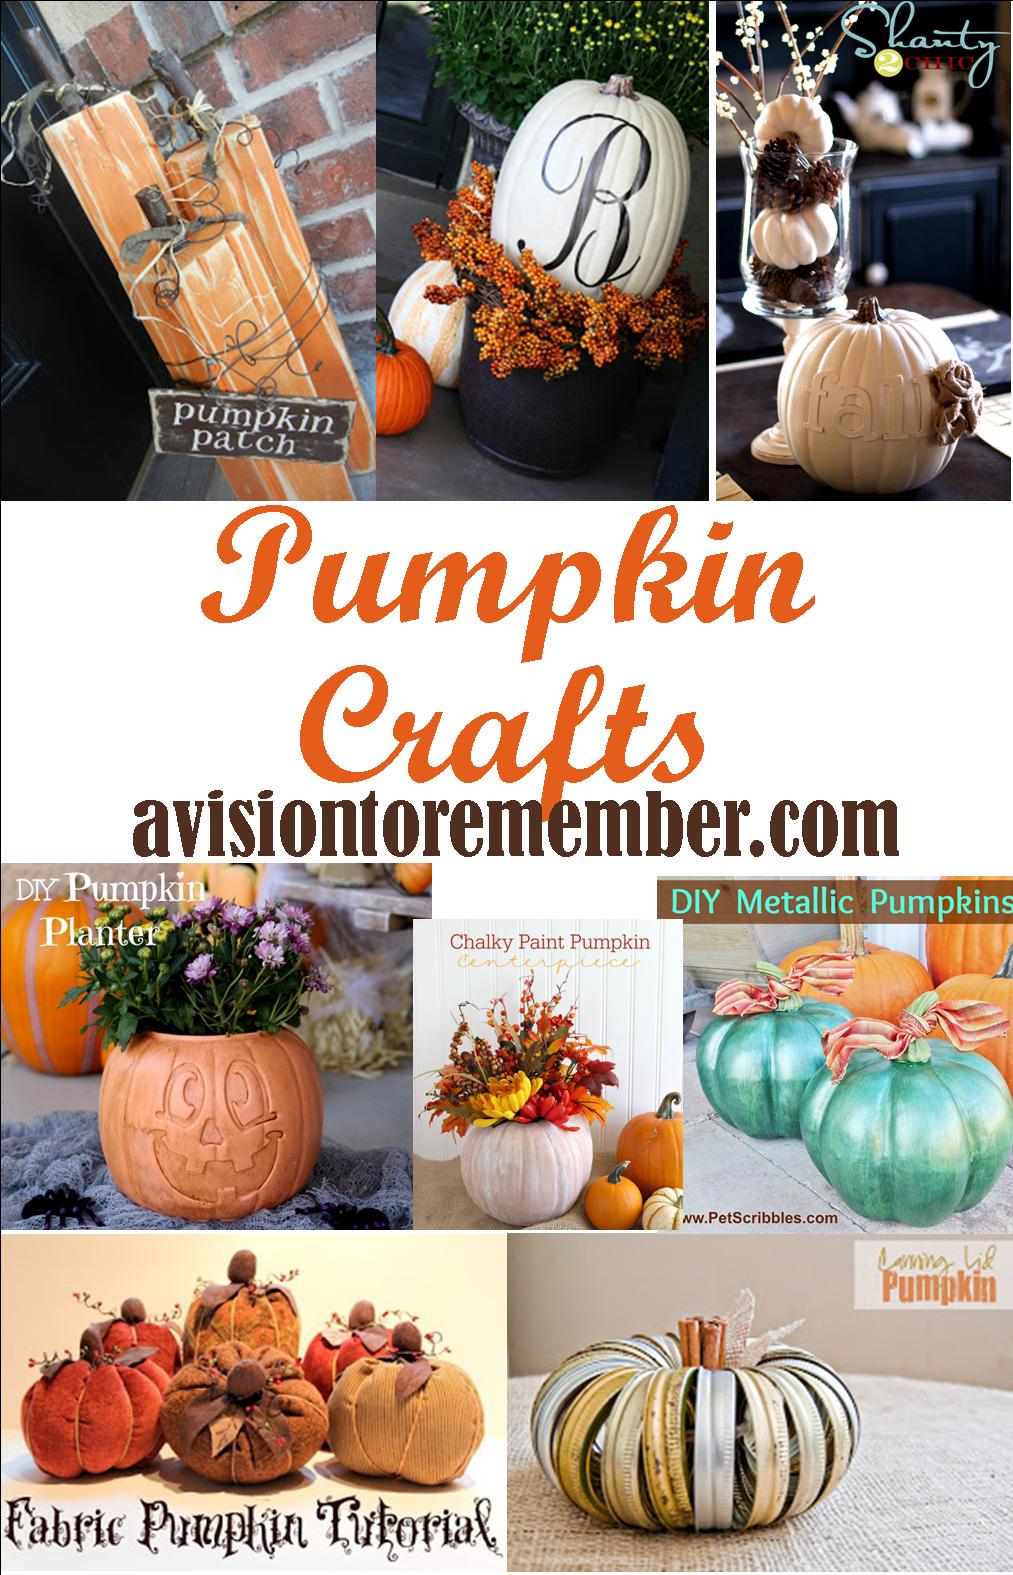
Pumpkin using mason jar twisty lids from Simply Klassic Home

4x4 Tall Wooden Pumpkins from You Craft Me Up



The Casual Craftlete and a Chalky Paint Pumpkin

Ribbons and Glue with a DIY Pumpkin Planter

Pet Scribbles and DIY Metallic Pumpkins

Feelin inspired? I know I am!
Clock Wall Done thanks to Modern Masters Paint
Disclosure: This post is sponsored by Modern Masters. I received a free sample of the product for the purpose of this review. All opinions are my own.
If you notice in the graphic above there are several different colors. The gray is where I didn't put hardly any (if any at all) of the activator. The darker orange has a little more, and then the light orange (not including the stenciled part) is where a lot of the liquid activator was. It gives you a nice natural look as long as you don't sponge the stuff on in lines or patterns. You want an organic look with it, so make sure to not apply it in lines or patterns.
I hope that helps you when you are using the iron paint. Let me know if you have any questions and I will do my best to answer them!
To find your local Modern Masters retailer, you can use their Retail Locator or their Online Shop…
Finally got the clock hung up with the cabinet door that I made last month. Loving the color added to my blah beige living room. Next up: curtains and reupholstering a chair. Hopefully I can get it done before baby comes!
Its been awhile ago, but this summer I build this clock completely from scratch. If you would like to see how it was done you can go to HERE. Same thing with the Cabinet Door Makeover and the Super Simple Monogram Wreath
When I first posted about the clock I promised that I would go into a little more detail about how the painting all worked. There were several layers that I did to get the stenciled, weathered look. So here is a quick rundown:
After I had cut the board I primed it, with some primer that I had. The iron paint that I used from Modern Masters is spendy and I didn't want to waste any of it with it soaking into the wood from not being primed.

After the first coat of primer had all dried then I started with the primer that comes in the kit from Modern Masters. The paint kit that I used is the Iron Metal Paint. The primer that comes with it is a burnt orange color, which worked perfect for me because my color scheme is burnt orange and gray in my living room. I did 2 coats of the primer
Next I used a stencil and the Iron Reactive Paint and sponged it on. I didn't want to roll it on because I wanted to see more of the orange coming through. I did 2 coats of this as well.

Lastly I used the iron activator and sponged it on as well. This is the stuff that will do all the chemistry jazz and make your paint job look like it is Iron. So keep in mind the more of it you use, the more it will eat up your paint to make it look like iron. If you don't use very much then not much will get eaten up. I hope that makes sense.
I applied the activator liquid 3 different times. Each time sponging on a little bit at a time, and then waiting for an hour or so, until I saw the effect. Then I would apply it again, a little heavier in spots, and thinner in other spots, until I got the look I was going for.

Ok so if you want more information on how I cut and did all the other stuff you can go HEREIts been awhile ago, but this summer I build this clock completely from scratch. If you would like to see how it was done you can go to HERE. Same thing with the Cabinet Door Makeover and the Super Simple Monogram Wreath
When I first posted about the clock I promised that I would go into a little more detail about how the painting all worked. There were several layers that I did to get the stenciled, weathered look. So here is a quick rundown:
After I had cut the board I primed it, with some primer that I had. The iron paint that I used from Modern Masters is spendy and I didn't want to waste any of it with it soaking into the wood from not being primed.

After the first coat of primer had all dried then I started with the primer that comes in the kit from Modern Masters. The paint kit that I used is the Iron Metal Paint. The primer that comes with it is a burnt orange color, which worked perfect for me because my color scheme is burnt orange and gray in my living room. I did 2 coats of the primer
Next I used a stencil and the Iron Reactive Paint and sponged it on. I didn't want to roll it on because I wanted to see more of the orange coming through. I did 2 coats of this as well.

Lastly I used the iron activator and sponged it on as well. This is the stuff that will do all the chemistry jazz and make your paint job look like it is Iron. So keep in mind the more of it you use, the more it will eat up your paint to make it look like iron. If you don't use very much then not much will get eaten up. I hope that makes sense.
I applied the activator liquid 3 different times. Each time sponging on a little bit at a time, and then waiting for an hour or so, until I saw the effect. Then I would apply it again, a little heavier in spots, and thinner in other spots, until I got the look I was going for.
If you notice in the graphic above there are several different colors. The gray is where I didn't put hardly any (if any at all) of the activator. The darker orange has a little more, and then the light orange (not including the stenciled part) is where a lot of the liquid activator was. It gives you a nice natural look as long as you don't sponge the stuff on in lines or patterns. You want an organic look with it, so make sure to not apply it in lines or patterns.
I hope that helps you when you are using the iron paint. Let me know if you have any questions and I will do my best to answer them!
To find your local Modern Masters retailer, you can use their Retail Locator or their Online Shop…
Easy Monogramed Wreath Tutorial
I have slowly been working on the ginormous wall above my piano. The 3rd piece that I have added is this cute monogram wreath. It was a simple and quick addition to the wall. Plus it cost next to nothing! Mine kind of project!

Then I took some Vinyl from +Expressions Vinyl in Middle Gray and Turquoise Blue
Then in the +Silhouette America online store I found a file called "Frame 2". I did a little editing to the frame and deleted the little frame circles inside the frame and then I deleted the inside frame.
Then I found a font that I liked the "S" in and cut that out in the turquoise blue vinyl
Before I put the vinyl on the way I layered the 2 vinyl pieces that I cut. Then placed it on the wall where I wanted it. Then I hung up the wreath.
This whole project seriously took me less than an hour. Even with waiting for the paint to dry. I did however paint the wreath a few days before I hung it up on the wall.
I love how my wall is turning out. Its full of color and isn't so BLAH!
To see the rest of the wall go to HERE

First I made the wreath at the same time as the one that is on my front door HERE
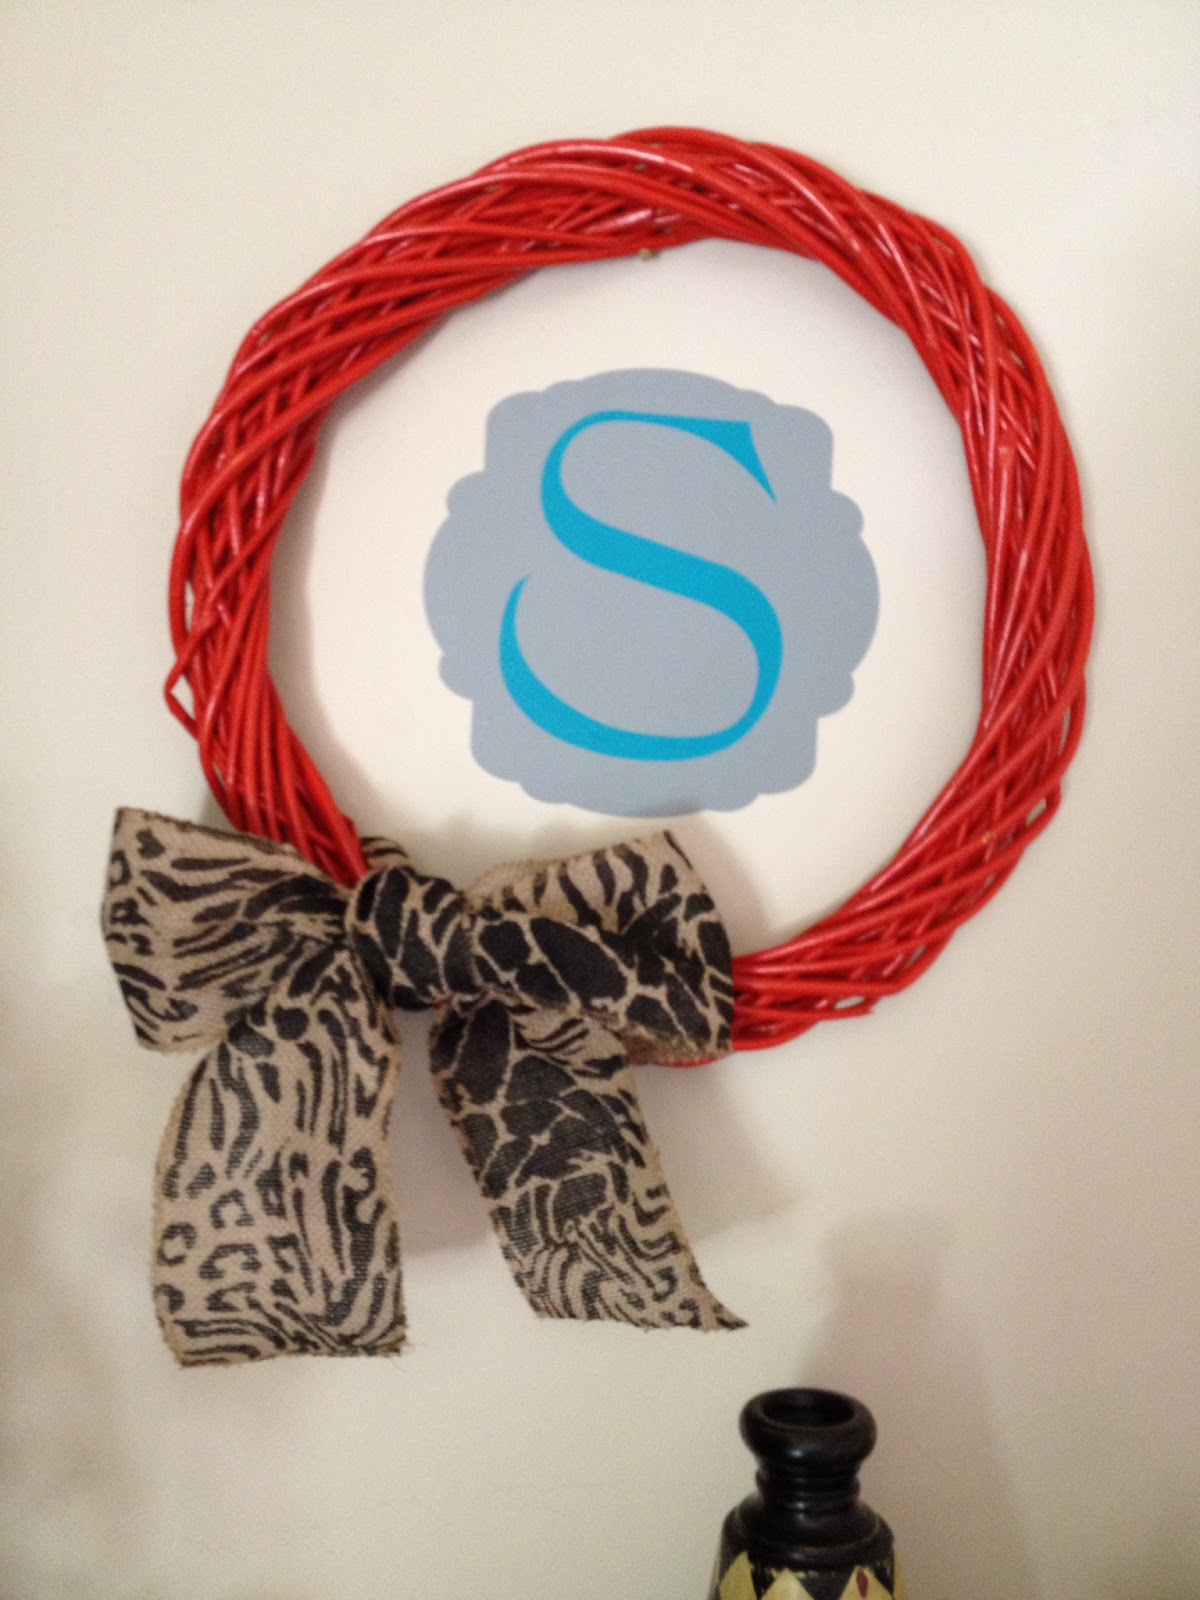
Then I took some Vinyl from +Expressions Vinyl in Middle Gray and Turquoise Blue
Then in the +Silhouette America online store I found a file called "Frame 2". I did a little editing to the frame and deleted the little frame circles inside the frame and then I deleted the inside frame.
Before I put the vinyl on the way I layered the 2 vinyl pieces that I cut. Then placed it on the wall where I wanted it. Then I hung up the wreath.
This whole project seriously took me less than an hour. Even with waiting for the paint to dry. I did however paint the wreath a few days before I hung it up on the wall.
I love how my wall is turning out. Its full of color and isn't so BLAH!
To see the rest of the wall go to HERE
How to Update Decorative Balls and Save a Few Bucks
I bought a bag of balls (weird to say that right...) The decorative kind. They are the wooden, potpourri type. They were red, purple, and brown. Not necessarily the colors that I want in my living room. Plus, I've been trying to add more color in my house.

A quick and easy fix (and cheap I might add) is a cute vintage box filled with those wooden, fake plant balls spray painted to match my decor.
Now balls aren't that easy to paint, Just FYI. The easiest way that I found to paint them is to put them in a box and spray them inside of there. Less over spray and it seems to coat them a lot better cause you can roll the balls around while you are spraying them.

The cute little basket that I have these balls in, is actually a plate holder for disposable plates. I like to use what I've got. Leaves a few extra pennies in my pocket. I don't mind it being black, but I haven't gotten any turquoise in this corner of my living room, so it might find itself at the wrong end of a spray paint can in the near future. *insert evil laugh*
Now I am officially a dork my husband says.

A quick and easy fix (and cheap I might add) is a cute vintage box filled with those wooden, fake plant balls spray painted to match my decor.
Now balls aren't that easy to paint, Just FYI. The easiest way that I found to paint them is to put them in a box and spray them inside of there. Less over spray and it seems to coat them a lot better cause you can roll the balls around while you are spraying them.

The cute little basket that I have these balls in, is actually a plate holder for disposable plates. I like to use what I've got. Leaves a few extra pennies in my pocket. I don't mind it being black, but I haven't gotten any turquoise in this corner of my living room, so it might find itself at the wrong end of a spray paint can in the near future. *insert evil laugh*
Now I am officially a dork my husband says.
Decorating On a Budget Ideas plus The Creative Exchange Link Party Highlights
I haven't had a chance to do any features the last 2 weeks of The Creative Exchange, but I thought I would combine a few of my favorites from the last 3 weeks into 1 and do a little Home Decorating Ideas on a Budget Roundup.

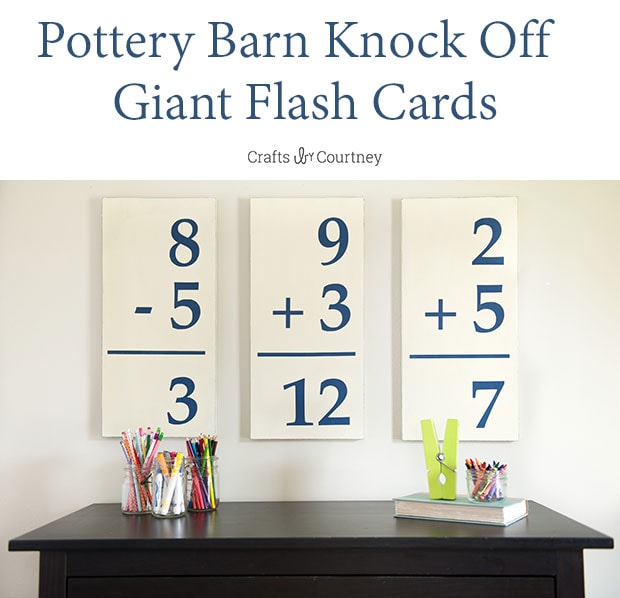
Song Chalkboard Printable is a great way to update your home decor on a budget.

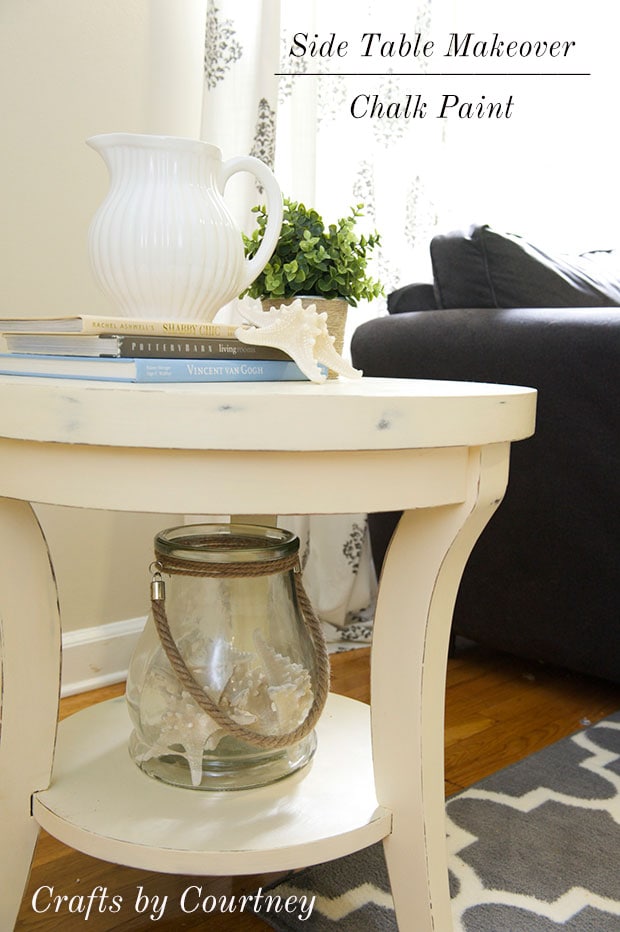
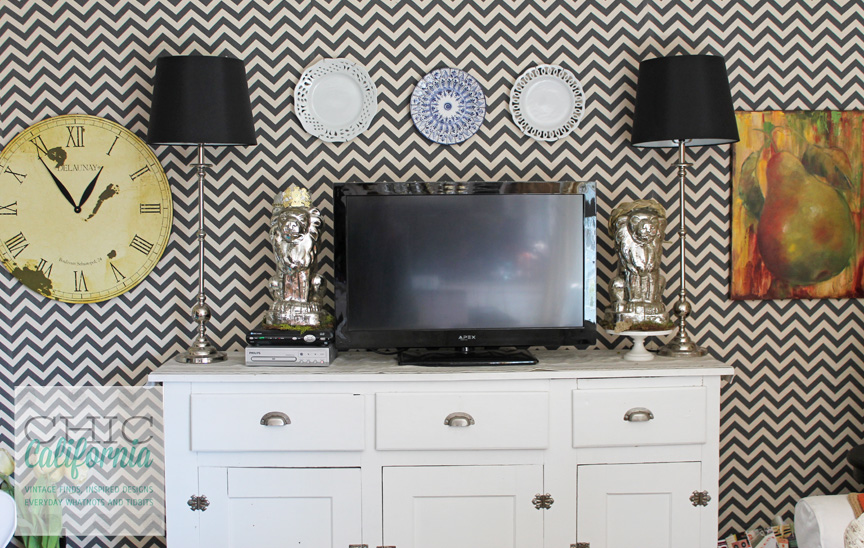
Or update a piece of furniture with a new coat of paint like this Stylish Side Table Makeover with Chalk Paint

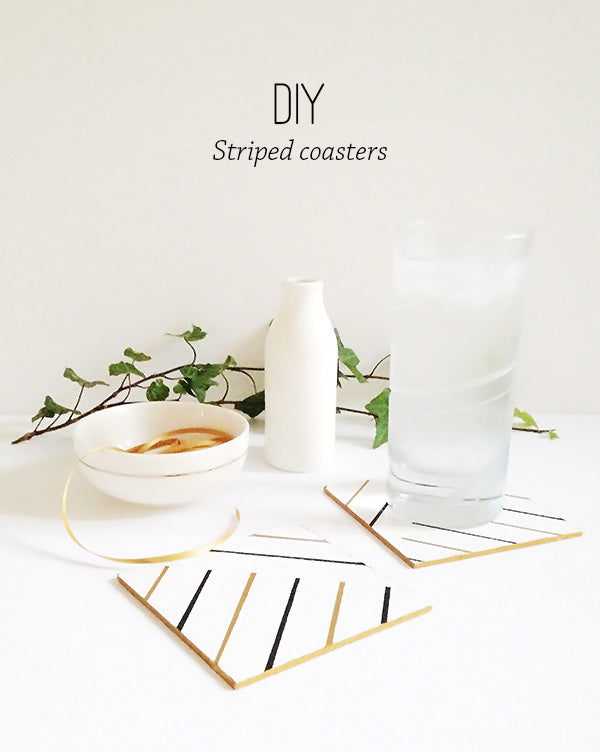
Add some cute coasters to your side table like these DIY Striped Coasters


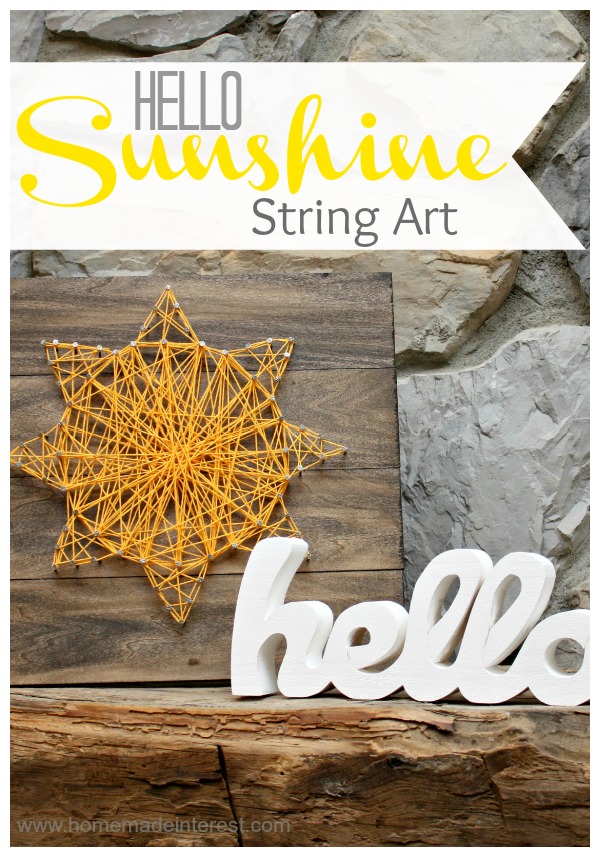
Or add a new piece of wall art like the Hello Sunshine String Art
 Upcycle some old Thrift Store Frames with a little chalkboard paint

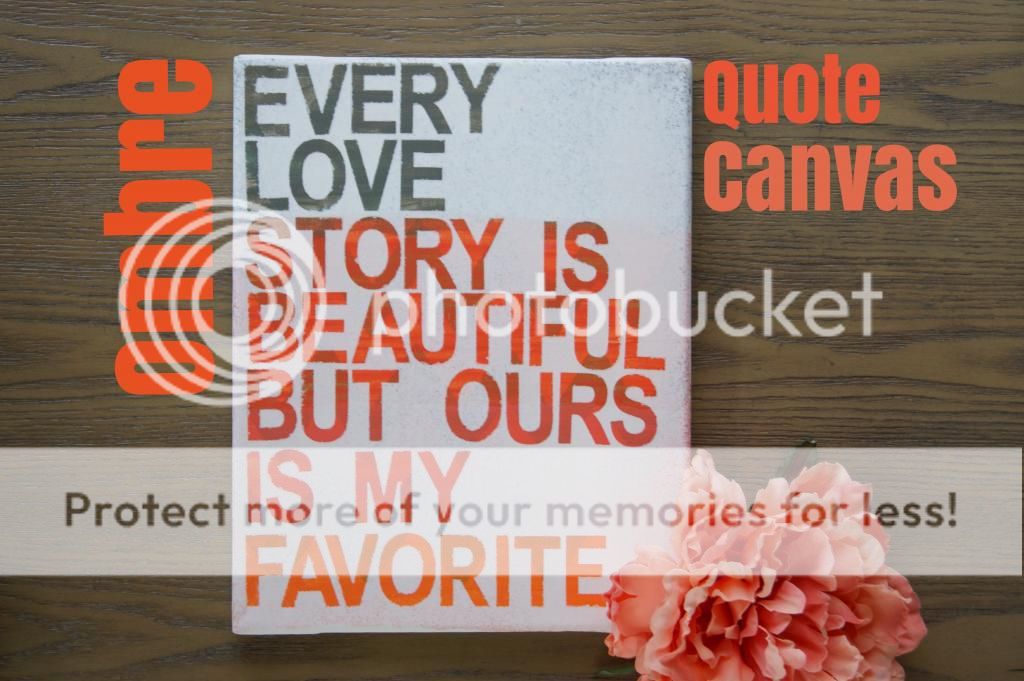
Take a cheap Canvas and turn it into some beautiful wall art

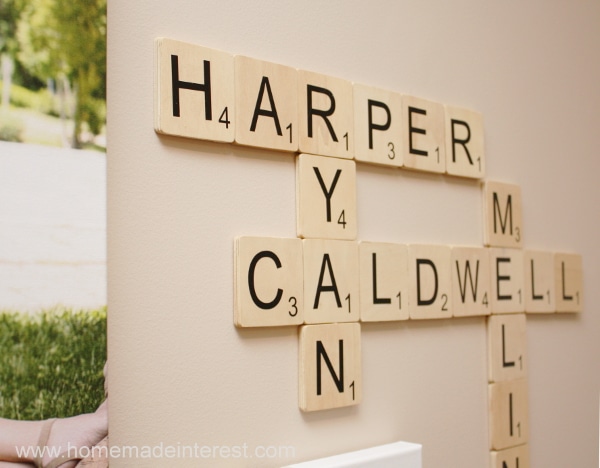
Create a Wall of Scrabble Board Tiles

A Simple Paint job and Handles to Create a New Look

Create a Changeable Picture Board

 Or Create a removable wallpaper wall with Fabric

If you can't find the exact fabric you are wanting try creating your own with a little fabric paint

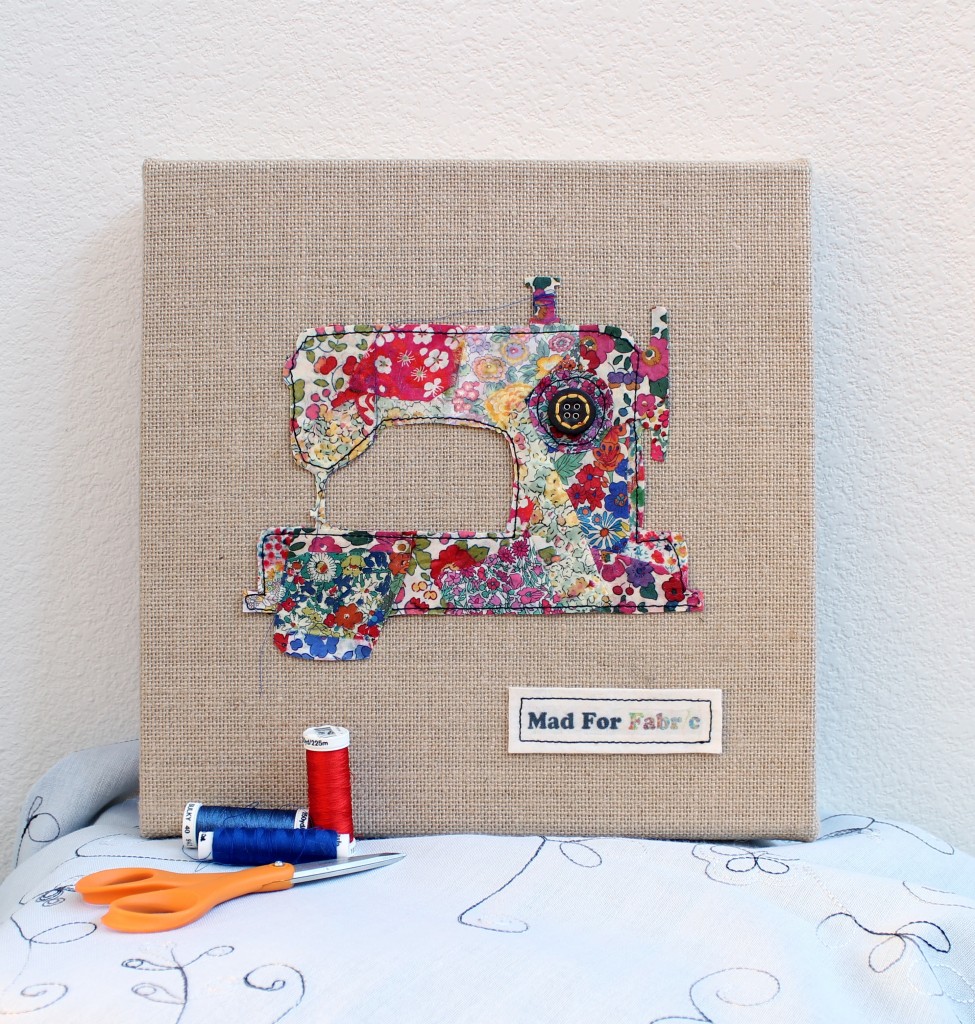
Or use your old fabric scraps to create some fabric art

Update a old chair or stepstool into a piece of art


For more Home Decor Ideas please visit my Home Decor Pinterest Board:
Or for Wall Art:

Song Chalkboard Printable is a great way to update your home decor on a budget.
Or update a piece of furniture with a new coat of paint like this Stylish Side Table Makeover with Chalk Paint
Add some cute coasters to your side table like these DIY Striped Coasters
Or add a new piece of furniture from something old like the Country Kitchen Island

Update your lighting with a new DIY Hanging Lampshade

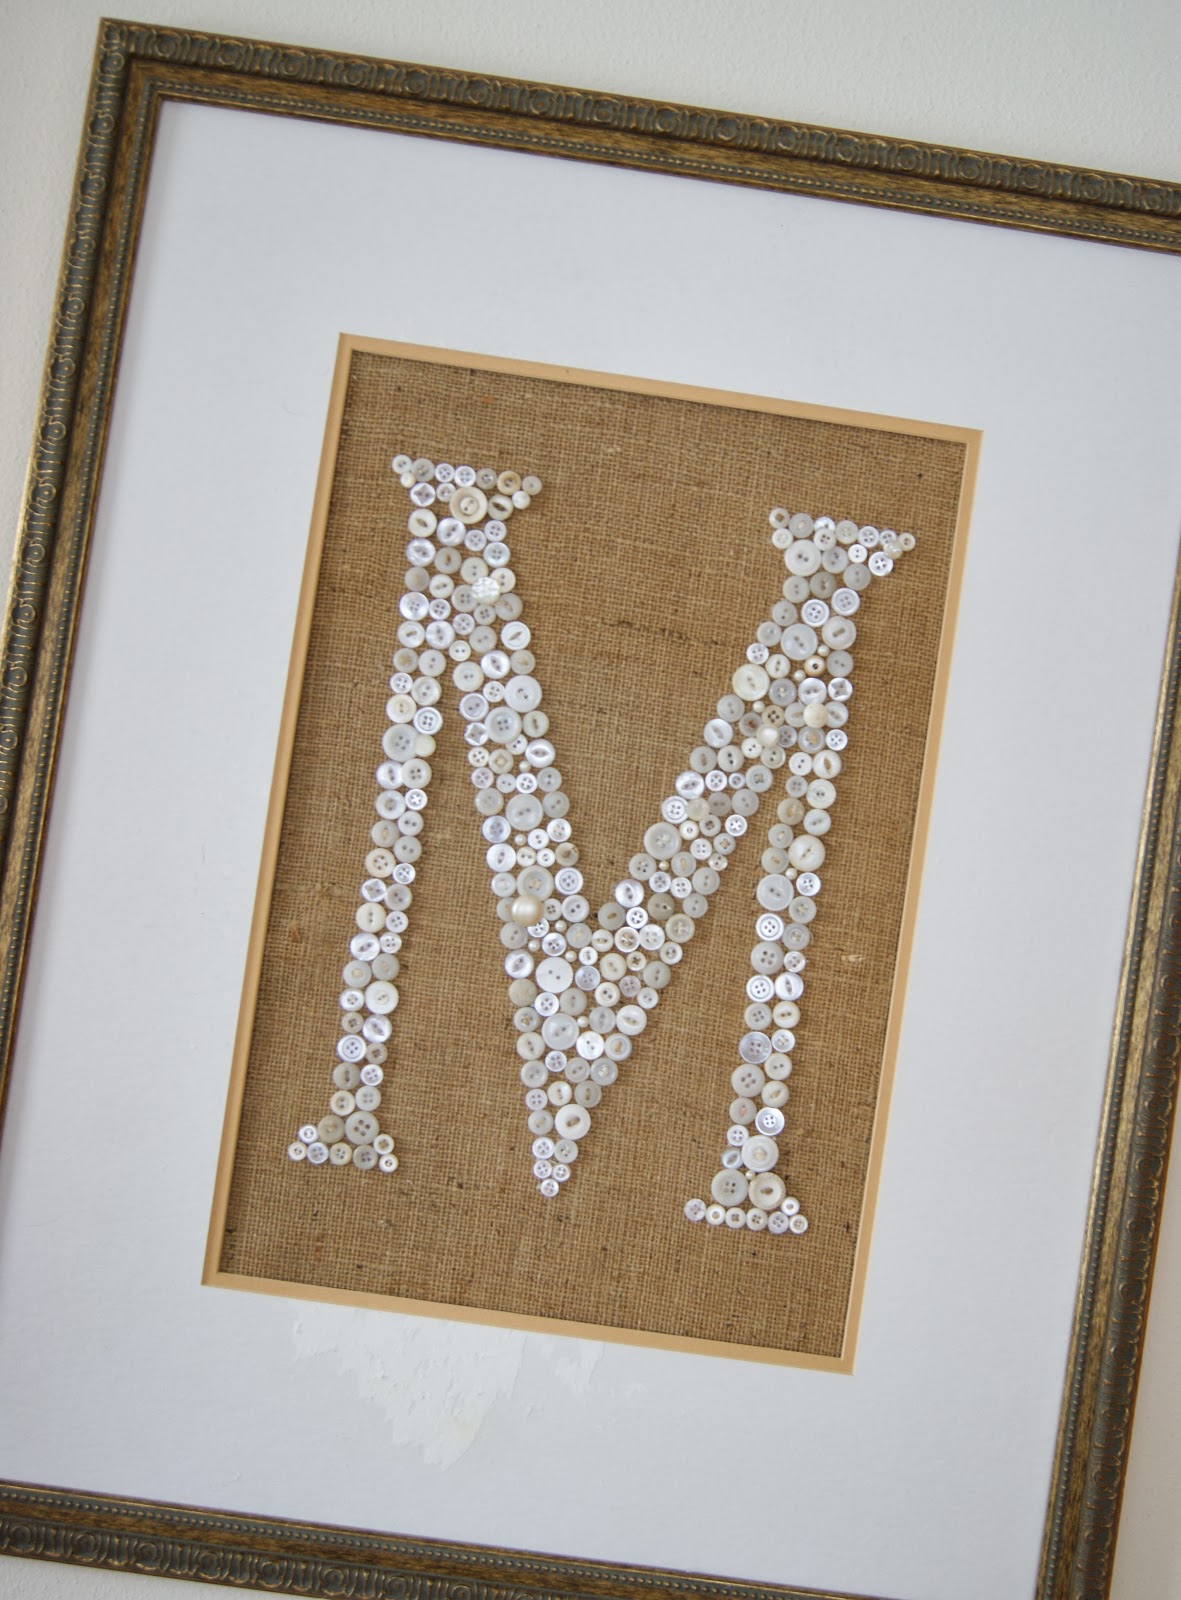
Take a cheap Canvas and turn it into some beautiful wall art
Create a Wall of Scrabble Board Tiles




For more Home Decor Ideas please visit my Home Decor Pinterest Board:
Or for Wall Art:
DIY Old Cabinet Door Upcycle to Family Room Wall Art Plus a Giveaway
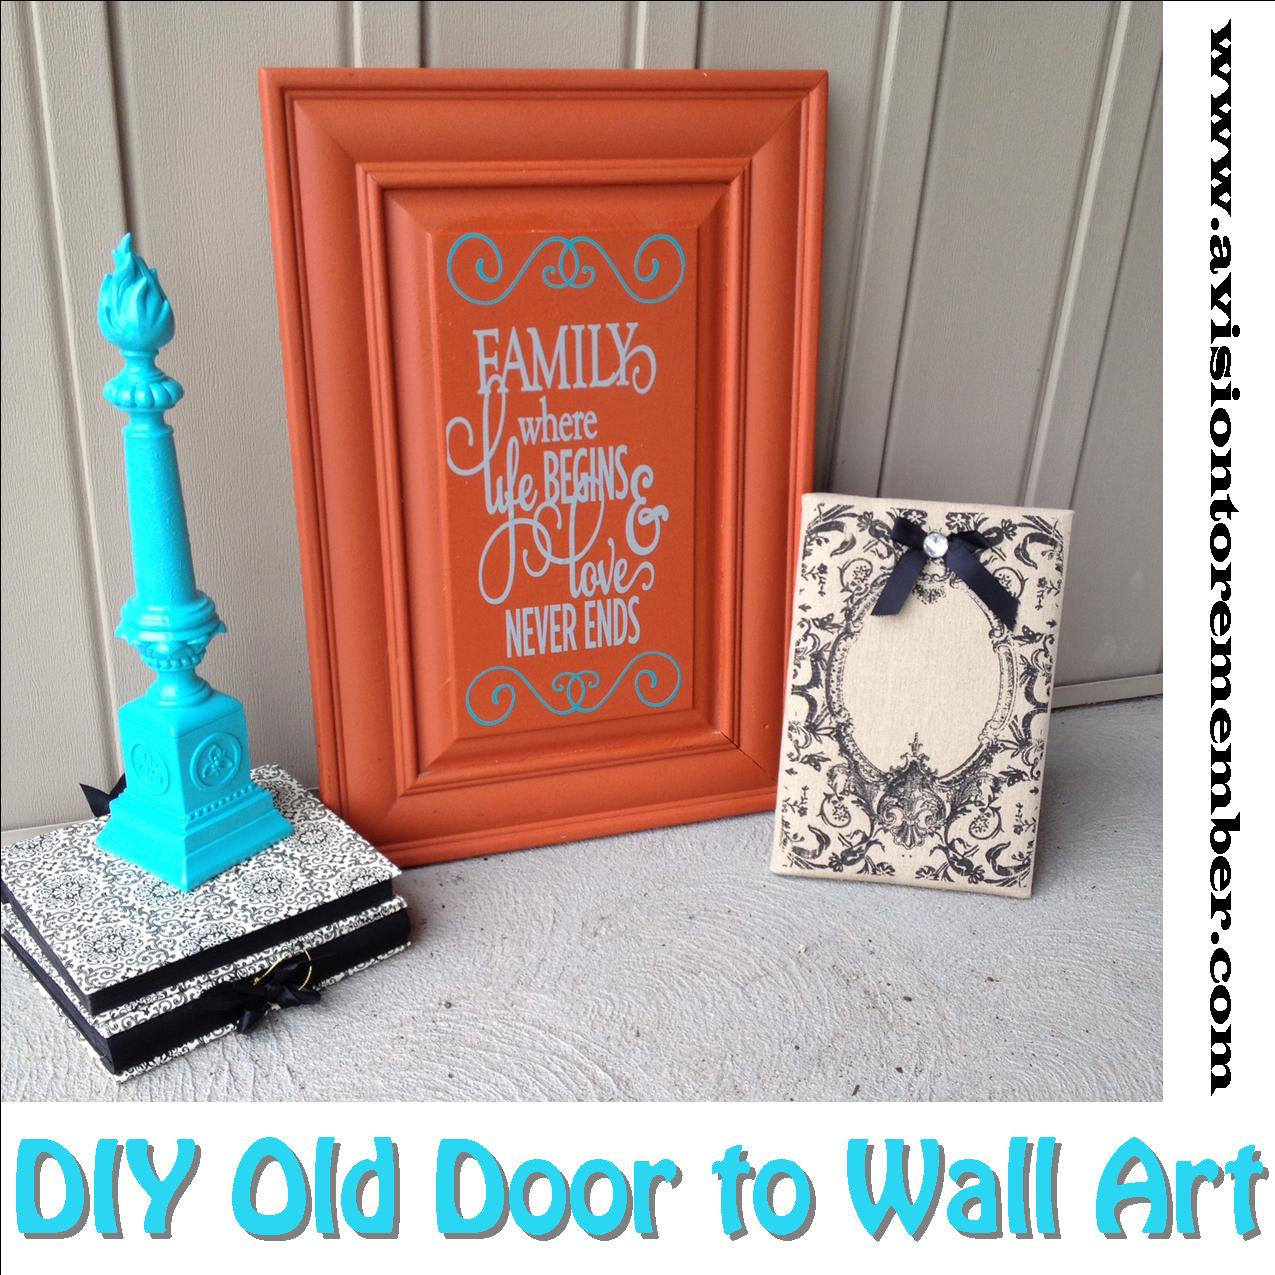
I found this old cabinet door at the local Thrift Store +Deseret Industries a couple years ago. I knew that I wanted to turn it into some kind of wall art. So while I was painting I painted it orange. Then I set it aside and found it a few months ago. Have you ever done that?!? Seriously, sometimes I wonder if I will ever get all my projects done that I have already started on....

So I whipped out my mom's trusty ol +Silhouette America and found this this silhouette file to cut out the words. For the turquoise top and bottom I used a design call "swirl" but I couldn't find the link to it...Sorry!
The Vinyl Colors that I used came from +Expressions Vinyl. The gray is the medium gray interior color and then turquoise blue for the Scroll


Make sure to enter the giveaway below so that you have a chance to win $25 gift card to ExpressionsVinyl.com
Also, you all get a nice little coupon code if you would like to go purchase some of this awesome vinyl from Expressions Vinyl. It is avisiontoremember.

a Rafflecopter giveaway
So I whipped out my mom's trusty ol +Silhouette America and found this this silhouette file to cut out the words. For the turquoise top and bottom I used a design call "swirl" but I couldn't find the link to it...Sorry!
The Vinyl Colors that I used came from +Expressions Vinyl. The gray is the medium gray interior color and then turquoise blue for the Scroll

I ran into a couple problems while I was working on the vinyl part of this project. First off, the transfer paper that I have was REALLY sticky (I bought it off of Ebay). It didn't want to let go of the vinyl. At first I thought that the vinyl wasn't sticky enough, but that wasn't the case.
I recut the vinyl a second time, but this time I used Press and Seal instead of the transfer tape and it worked perfectly!
I had also asked a few of my buddies over on Instagram and Facebook what they would recommend trying and most everyone said to do a layer of modge podge and then try adhering the vinyl. I didn't work for me, but I think it would if your transfer tape isn't super sticky.
I can't wait to get this beauty hung up next to my Clock in the next week or so. I just need to find something to put on the other side of the clock opposite of this. Any ideas?

Make sure to enter the giveaway below so that you have a chance to win $25 gift card to ExpressionsVinyl.com
Also, you all get a nice little coupon code if you would like to go purchase some of this awesome vinyl from Expressions Vinyl. It is avisiontoremember.
a Rafflecopter giveaway
How to Build a Large Clock for Cheap
I am so over my decor in my living room. It is dark, it is beige, and it is boring. No color. Nothing! I've been needing a change. Call it nesting, call it summertime fever, call it whatever you want. I'm bored! So I decided to build myself a clock. Something fun, but still going along with my old worldish decor. Bring a little modern in with it. My biggest problem is my living room walls are HUGE! I have cathedral vaults and so it is hard to fill up wall space with a bunch of small frames. Then it starts to look cluttered. So I needed a BIG clock.

My other problem is I... AM.... CHEAP! I hate spending money on decor items. I worry that in a year I will be bored with it and then where am I?!?
Plus, have you ever looked at buying a clock that is over 2 feet wide? Lets just say I haven't found one I liked for less than $200, and that one was cheap!
Instead I decided to build myself a clock.
Here is how I did it:
First I found a shape that I liked. Then I hooked up my trusty ol projector and linked my computer up to it through a VGA cord. I moved the projector around and fiddled with it until the picture of the shape was the size that I needed. It measures about 29" x 32".

 A little about the board that I got. It is particle board from +The Home Depot It was a 4' x 8' board that cost around $15. This board was the thinnest that they had. I don't remember the exact measurement, though. I tried to find something smaller, but there wasn't anything to be had. Plus, this ended up being cheaper and lighter than the pine board that I was planning on getting before I went into the store.
 Then I cut the shape out with my handy dandy saw and sanded the edges.

Prime the board. This will give you a nice smooth finish to work with, plus then you won't use as much paint.


My other problem is I... AM.... CHEAP! I hate spending money on decor items. I worry that in a year I will be bored with it and then where am I?!?
Plus, have you ever looked at buying a clock that is over 2 feet wide? Lets just say I haven't found one I liked for less than $200, and that one was cheap!
Instead I decided to build myself a clock.
Here is how I did it:
First I found a shape that I liked. Then I hooked up my trusty ol projector and linked my computer up to it through a VGA cord. I moved the projector around and fiddled with it until the picture of the shape was the size that I needed. It measures about 29" x 32".

Then I used 2 pieces of paper roll (I bought it from Ikea in the kids section, plus they have the cutest little stand for it to go on for the kids to pull out and draw to their hearts content). Freezer paper would work perfectly, or even newspaper roll ends. Or even a newspaper for that mater. Just get something that you can tape together and trace your shape.
This is what the shape looked like after tracing it out and cutting it out.


Prime the board. This will give you a nice smooth finish to work with, plus then you won't use as much paint.
Paint your first coat. I used +Modern Masters Iron paint. My living room color scheme is orange, gray, and black so the Primer for the Iron paint was perfect!
I will be doing another post on tips and tricks on using the iron paint from my experience so stay tuned for that.

Then lay your stencil out over the top of your board, after your first coat of paint has dried. I used a sponge to paint the gray/black color on.
I didn't care if I got nice crisp lines because I wanted a weathered/old world look to my clock. But if you want nice clean crisp lines I would HIGHLY recommend using spray adhesive so that your stencil will stick down good and not let paint seep underneath it.
The stencil I used is called Curved Connection Moroccan Stencil from +Royal Design Studio Stencils (you can also go to their Royal Design Studio Website). They have 2 different sizes in this stencil (and a ton of other stencils to choose from). I seriously am in love with this stencil design!
On another side note, they have a bunch of info on their website if you are wanting to learn how to stencil. It is seriously full of great info.
That is really all you need to do if you are doing 2 different colors of paint. Because I was using the iron paint I needed to do a layer of acid stuff to give the textured look, and then a sealer layer as well. That is where the shiny look came in. I love the shiny, but it was definitely not fun to try to photograph.
Then I followed the directions on installing the clock hands. I bought this clock hand set on +eBay . The largest hand measures 12". It is also called a high torque clock kit so you know what to search for.
I think installing the clock hands was the easiest part of the entire job!

I am seriously so in love with how it came out. A little old world, meets a little new world.
The next step for me is to figure out what to do for numbers on the clock. I am thinking a matte vinyl, and I am trying to bring in a little turquoise in the room for brightness, but not completely sold on the idea. Hence the no numbers on the clock just yet. Stay tuned for part 2 and 3. How to cut the numbers for the clock and how to paint with the iron paint.

Subscribe to:
Posts (Atom)
Let's Get Social