This
beauty was really rough when we got it. It had an awful texture on it. It was like the previous owners sprayed sand mixed with paint all over it. It was think. It was NASTY. It was not so much fun to remove. I did use my favorite citrus paint remover (its non toxic) to remove the layers and layers of nastiness. China Hutch-Craigslist Find
My parents happen to winter in a really great craigslist area. They have been able to find me all kinds of awesome furniture at great prices to furnish our new house. All the furniture was a ton of work but it was so worth the time and effort I had to put into it.
This
beauty was really rough when we got it. It had an awful texture on it. It was like the previous owners sprayed sand mixed with paint all over it. It was think. It was NASTY. It was not so much fun to remove. I did use my favorite citrus paint remover (its non toxic) to remove the layers and layers of nastiness.
I haven't finished the cupboard yet...the doors on the bottom needed new hinges. The only hinges I could find didn't have the right holes. So I need to get that fixed and then it will be a 100% new to me awesomely fun china hutch!
This
beauty was really rough when we got it. It had an awful texture on it. It was like the previous owners sprayed sand mixed with paint all over it. It was think. It was NASTY. It was not so much fun to remove. I did use my favorite citrus paint remover (its non toxic) to remove the layers and layers of nastiness.
Holy Cow....I have been busting out a ton of custom rag quilts and car seat covers this last week.
A full size hot pink and black Rocker Style rag quilt...
Two (well actually 3 but you only see 2 :) Flower applique rag quilts laid out and waiting for approval. I just LOVE the turquoise quilt...too bad I can't just keep it for myself. lol!
A full size hot pink and black Rocker Style rag quilt...
Two (well actually 3 but you only see 2 :) Flower applique rag quilts laid out and waiting for approval. I just LOVE the turquoise quilt...too bad I can't just keep it for myself. lol!
Easy Tulle and Boa Lampshade Makeover
We are all moved in and the decorating has begun. Well it has barely even started. First unpacking boxes. Sadly I still have about 1/3 of the boxes left to finish. I just am waiting for my husband to not work a million hours a week so I can have a little help :)
Anyways....I digress! My daughter insisted on having a lamp for her own. That and an alarm clock (which I haven't bought her yet...oops) Of course I have a ton of lamps, but the one I thought that would be perfect the lampshade was not so pretty anymore. Here's how to do a tulle and boa makeover to a lampshade
Then we hot glued the tulle to the lampshade. We just eyeballed the middle but you could measure if you wanted. My tulle ended up going around 2 times around the lampshade.
Then we measured how long we needed from out boa glued it down.
Isn't it lovely. The best part is that she loves it! She shows everyone and tells them how terrible the lampshade was and how great it looks now! She cracks me up!
Anyways....I digress! My daughter insisted on having a lamp for her own. That and an alarm clock (which I haven't bought her yet...oops) Of course I have a ton of lamps, but the one I thought that would be perfect the lampshade was not so pretty anymore. Here's how to do a tulle and boa makeover to a lampshade
First I cut tulle the width of the lampshade. I think I cut the length of the tulle 4 times to go around a semi small lampshade. Then I stuffed it through my sewing machine. I sewed it down the middle cause I wanted it to be a bit flared. You could also do it on the ends and then it would be more fitted around the lampshade
Then we hot glued the tulle to the lampshade. We just eyeballed the middle but you could measure if you wanted. My tulle ended up going around 2 times around the lampshade.
Isn't it lovely. The best part is that she loves it! She shows everyone and tells them how terrible the lampshade was and how great it looks now! She cracks me up!
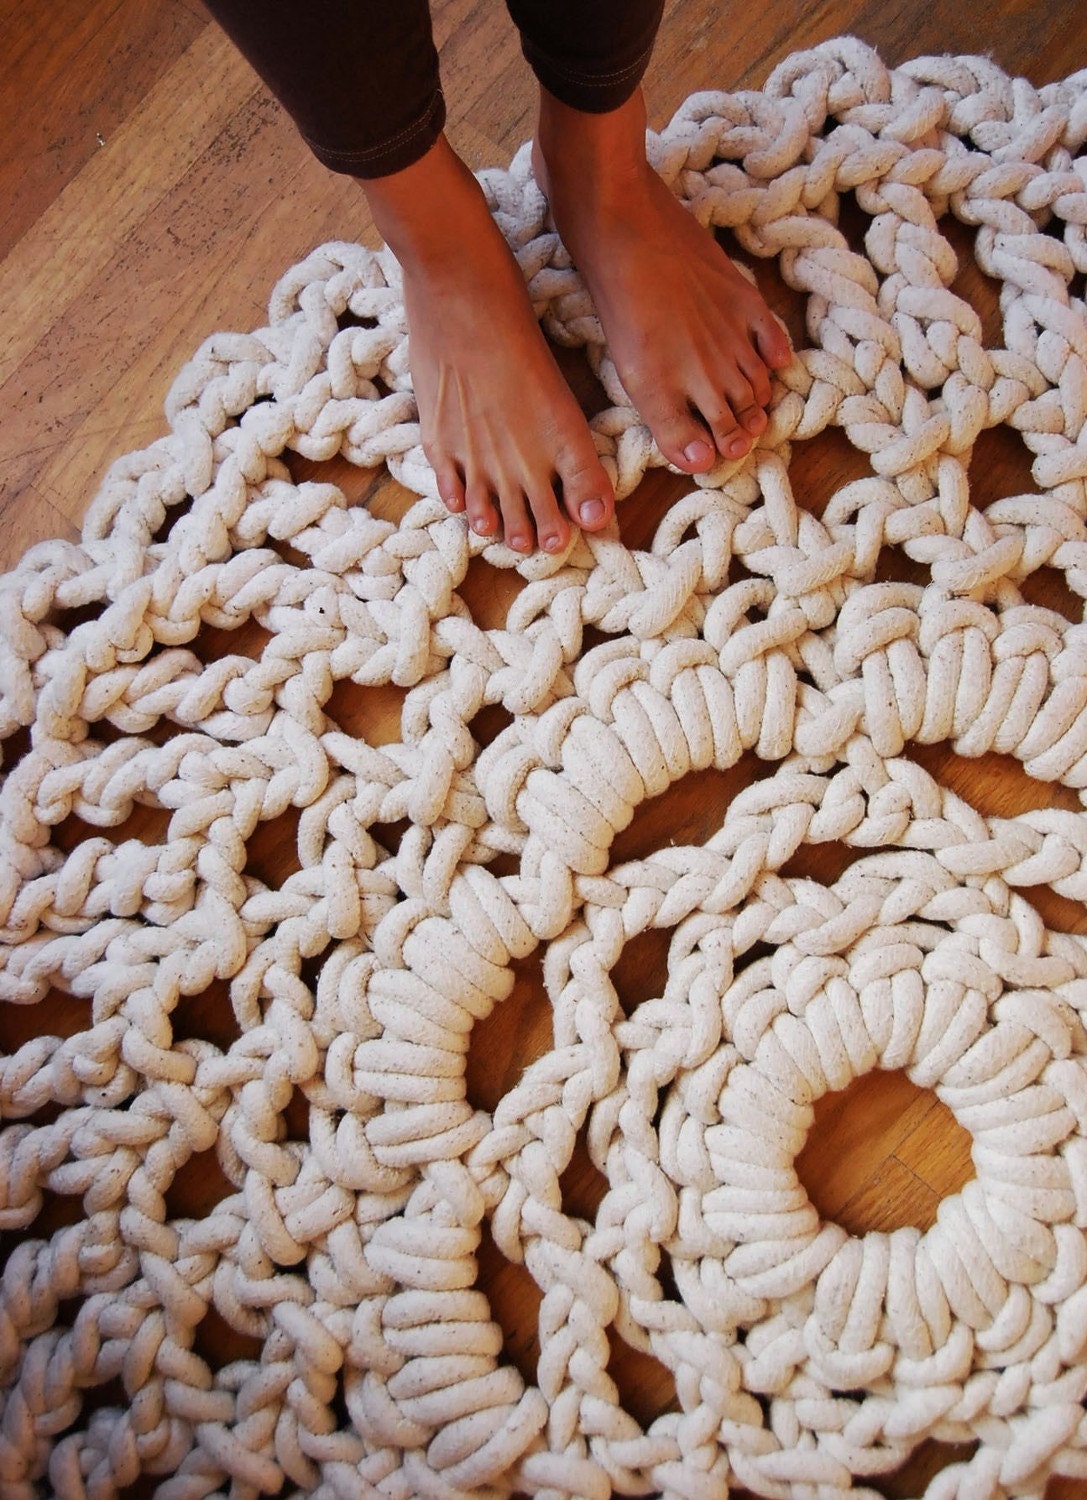
Doily! Oh MY!
I saw this posted on Check Me Out Saturday this week. I didn't add it to my feature cause it isn't really a craft, but it is absolutely ADORABLE! Seriously I am in love!
Thanks Julie of Stars and Sunshine for sharing
Rag Quilting - Backwards....An Experiment
You all know how much I love my rag quilting...its quick. Its easy. Its forgiving. So lets experiment for a minute.
Instead of all the raw seams on ones side of the quilt...I flip flopped them. So now the blanket is reversible...Weird....I know. I receiving these squares in a fabric scrap swap a few months ago and I let my daughter arrange them. She put a purple square on top of each yellow striped square. Then When I sewed them I made sure that they flip flopped so that they alternated. In the above pic you can see how there are raw seams and then hidden seams...I let my 5 yr old clip all the seams (which wasn't the best idea she got lazy and tried cutting off the raw edges instead of clipping them) But all in all its for her dolls so it don't matter much to me :)
I still haven't washed the blanket (a week later ) but when I do this weekend I will show you all the finished product. I actually really like it. I can see some potential...Give me a few weeks to come up with it :)
While I was snapping away with the camera my baby girl wanted a photo shoot. Silly girl! She doesn't smile for the camera once so this is just melting my heart!
Instead of all the raw seams on ones side of the quilt...I flip flopped them. So now the blanket is reversible...Weird....I know. I receiving these squares in a fabric scrap swap a few months ago and I let my daughter arrange them. She put a purple square on top of each yellow striped square. Then When I sewed them I made sure that they flip flopped so that they alternated. In the above pic you can see how there are raw seams and then hidden seams...I let my 5 yr old clip all the seams (which wasn't the best idea she got lazy and tried cutting off the raw edges instead of clipping them) But all in all its for her dolls so it don't matter much to me :)
I still haven't washed the blanket (a week later ) but when I do this weekend I will show you all the finished product. I actually really like it. I can see some potential...Give me a few weeks to come up with it :)
While I was snapping away with the camera my baby girl wanted a photo shoot. Silly girl! She doesn't smile for the camera once so this is just melting my heart!
Airplane Applique Rag Quilt with Embroidered Personalization
Bath Robe from Beach Towels
Its pretty bad when my daughter and husband search the entire town for a new bath robe for me. They thought it was bad that there were countless holes in it and many bleached stains...
Me on the other hand didn't really care....It served its purpose. It wasn't like any other robe...it actually absorbed water. It covered me very nicely. It has been a good friend for many years.
After I found out that they had searched for 3 hours for a new bath robe for me that was absorbant I realized how bad this lovely purple robe really was. So I started watching for some towels that I could make a new robe with. It has taken me 3 months but I did it.
This project took me less than an hour from start to finish. It was really simple. I forgot to take a picture of it before I cut it all up...
First I cut up my purple robe into 5 pieces (the arm, one of the front 1/2 pieces, the back piece, the tie for around the waist, and the little loop that gets sewn in the sides to hold the tie)
Then I laid out my 2 beach towels (I bought 3 but ended up only needing 2 for a size small robe) and laid the pieces from the purple robe on top and cut them out (make sure to cut out 2 arm pieces and 2 front pieces, and 2 loops for the tie to go through)
One other thing to try to remember is to use as much of the finished edges of the towels as possible. It will make finishing the robe so much easier :)
Then I sewed it all together with my serger. If you don't have one then use a zig zag stitch with your sewing machine. First...the shoulder pieces from the front and back pieces. Next where the arms fit onto the shoulders, then sew under the arms together down through the sides of the robe (make sure to add the little loops in the waist area for the tie to go through)
Next finish your edges and your robe is done. Seriously this was a really easy project that I was dreading. I did make my robe about 3 inches longer than my last one. When I finished the edges I just serged around them and since I won't be wearing it to town no one will know that I didn't professionally finish the edges :)
Side Board Table: bare naked
Remember the Side Board Table? With that awful texture on it? Well now the texture is gone. I have gotten it all cleaned up. Thanks to
This stuff is Suped De-Duper Amazing! Seriously. Its non toxic. Perfect! It worked great. It would have worked even better if I wasn't so impatient. But I was so dang excited to see what was underneath all that crap.
I did learn one other thing...the citrus stripper residue comes off a lot easier if you don't let it dry out. I did use a little mineral wash to clean it up a little.
Now I have it all cleaned up and sanded and it is really awesome looking wood! Seriously so excited to try and stain it. My next dilemma is whether I should not start the next project until this one is done or should I strip all 10 different things that need stripped first?
Subscribe to:
Posts (Atom)
Let's Get Social