Showing posts with label baby. Show all posts

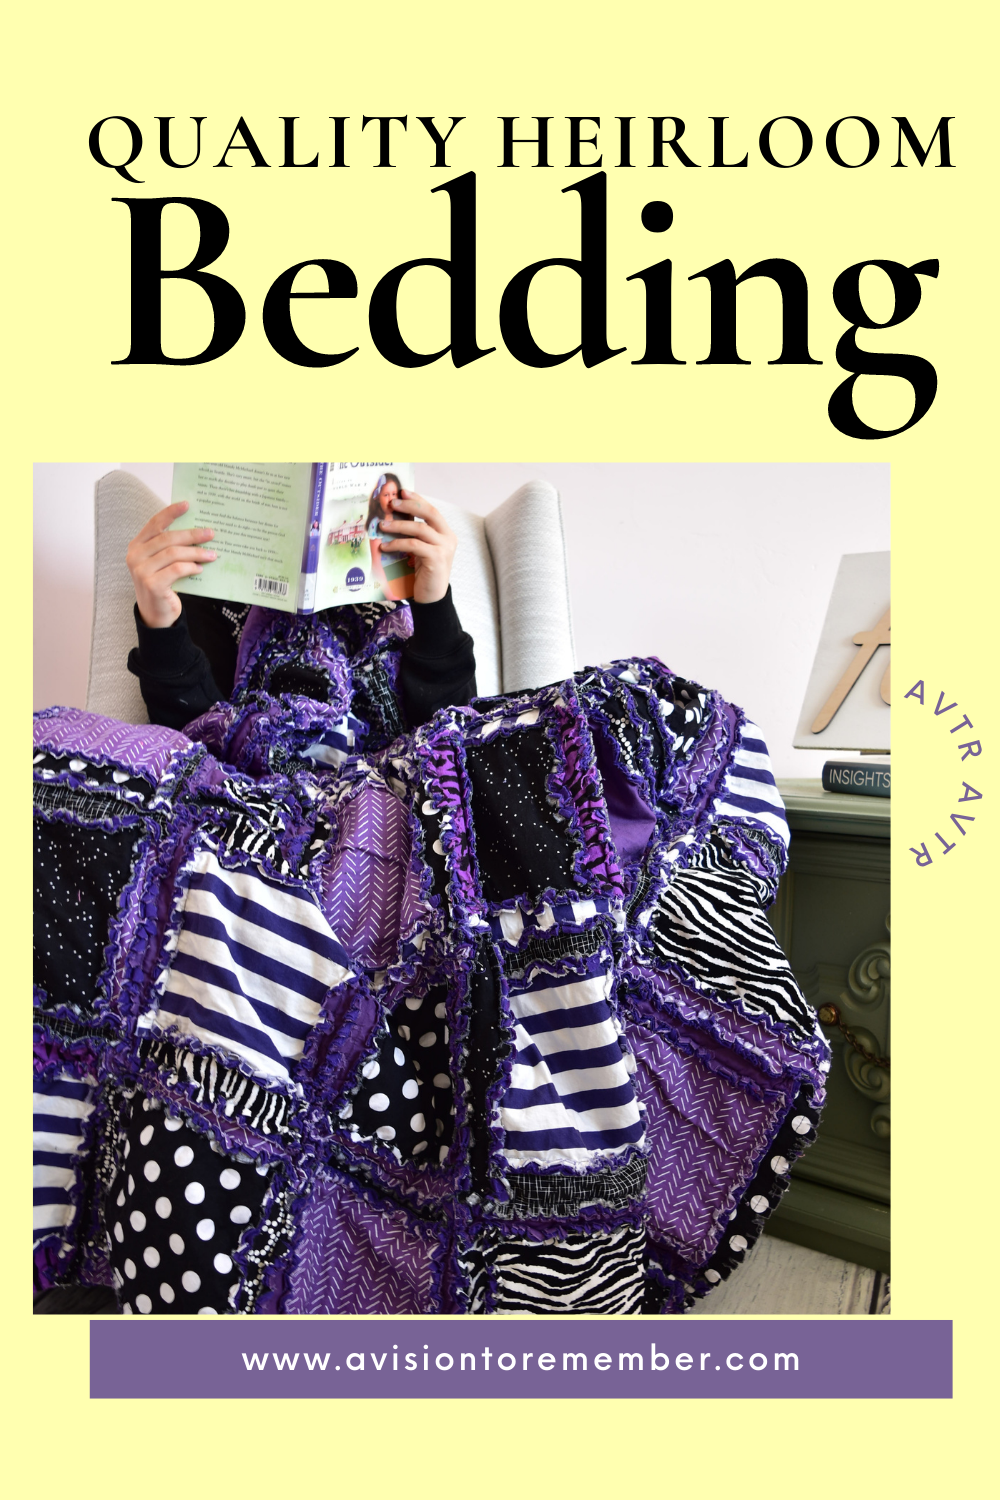
Quality heirloom bedding for everyone in the family. Quilts like grandma used to make avtrboutique


When it comes to bedding, there's nothing quite like a cozy, handmade quilt to add warmth and charm to any room. And while quilting may have originated as a practical way to repurpose scraps of fabric, today it has become an art form in its own right. This is especially true when it comes to heirloom quilts, which are created with care and attention to detail that ensures they will last for generations to come.
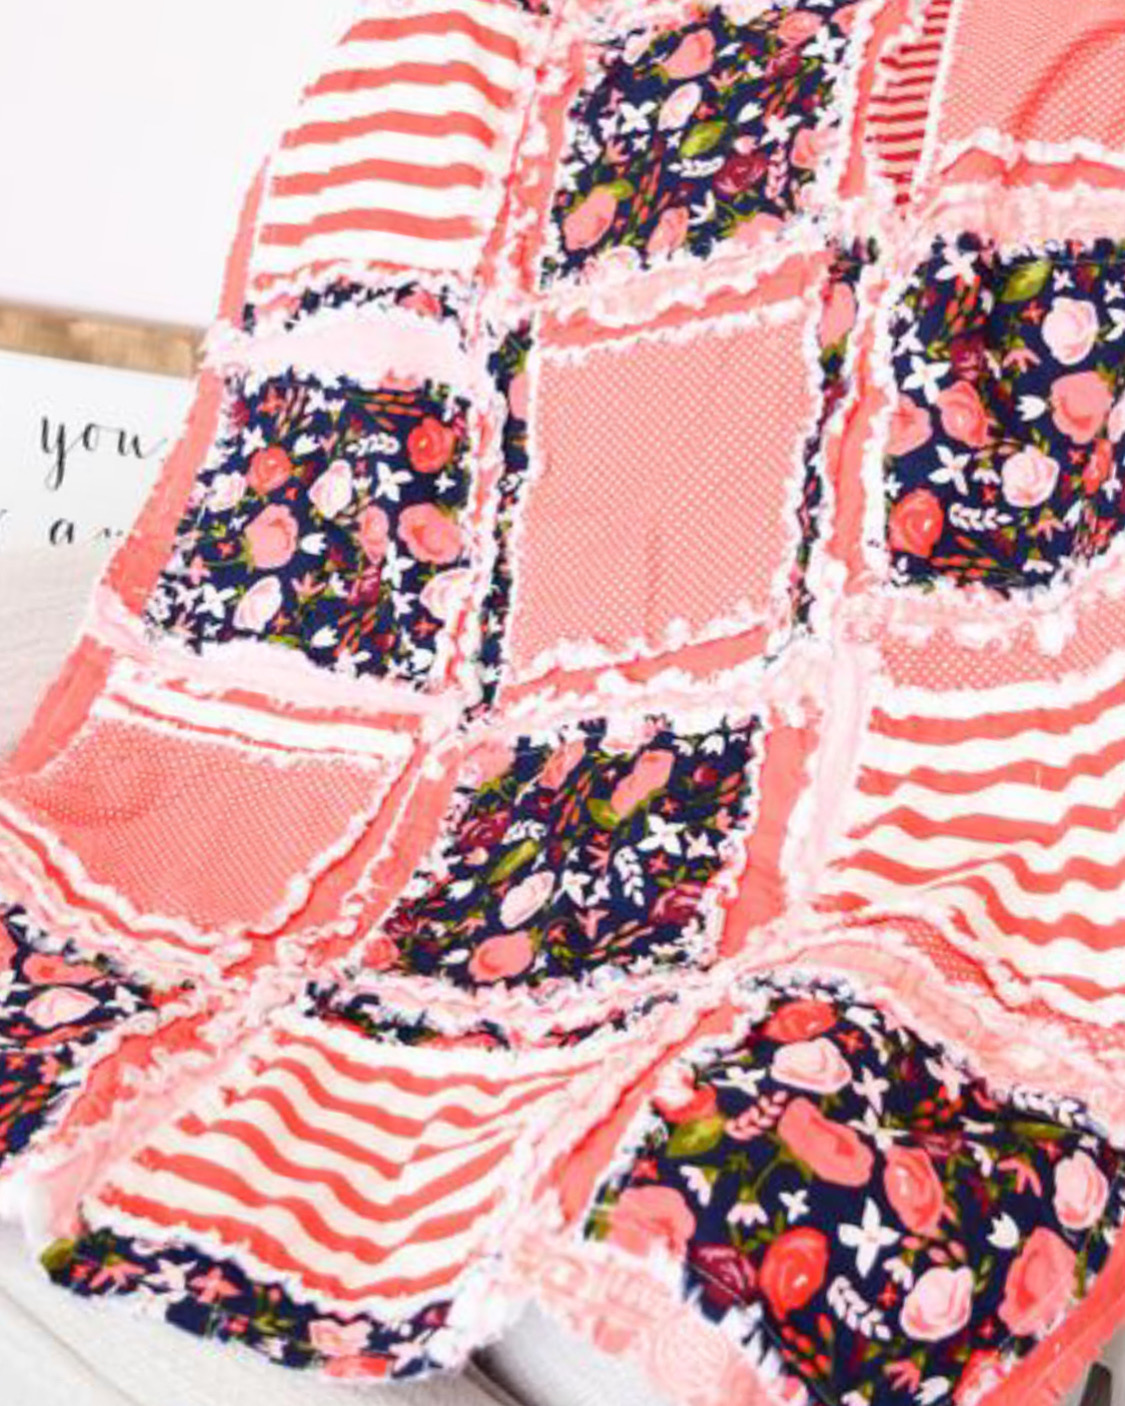

One of the most popular styles of heirloom quilts is the rag quilt, which is characterized by its frayed edges and soft, fluffy texture. Made from a combination of cotton or flannel fabrics, these quilts are perfect for snuggling up in on chilly evenings or for adding a touch of rustic charm to your home decor.

At AVTRBoutique, we specialize in creating high-quality rag quilts in a variety of sizes to suit every member of your family. Our quilts range from baby blanket size to king-sized, and we offer a wide variety of color and pattern options to suit any taste or style.


All of our quilts are handmade with care and attention to detail, ensuring that each one is a true work of art. We use only the highest-quality fabrics and materials, and our experienced quilters take the time to carefully stitch each quilt together by hand to ensure that it is as durable as it is beautiful.
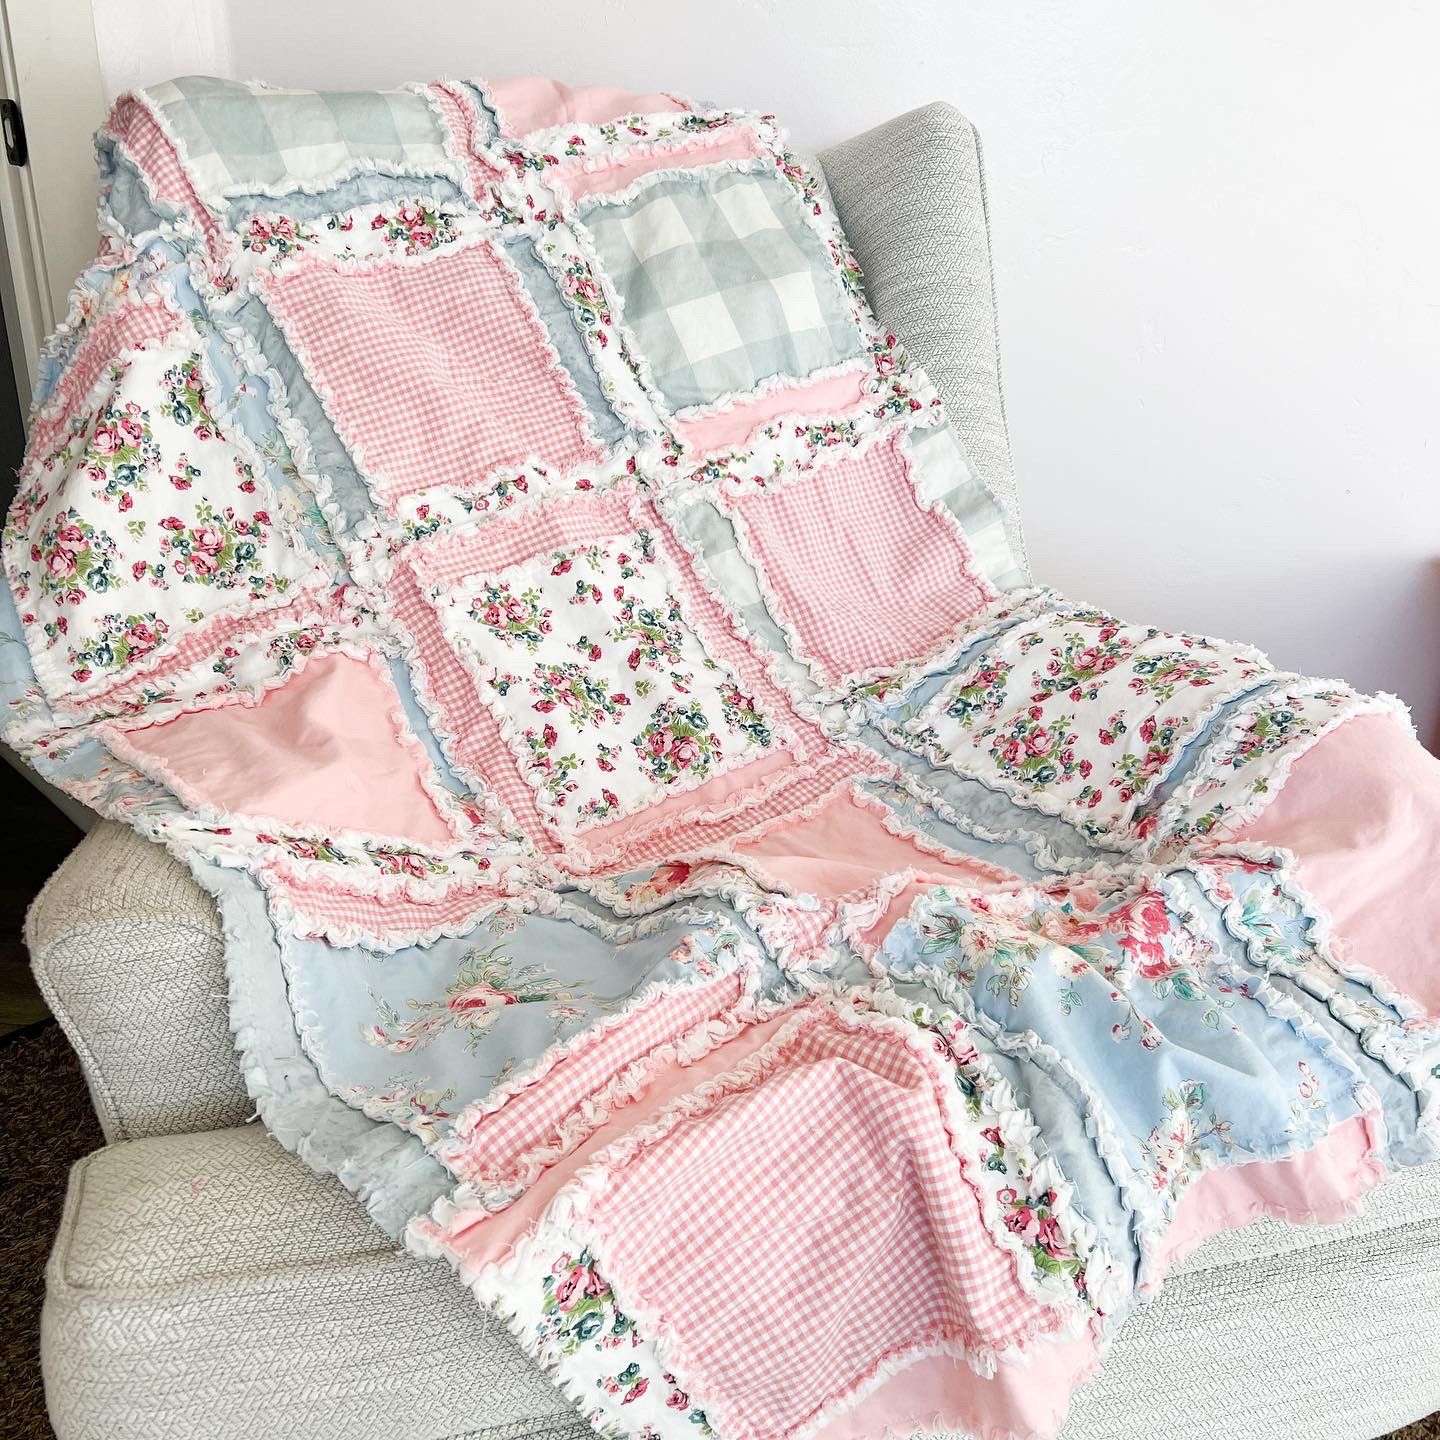
Whether you're looking for a special gift for a new baby or want to add a touch of cozy charm to your own bedroom, our heirloom rag quilts are the perfect choice. So why not visit AVTRBoutique today and explore our wide range of high-quality quilts? We're sure you'll find something that you and your family will love for years to come.


via https://youtu.be/aeRBKRXx7yA 


Make sure to check out all of the beautiful bedding for young and old here on our blog and in our etsy shop

Have you Ever...Wanted to Make A Rag Quilt Pillow?

Heres your chance to create your very own rag quilt pillow sham. We are creating it in a throw size pillow (16")


The simple instructions and cutting pieces are included in the video

Follow along as we create a rag quilt throw pillow sham to coordinate with our famous sports crib bedding

Of course if you don't want to create your own, we can help you create the perfect nursery for your little man. 

The pillow sham fits a 16" pillow form. Don't want to make your own? Check out our Etsy shop

Sewing a throw pillow with an appliqued football can be a fun and creative way to show your love for football. In this blog post, we will explore a step-by-step tutorial on how to create a rag quilt style pillow with an appliqued football on it.

First, let's gather our supplies. You will need:

For more information on our favorite sewing products visit our post about 10 essential sewing tools for beginners

Step 1: Cut the fabric from the pattern

To create the rag quilt style, you will need to cut the fabric. You can use any fabric you like, but a flannel  will give the pillow a cozy feel.

Step 2: Arrange the fabrics

Arrange your fabrics in a pattern that you like. You can mix and match different colors and patterns to create a unique look.

Step 3: Create the football applique

To create the football applique, draw a football shape on a piece of paper. Cut out the shape and trace onto brown fabric. Cut out the football shape from the fabric place on the backing fabric you have chosen for the pillow. Stitch around with an 1/4 inch seam allowance leaving a raw edge seam.

Step 4: Sew the fabrics together

Sew using a 1/2 inch seam allowance. We use fabrics from AVTRFabrics.com

Step 5: Clip the exposed seams

Once you have attached the football applique, clip the exposed seams with your favorite scissors the edges of the pillow to create a frayed look.

And there you have it - a cozy throw pillow with a football applique in a rag quilt style! This project is perfect for football fans and can be customized to any team's colors. Have fun creating your own unique pillow and show off your love for football.


Easy Diaper Stacker Sewing Pattern - Rag Quilt Style

I don't know about you, but keeping my nursery tidy and clean after having baby seems nearly impossible.  This Easy Diaper Stacker Sewing Pattern will help you keep your nursery just a little bit cleaner by keeping all your diapers in one place!

Easy Diaper Stacker Sewing Pattern

Rag Quilt Style Nursing Cover Pattern - How to Sew a Nursing Cover Free Pattern

Rag quilts are one of the MOST versatile quilting methods.  I've been able to make nearly everything my heart has desired.  The Nursing Cover has been no exception.  A free pattern on how to make your very own rag quilt style nursing cover.  It is simple, and comes out absolutely gorgeous!

Free Pattern Nursing Cover with Boning

The pattern also includes instructions on how to sew in the boning so that you can peek at your little while nursing, but still keeping your goods nice and covered so you are comfortable

Woodland Baby Girl Quilts and Nursery Bedding with Deer Heads


These Deer Quilts are killing me!  In a good way.  I love them.

Seriously!

I can't decide which is my favorite!

So can you help me decide which of these girly quilts is your favorite?!

A.  The Hot Pink, Turquoise, and Aqua Deer Quilt for Woodland Baby Bedding


Baby Girl Crib Bedding Navy, Aqua, PinkGirl Crib Bedding and Car Seat Canopy

B. Lime Green, Navy Blue, Aqua, and Gray Woodland Baby Quilt and Nursery Crib Bedding

Lime Green, Navy Blue, Aqua, and Gray Woodland Baby Quilt and Nursery Crib Bedding
Girl Rag Quilt with Deer Silhoette for Baby Girl or Boy
Deer Baby Quilt for Lady Hunter

 C The Hot Pink, Aqua, and Gray Baby Girl Crib Bedding with Deer Heads for a Woodland Theme Nursery


Baby Girl Crib Bedding Nursery Deer, Aqua, Gray, Pink

Woodland Baby Girl Crib Bedding with Deer Silhouettes in Pink, Aqua, and Gray

Woodland Car Seat Canopy Deer Aqua, Gray, and Hot Pink

Deer Baby Quilts in Aqua, Hot Pink, and Gray Woodland


Check out the video and make sure to add your decision below in the comments....A, B, C, or D 


Image HTML map generator

Navy Blue and Gray Elephant Rag Quilt

This has been one of my most popular rag quilt designs. It doesn't seem to matter which color I combine with the gray it results in a stunning and modern quilt for boys and girls. I love every single one of them!

Today, the combination is gray and navy blue.  I love the harsh contrast between dark and light!

navy blue and gray elephant rag quilt for baby boy crib or toddler bed
The quilt comes in 3 different sizes ( I can do other sizes if you would like)
navy blue and gray elephant rag quilt for baby boy crib or toddler bed

I made the quilt using the Easy Peasy Rag Quilt Pattern

navy blue and gray elephant rag quilt for baby boy crib or toddler bed


I just simply adore how this quilt turned out!
navy blue and gray elephant rag quilt for baby boy crib or toddler bed


Follow A Vision to Remember:
Follow on Bloglovin

The Best Baby Bib Pattern-Super Simple

Everyone that sews and likes to make their own gifts NEEDS this simple baby bib pattern.  Whether you need a quick go to pattern for the advanced sewer, or a simple pattern that the beginner seamstress can whip out, this pattern will be perfect for you!

the best baby bib pattern with flower applique

You can find the pattern in my Etsy shop HERE

the best baby bib pattern with flower applique

Custom Baby Rag Gift Set

Just finished up this fun gift set...it includes a rag receiving blanket, burp rags, bibs, rag quilt, and purse.  It was lots of fun to make!


Nursing Cover Clip Tutorial~Perfect Way to Turn any Blanket into a Nursing Cover

Ever just wish you had an extra hand when you were nursing to hold the blanket up so baby would stop revealing your goodies to everyone around you?  Well here is a simple solution that doesn't include packing around one more big thing in your diaper bag. 

1.  You will need a 7/8 ribbon cut to 20 inches and 2 - 1 inch suspender clips
NOTE-this is the length that fits me well.  I would say I am average size.  You might want to measure around your neck to see if this length will work for you

2. thread the ribbon through the clip with the short end on the back side of the clip.  Sew with a straight or zig-zag stitch.  When I do a straight stitch I like to go back and forth over it a couple times to make sure that it is secure.
3.  Heat seal the ends of the ribbon to give them a clean finished look.  Then throw in your bag!  I also like to use these clips to secure pacifiers, sippy cups, toys, or whatever else to a car seat or stroller or even baby so I don't have to keep track of all the little things. 

If you don't want to make your own there are some available in my shop HERE.  If the color you are wanting isn't there send me a message and I will get one made for you in the right color.  6f25198df53de9928f78ae808896436ada5e722287c9eb650a

Adding Minky to Rag Quilts

I love minky.  It is for sure one of my favorite fabrics.  Not necessarily to sew because it is so slippery but because it is super soft and warm.  My girls will only use their rag quilts that have minky on the back. 
 I don't like sewing minky into a rag quilt because the edges don't fray.  Its just a personal preference of mine.  But I still love to have minky on the back of my quilts. 


 I have had several requests to add minky to the back of car seat tents or rag quilts lately so I thought I would take a picture while I was doing one for you all.  This should work with all types of quilts there is one small place that could be a problem depending on the look you are going for.  I will let you know in that step. 

 Rag quilt from the top.  You can see the minky on the back and the nice finished edge of the rag quilt:
 This will also work with adding ruffle fabric (or any other fabric) to the back of your quilts. 


 1.  Measure your quilt that you will be adding the minky to.  Mine was 44x44
2.  Cut a piece of minky the same size.  Minky is great for this because it is so wide (60 inches)  So most of the time you don't have to piece pieces together.

Lay the minky on the ground with the soft side facing up and the quilt on top with the back facing up.  Right sides together.
The right sides are together
Pin in place with as many pins as you need.  I pinned 4 times on each side.  A walking foot is really helpful with sewing with minky if you have one.
Then sew around the outside of the quilt with about a 1/2 inch seam.  You could use a smaller one but I like to use that large of one with Minky because it has a tendency to move on me.

3.  Now is the part that could be complicated with a regular quilt.
Lay the quilt flat on the ground and find a couple of raggy seams in the middle of the quilt.  Pin the quilt to the minky.  I sew along those seams through the quilt and the minky.  I do this to hold those 2 fabrics in place.  If you want you could quilt a pretty design in a few of the squares.  This step is not necessary but keep in mind that those 2 pieces of fabric will not be secured to each other. 


Let's Get Social

Image HTML map generator


Featured Post