|
| If that isn't sass...I don't know what is. |

Showing posts with label back to school. Show all posts
Showing posts with label back to school. Show all posts
Aztec Toddler Girl Shirt Pattern by Muse of the Morning {Practically Perfect Girls Shirt Pattern}
I am so excited to share this with you all! A little over a month ago I joined up with several other pattern designers and swapped patterns. I was so lucky to be able to try out the Practically Perfect Girls Shirt Pattern by Muse of the Morning.

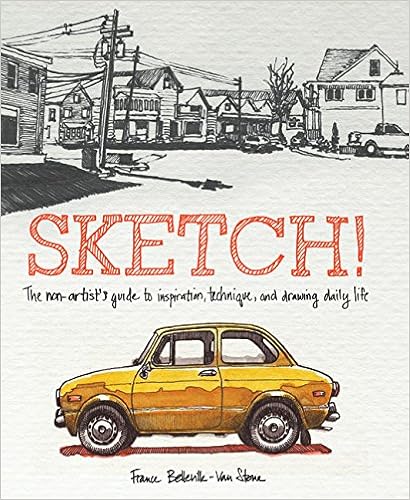
Sketch (The Non Artist's Guid to Inspiration, Technique, and DrawingDaily Life) Book Review
Let me start with this....I have absolutely no idea how to draw. Let me take that back....I can draw a mean stick figure, or a asymmetrical house with a bubble looking tree. Its definitely all pre-k level.
So when I was asked if I would review this book, I was a bit skeptical. Ok, a lot skeptical. But maybe a bit hopeful too. Maybe, just maybe I could learn something. Even 1 little piece of information, could help me tremendously when my girls ask me to draw a dog next time.
 This book is full of very beautiful and intense pictures. They are above and beyond anything I would ever be able to do. But the part that I really like about this book, is the author is honest. The author is very straightforward about "hey this picture took me 500000 hours to draw. It was hard. It was lots of work, but it looks great!"
So when I was asked if I would review this book, I was a bit skeptical. Ok, a lot skeptical. But maybe a bit hopeful too. Maybe, just maybe I could learn something. Even 1 little piece of information, could help me tremendously when my girls ask me to draw a dog next time.
Adventures in Mochi Mochi Land Book Review of Knitted World Book
I'm not going to lie, when I was asked to review this book, I expected something totally different. Seriously. I expected another knitting book. Fine, dandy. Nothing special, Right?
Well, I was surprised when I opened this book
This book isn't just an instruction book on how to knit. Or even how to knit cute little mini things.
Its a story book.
Its a story book about these cute little mini things.


When she was done reading the entire book in 1 sitting, she immediately asked me if we could make these cute little figurines. Sadly, I didn't have the supplies on hand to be able to make them but we will. First piece that will be made....the donut!
If you want to purchase this book, its available on Amazon (this is an affiliate link, and I would make a very minimal amount, so maybe I could buy my girl the supplies so she can learn to knit <3 p="">
Amazon Link


Well, I was surprised when I opened this book
This book isn't just an instruction book on how to knit. Or even how to knit cute little mini things.
Its a story book.
Its a story book about these cute little mini things.
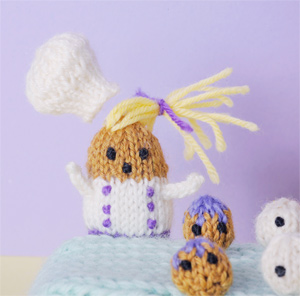
So based on it being a storybook, I handed the book over to my seasoned 9 year old avid reader. She loved this book. She read all of the mini stories. I could see her laughing. I could see her concerned for the characters. She definitely enjoyed the cute little book
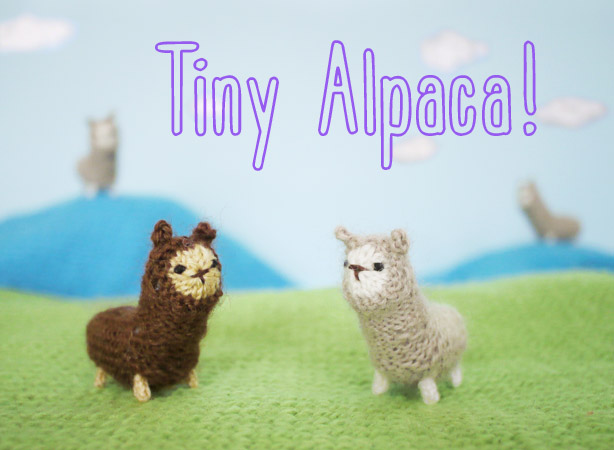
I mean, seriously, who wouldn't be drawn into a book full of all these cute little characters?
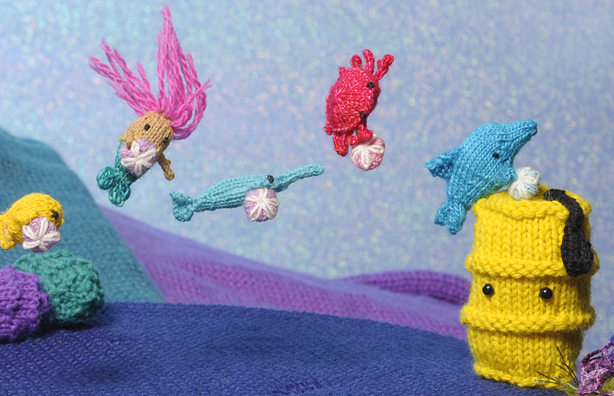
When she was done reading the entire book in 1 sitting, she immediately asked me if we could make these cute little figurines. Sadly, I didn't have the supplies on hand to be able to make them but we will. First piece that will be made....the donut!
If you want to purchase this book, its available on Amazon (this is an affiliate link, and I would make a very minimal amount, so maybe I could buy my girl the supplies so she can learn to knit <3 p="">
Amazon Link
Geeky 3 Tier Ruffle Girls Skirt
It was my intention of getting this tiered ruffle skirt tutorial up WAY before back to school season. Here I am, an entire month later, writing up the pattern. Gah! Seriously, the last 2 months have kicked my butt. Not Gonna Lie! But I am so grateful for my new little boy that has joined our family, and that I feel good enough to sit down and write a little. So here the tutorial/pattern goes.

To start off with. The daughter that I made this skirt for is a tall, skinny, Kindergartener. She just turned 5. In ready to wear she wears a size 4 or 5.
 To start I took a coordinating fabric and cut it in a trapezoid shape. The bottom 17 inches wide and the top 12 inches wide. To get the top measurement I measured her waist (23 inches for her) and added an inch for seam allowance. I wish that I would have made it 2-3 inches wider so that it would still fit her next summer, but I didn't think about it until after I had sewn it all together. The length for her was 13 inches.

Sew (or serger) down the long sides of the skirt. Then fold over the top by and inch and sew it down, make sure to leave an opening so that you can thread your elastic through it.
Serge the bottom edge to get a nice clean finished bottom.
Then I picked out 3 fabrics for the tiers (I used the turquoise and cream dots, the purple geekly chic glasses fabric, and the cream geekly chic glasses fabric all are made by +Riley Blake )
I cut my strips for the skirt 6 inches wide. I cut 1 for each tier. To know how much you are going to need plan on 1.5 to 2 times more width than your skirt (this is a good rule of thumb for most ruffling). The fabric is 44 inches wide so it ended up being almost 2 times the width.
Sew the short ends together.

Finish off the bottom end of the fabric however you like with a pretty little hem. I did a rolled hem using my serger.
Then ruffle your tiers using your favorite method. This time I used a ruffler foot attachment to my sewing machine, but you could use the kite string method, or elastic thread, or the "shove the fabric under the foot and guess as you go" method. Whatever suits your fancy.
Now take your base skirt piece and your first tier for your skirt. Sew the first tier at the base of the elastic waist seam, making sure to not sew over that seam, but as close as you can get. Sew it down on the wrong side, with the tier pointing to the top of the skirt. That way it will hide your unfinished edge under the first tier


Repeat again with the bottom tier. You should be sewing the bottom tier on about an inch above the bottom hem of the skirt.
.JPG)

To start off with. The daughter that I made this skirt for is a tall, skinny, Kindergartener. She just turned 5. In ready to wear she wears a size 4 or 5.


Sew (or serger) down the long sides of the skirt. Then fold over the top by and inch and sew it down, make sure to leave an opening so that you can thread your elastic through it.
Serge the bottom edge to get a nice clean finished bottom.
Then I picked out 3 fabrics for the tiers (I used the turquoise and cream dots, the purple geekly chic glasses fabric, and the cream geekly chic glasses fabric all are made by +Riley Blake )
I cut my strips for the skirt 6 inches wide. I cut 1 for each tier. To know how much you are going to need plan on 1.5 to 2 times more width than your skirt (this is a good rule of thumb for most ruffling). The fabric is 44 inches wide so it ended up being almost 2 times the width.
Sew the short ends together.

Finish off the bottom end of the fabric however you like with a pretty little hem. I did a rolled hem using my serger.
Then ruffle your tiers using your favorite method. This time I used a ruffler foot attachment to my sewing machine, but you could use the kite string method, or elastic thread, or the "shove the fabric under the foot and guess as you go" method. Whatever suits your fancy.
Now take your base skirt piece and your first tier for your skirt. Sew the first tier at the base of the elastic waist seam, making sure to not sew over that seam, but as close as you can get. Sew it down on the wrong side, with the tier pointing to the top of the skirt. That way it will hide your unfinished edge under the first tier


Now take a fabric marker and measure down 5 inches from your unfinished edge of your top tier and mark a straight line all the way around your skirt. Now sew your middle tier down using the same method from above.


Repeat again with the bottom tier. You should be sewing the bottom tier on about an inch above the bottom hem of the skirt.
Now you have a beautiful tiered skirt that your daughter will be sure to love.
.JPG)
Dry Erase Binders and Tablets for Back to School and Teacher Appreciation Gifts
Disclosure: This post is sponsored by Wallternatives. I received a free sample of
the product for the purpose of this review. All opinions are my own.
I think we might just be the last people in the US of A to go back to school. My girls just barely started yesterday.
Now, let me start out by saying that I am cheap. My friends make fun of me, my husband makes fun of me, my kids complain All. The. Time. that I am cheap.
But this time I think it worked to their advantage when we took some cheap (17 cents +Staples ) tablets and binders and gave them a little facelift with a couple of simple vinyl pieces

The first one here is my kindergarteners binder. I took a +Wallternatives Blue frame, a piece of dry erase vinyl, and some thin +Duck Brand Tape
A little side note about the Wallternatives Blue Photo Frame Fabric Decal Set.. They come in a set of 6 so I went through and picked which of the frames would fit the binder and the tablet the best. There are smaller ones and larger ones. If I remember right the rectangle one on the binder is the largest of all the frames.
First I measured what size the frame was and cut the dry erase vinyl about a 1/2 inch bigger. Then I placed the dry erase first on the binder and then the frame. Then a little accent with the Duck Tape and my kindergartener was one very happy little girl!
 For my 3rd Graders table we basically did the same thing, but we added a couple stickers to the mix as well.

I am so glad that my girls enjoyed putting these together. They were so excited to be able to have a something that NO ONE ELSE would have in the entire school.
So, in the end 2 happy girls = 1 very happy mom!
Oh and if you are looking for some really cute vinyl, removable wallpaper, and super cute chalkboard decals head on over to Wallternatives. Seriously, they have the cutest stuff!

I think we might just be the last people in the US of A to go back to school. My girls just barely started yesterday.
Now, let me start out by saying that I am cheap. My friends make fun of me, my husband makes fun of me, my kids complain All. The. Time. that I am cheap.
But this time I think it worked to their advantage when we took some cheap (17 cents +Staples ) tablets and binders and gave them a little facelift with a couple of simple vinyl pieces
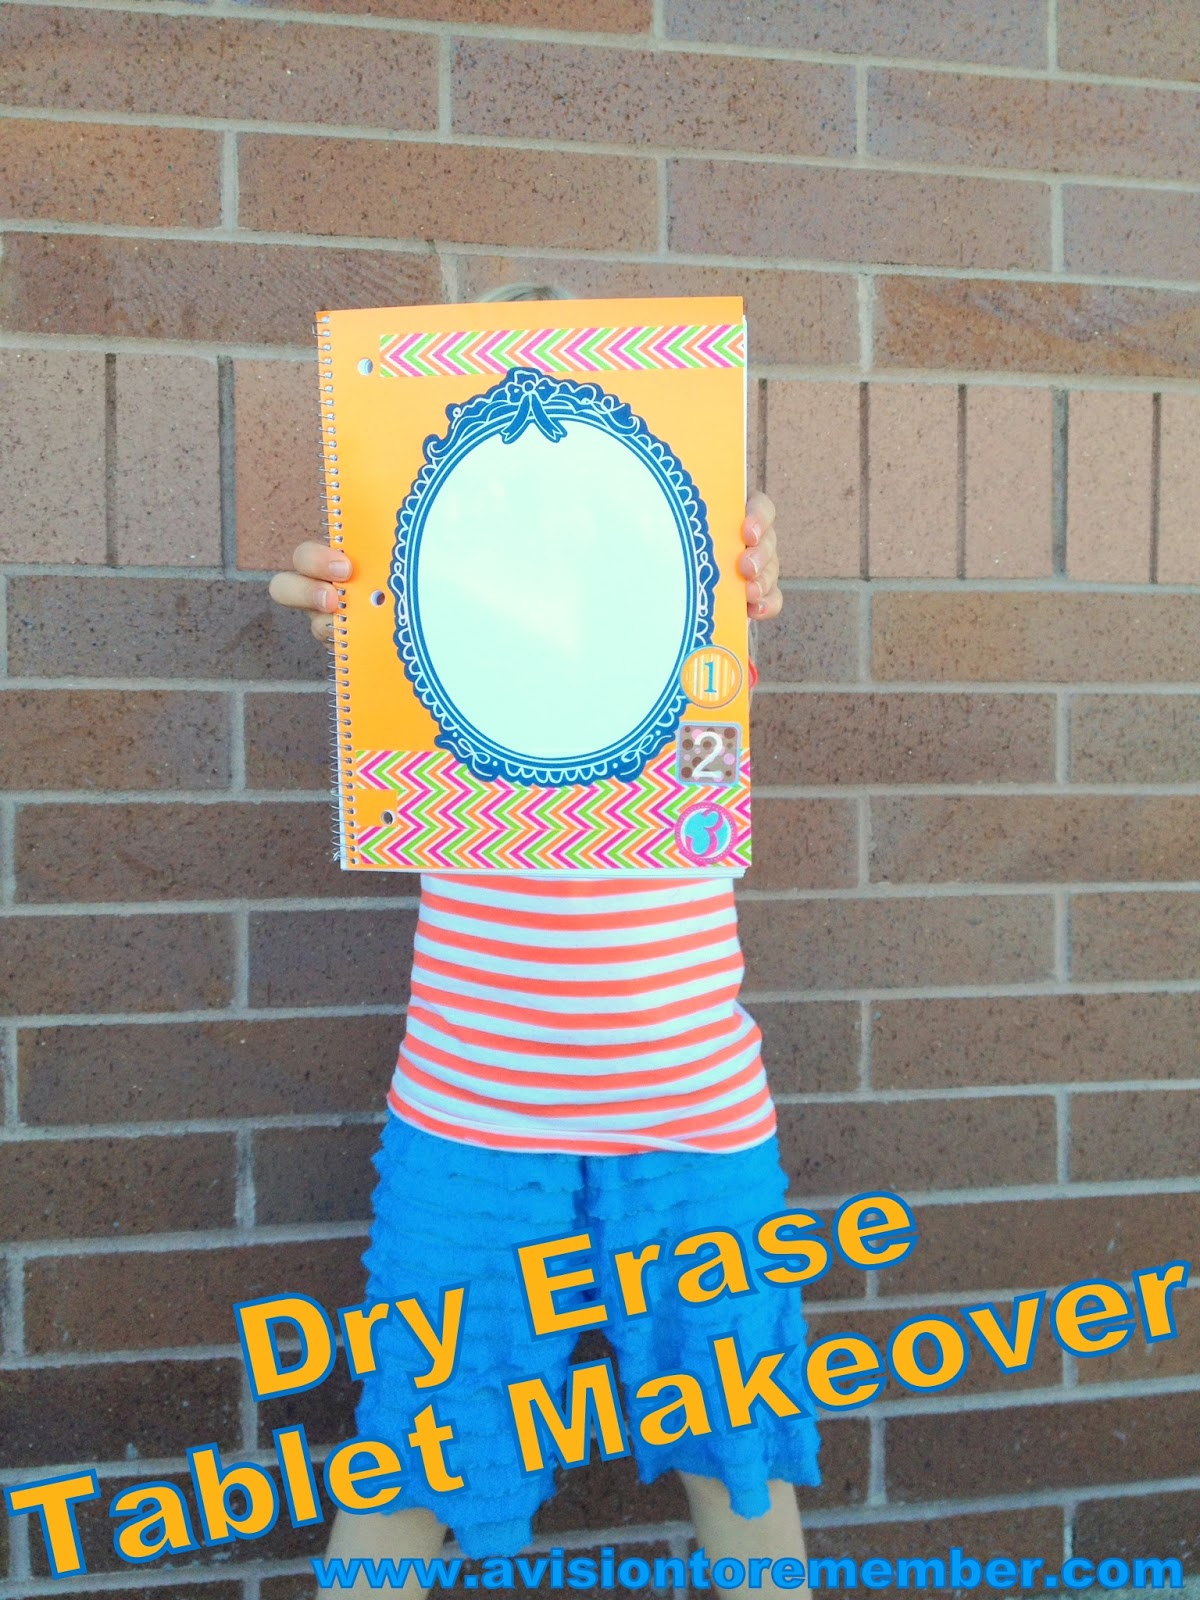
The first one here is my kindergarteners binder. I took a +Wallternatives Blue frame, a piece of dry erase vinyl, and some thin +Duck Brand Tape
A little side note about the Wallternatives Blue Photo Frame Fabric Decal Set.. They come in a set of 6 so I went through and picked which of the frames would fit the binder and the tablet the best. There are smaller ones and larger ones. If I remember right the rectangle one on the binder is the largest of all the frames.
First I measured what size the frame was and cut the dry erase vinyl about a 1/2 inch bigger. Then I placed the dry erase first on the binder and then the frame. Then a little accent with the Duck Tape and my kindergartener was one very happy little girl!
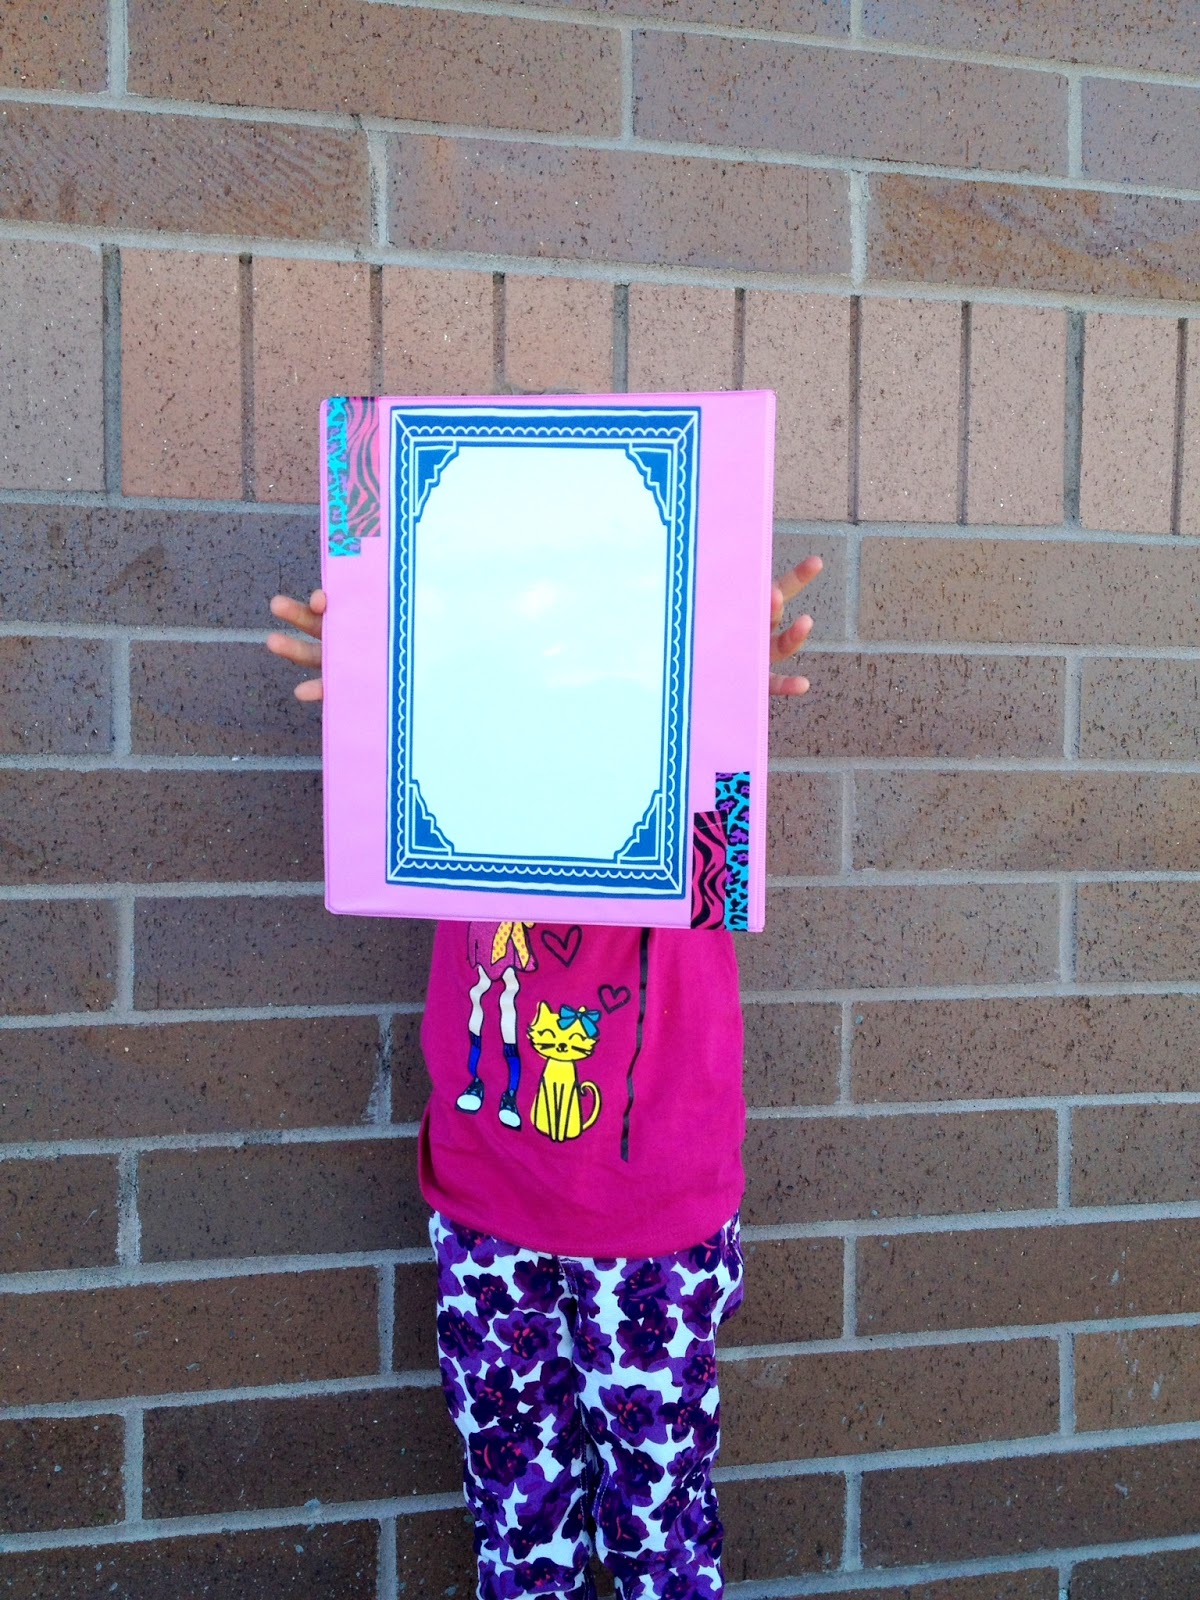

I am so glad that my girls enjoyed putting these together. They were so excited to be able to have a something that NO ONE ELSE would have in the entire school.
So, in the end 2 happy girls = 1 very happy mom!
Oh and if you are looking for some really cute vinyl, removable wallpaper, and super cute chalkboard decals head on over to Wallternatives. Seriously, they have the cutest stuff!
12+ Ways to Make Back to School Easier on the Entire Family

So, in an attempt to make my life (and hopefully help you out) easier in the coming weeks as school starts.
PS this roundup was made using ONLY links from the Creative Exchange Link Party. It starts every Thursday morning early (3 am mountain time). Plus, you gain exposure on 5 different blogs. That means 5 chances for you to be featured, and a lot more exposure for your time! So make sure to stop by Thursday and enter your blog links! Can't wait to see you there!
First off. Homework. Everyone dreads it right? How about being able to keep track of what needs to go on which day with this weekly calendar board from Making it in the Mountains:

What about all those back to school clothes you need? How about taking a pattern you already have in your stash and creating a few unique clothes like Boy Oh Boy oh Boy Crafts did for her son

2 Ingredient Banana Pancakes with Satisfaction through Christ

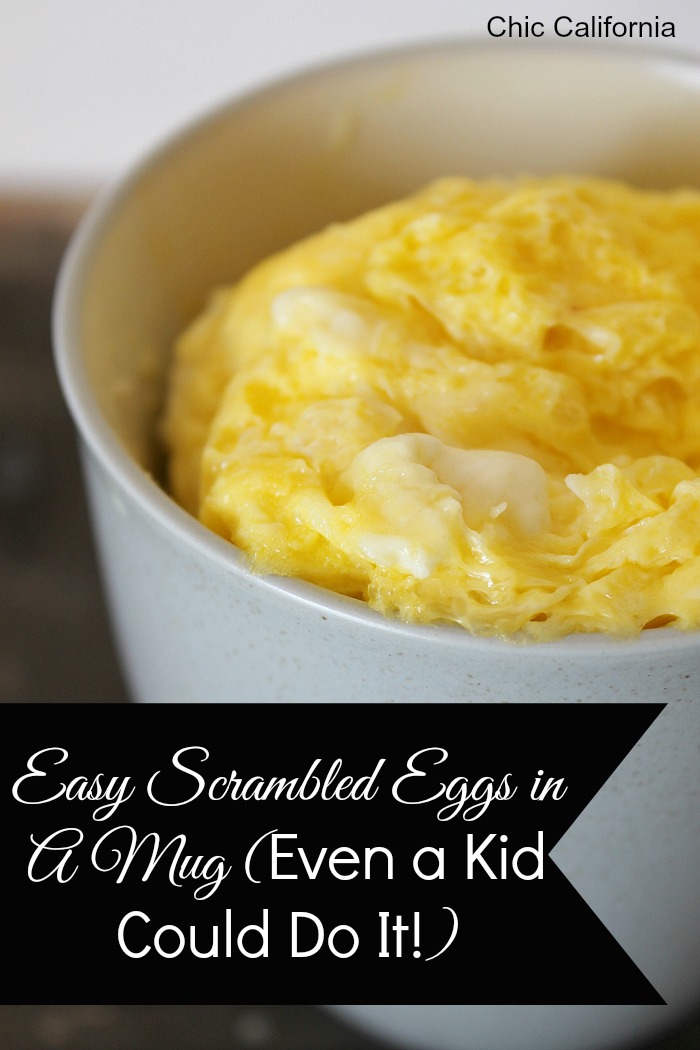
Or scrambled eggs in a mug that is easy enough for your kids to make them all by themselves with Chic California

Try these yummy crab cookies of Mice and Ramen

or these marshmallow fruity treats by lovefoodwillshare.com

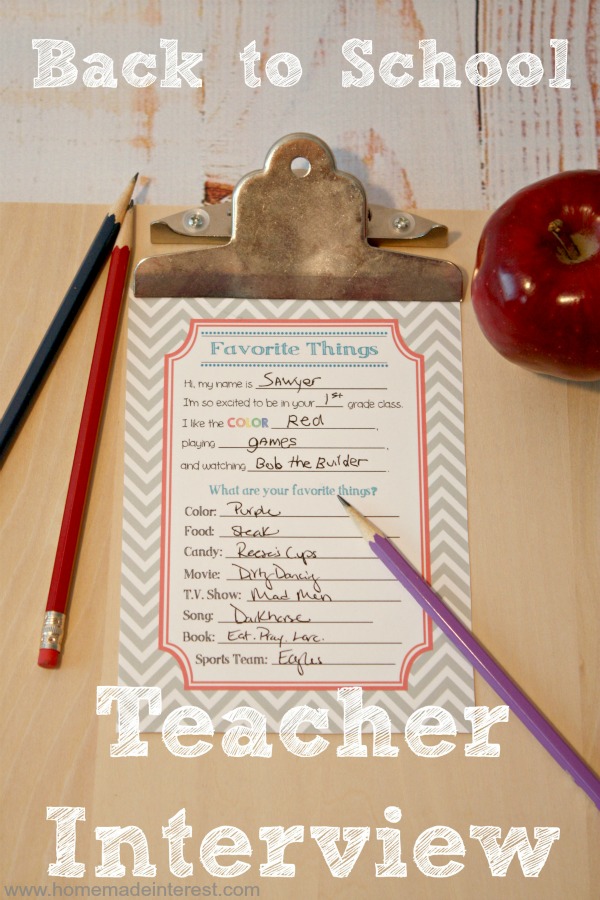
Does your child have a little anxiety with back to school. Maybe doing a little teacher interview might help by homemade Interest!
Are you on the PTO or are you Homeschooling? This bulletin board is to die for by the Gilded Pear!

Or how about giving your childs teacher a cute little stamp set to start the year off on the right foot by Casual Craftlete

My inlaws like to measure all the grandkids at the beginning of the school year. Its a fun way to see how your kid has grown each year (and to compare to each other) by Shambray

What about those poor not school age kids. I know my 2 year old is going to bored out of her mind without her sisters here to entertain her. What about making a cute little indoor tent by the Gilded Pear?

If you are looking for ideas on helping your kids with homework and progress their learning you might be interested in My School and Learning pinterest board

Teacher Appreciation Embroidered Frame
If you are like me, you didn't think about Teacher Appreciation week until your School Aged Child came home and insisted on taking a gift to her teacher.

So I needed something quick and easy to make for her teacher. This is what we came up with:

A simple frame from +Family Dollar (plus it was only $3) and a piece of fabric embroidered with her name on it. The flowers came from my bucket of random flowers that I have gathered over the last few years. They were lovingly placed and glued by my 8 year old that wanted NO help!
Of course we had to use purple, cause its her teachers FAV-OR-ITE color.

If you don't have an embroidery machine, don't fret! You can just use paper, and write the name and glue a couple embellishments on it, or use stickers for the name. Use what you have at your disposal!
This was embroidered on my +Brother Sewing Machine (PE 770)


So I needed something quick and easy to make for her teacher. This is what we came up with:

A simple frame from +Family Dollar (plus it was only $3) and a piece of fabric embroidered with her name on it. The flowers came from my bucket of random flowers that I have gathered over the last few years. They were lovingly placed and glued by my 8 year old that wanted NO help!
Of course we had to use purple, cause its her teachers FAV-OR-ITE color.

If you don't have an embroidery machine, don't fret! You can just use paper, and write the name and glue a couple embellishments on it, or use stickers for the name. Use what you have at your disposal!
This was embroidered on my +Brother Sewing Machine (PE 770)

Cheer Up, Mouse! Children's Book Review
This book is all about a mouse that is sad, and how the other animals try to cheer him up. They try all sorts of shenanigans and none of them seem to work. That is until the thoughtful Chickmunk decides to give him a hug. That hug was just what the Mouse needed!
Its a fun little read for the kids, and a great way to remind them (and even us adults) that sometimes all someone needs is a hug and a reminder that they are loved.
So, if you are looking for a fun book to share with your family, you should check out Cheer Up, Mouse!

Homeschooling Toddlers Ideas
I have a 2.5 year old that I am teaching her numbers, letters, animals, sounds, and Spanish words in order to help prepare her for Pre-K and Kindergarten. These are a few things that I have created for her to help in the journey

With my Cricut I cut out the letters and numbers. Then I cut out 2" squares and glued the letters and numbers onto the squares. I then had them laminated and used sticker sheet magnets to cut small pieces of magnets.
ABC's and 123's

For the colors I hand cut out these crayons and then wrote on each one the name of the color. I then had it laminated. I recommend purchasing your own laminator machine. They are really cost effective if you plan to laminate very much. I use mine all the time
I also used my cricut to cut out shapes, then wrote the names of the shapes down and laminated as well.

I don't really know what to call the "stuff" that I have made for my daughter. I heard from a friend that taught 1st graders that they needed to recognize words like shapes (circle, triangle, etc), colors, (red, green, etc). So I have taken that information to the extreme.
A few more details:
1. I first cut out with my cricut and by hand different shapes. I just used regular colored printer paper, I think that construction paper or cardstock would work perfectly as well. I did a circle, rectangle, square, oval, diamond, star, and triangle. I should have also done a hexagon and a heart and there are probably more that I should have done, but you get the gist.
2. I then wrote the name of the shape and did a border around the edge. I did it with a regular black marker.
3. Then I laminated them. If you have a machine its really easy or you can call your local print shops and get quotes.
4. I repeated this process with the crayons ( in the picture you can see that I did the black crayon with white out, I know there is a better way, I just didnt have it available to me at the moment).
5. When I got done laminating I cut them out again and put a small magnet on the back of each paper. The magnets that I used were in a 10 ft rolls of 1/2 inch magnets that are like stickers so they can stick to the paper. I cut the magnets into 1/2 - 1/4 inch magnets and then took the paper off the back of the magnets and stuck them to the papers.
ABC's and Numbers
1. For the ABC's and numbers that you see that are really small I cut the letters and the numbers out using the Keystone cartridge (size 1 1/2) and then I glued them to 2 inch squares in a different color.
2. Laminate and add a magnet to the back. ABC's and numbers (they measured 2 inches square)
Word Strips
1. I did word strips that measured 3 inches by however long the word was. I don't have a picture of this but if you would like a pic let me know and I will post it. The words had things like different types of clothing, different everyday objects, food, body parts, and important sight words (and, the, in, above, etc) and spanish words. The spanish words also have a matching color of paper that has the english word on it.
2. I cut the papers down to size after writing the words on them
3. Take to the laminator and follow the above directions.
Spanish Words and English Words
Gracias-Thank You
Porro-Dog
Gato-Cat
Por Favor-Please
Leche-Milk
Aqua-Water
Vaca-Cow
Chango-Monkey
Pollo-Chicken
Serpiente-Serpent
Oso-Bear
Leon-Lion
Padre-Daddy
Madre-Mommy
Hermana-Sister
Hermano-Brother
Mas-More
Un Poco-A Little
Jugo-Juice
Hola-Hi/Hello
Adios-Bye
Animals
1. On the cricut cartridges that I own that have animals on them, I cut out the different animals and layered different colors on them to make them funner for the kids.
2. I made sure that I had word strips to match the animals that were cut out. I think that using any picture that you have found on the internet or in magazines or even old books would work. The one thing to keep in mind is that if it is a magazine picture you might need to reinforce it on some other paper or cardstock. I think that I might do this so that I have more pictures to choose from. Continue as above to finish.
My daughter is only 2 1/2 but I think that it is never to late (or early) to start teaching your children.
Update: my daughter is now 9 (holy cow! Where did the time go?) Anyway, she is an awesome student. She is currently in 3rd grade and is reading at a 6th grade level. I definitely attribute some of this to the work I did with her before going to preschool and kindergarten.

With my Cricut I cut out the letters and numbers. Then I cut out 2" squares and glued the letters and numbers onto the squares. I then had them laminated and used sticker sheet magnets to cut small pieces of magnets.
ABC's and 123's

For the colors I hand cut out these crayons and then wrote on each one the name of the color. I then had it laminated. I recommend purchasing your own laminator machine. They are really cost effective if you plan to laminate very much. I use mine all the time

I also used my cricut to cut out shapes, then wrote the names of the shapes down and laminated as well.

I don't really know what to call the "stuff" that I have made for my daughter. I heard from a friend that taught 1st graders that they needed to recognize words like shapes (circle, triangle, etc), colors, (red, green, etc). So I have taken that information to the extreme.
A few more details:
1. I first cut out with my cricut and by hand different shapes. I just used regular colored printer paper, I think that construction paper or cardstock would work perfectly as well. I did a circle, rectangle, square, oval, diamond, star, and triangle. I should have also done a hexagon and a heart and there are probably more that I should have done, but you get the gist.
2. I then wrote the name of the shape and did a border around the edge. I did it with a regular black marker.
3. Then I laminated them. If you have a machine its really easy or you can call your local print shops and get quotes.
4. I repeated this process with the crayons ( in the picture you can see that I did the black crayon with white out, I know there is a better way, I just didnt have it available to me at the moment).
5. When I got done laminating I cut them out again and put a small magnet on the back of each paper. The magnets that I used were in a 10 ft rolls of 1/2 inch magnets that are like stickers so they can stick to the paper. I cut the magnets into 1/2 - 1/4 inch magnets and then took the paper off the back of the magnets and stuck them to the papers.
ABC's and Numbers
1. For the ABC's and numbers that you see that are really small I cut the letters and the numbers out using the Keystone cartridge (size 1 1/2) and then I glued them to 2 inch squares in a different color.
2. Laminate and add a magnet to the back. ABC's and numbers (they measured 2 inches square)
Word Strips
1. I did word strips that measured 3 inches by however long the word was. I don't have a picture of this but if you would like a pic let me know and I will post it. The words had things like different types of clothing, different everyday objects, food, body parts, and important sight words (and, the, in, above, etc) and spanish words. The spanish words also have a matching color of paper that has the english word on it.
2. I cut the papers down to size after writing the words on them
3. Take to the laminator and follow the above directions.
Spanish Words and English Words
Gracias-Thank You
Porro-Dog
Gato-Cat
Por Favor-Please
Leche-Milk
Aqua-Water
Vaca-Cow
Chango-Monkey
Pollo-Chicken
Serpiente-Serpent
Oso-Bear
Leon-Lion
Padre-Daddy
Madre-Mommy
Hermana-Sister
Hermano-Brother
Mas-More
Un Poco-A Little
Jugo-Juice
Hola-Hi/Hello
Adios-Bye
Animals
1. On the cricut cartridges that I own that have animals on them, I cut out the different animals and layered different colors on them to make them funner for the kids.
2. I made sure that I had word strips to match the animals that were cut out. I think that using any picture that you have found on the internet or in magazines or even old books would work. The one thing to keep in mind is that if it is a magazine picture you might need to reinforce it on some other paper or cardstock. I think that I might do this so that I have more pictures to choose from. Continue as above to finish.
My daughter is only 2 1/2 but I think that it is never to late (or early) to start teaching your children.
Update: my daughter is now 9 (holy cow! Where did the time go?) Anyway, she is an awesome student. She is currently in 3rd grade and is reading at a 6th grade level. I definitely attribute some of this to the work I did with her before going to preschool and kindergarten.
Subscribe to:
Posts (Atom)
Let's Get Social