Rag quilts are so much fun to make! They're easy and quick, plus you can customize them for any occasion.
At AVisionToRemember (AVTRBoutique too!), we make hundreds of rag quilts each year. We've been creating quilts since 2009. That is over 13 years of experience. So crazy
But throughout that time we have learned a lot!
One of those things is that cotton fabrics are one of our favorite materials to use in a rag quilt.
But first a little about rag quilts:
Rag quilts are also known as comfort quilts, raggedy quilts, or raggy quilts.
Rag quilts have been around for a long time. They were first made by poor people who didn’t have much money to spend on fabric but still wanted to use it up in a creative way.
Rag quilt designs can be very simple or very elaborate depending on how you piece them together. Some rag quilters like to use different types of fabric scraps while others prefer using only one type so that the design can stand out more clearly against the background color.
Using a rag quilt pattern gives you guidelines for how to piece together the blocks for your project.
If you’re an experienced quilter and want to make your own rag quilt, use a rag quilt pattern. Rag quilts are usually made from cotton fabric and scraps of various sizes, shapes and colors. They can be pieced together using any technique you choose (straight line, half-square triangle or whatever). The only thing that matters is that the pieces are cut in such a way as to create randomness in the finished product.
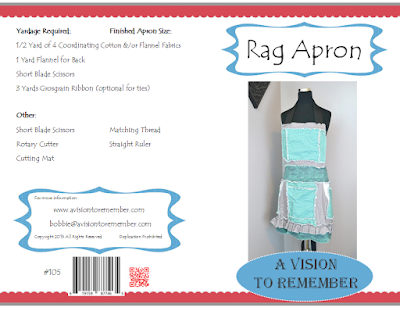
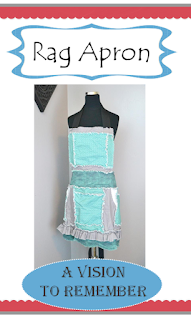
To get started on your rag quilt, purchase or download one of these patterns:
How to Make a Cotton Rag Quilt
Use a rag quilt pattern.
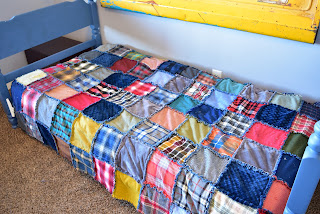
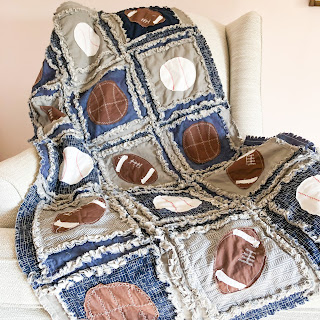
Choose cotton fabric for the quilt top. I personally prefer cotton as it doesn't pile, it doesn't fade as quickly as flannel either. I also use flannel fabric for the quilt backing. But, if you'd prefer to use flannel as your middle layer, and cotton as the back that works awesome as well!
 |
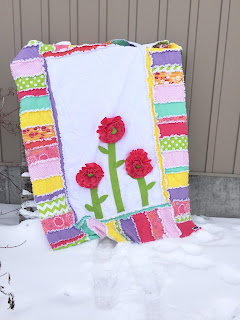
Quilt using cotton top, flannel batting, and flannel backing.
|
.jpg) |
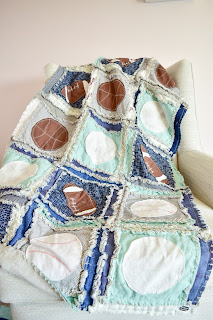
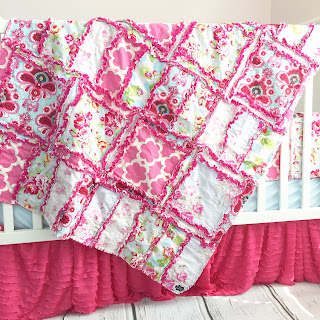
Front of quilt using cotton fabric, flannel batting, and cotton backing
|
.jpg) |
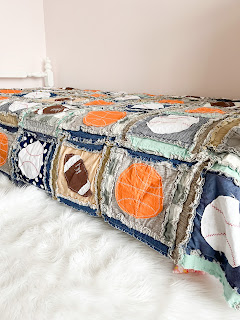
Back of quilt using cotton fabric, flannel batting, and cotton backing.
|
You can use any type of thread to sew the quilt together—sewing machine or hand sewing is fine!
Take some time to plan out your quilt before you start cutting and sewing.
To begin with, you should know that the size of your quilt can be determined by how much fabric you want to use. How big do you want it? The smallest rag quilts are around 30 inches square and the largest are king size.
But don't let the word "rag" scare you away from using modern cotton fabrics! Rag quilts were traditionally made out of scraps, but there's no reason why they can't be made with beautiful new materials like these modern ones available in our fabric shop
So there you have it! Rag quilts are easy to make and fun to use. They’re a great choice for anyone who wants to try their hand at sewing, because they don’t require any fancy stitches or special skills—just some basic needlework skills and a little patience. You can use them just about anywhere as added decoration or even as blankets on cold nights. We hope these tips helped you get started on your own homemade rag quilt project!
Make sure to checkout all of our rag quilt tutorials on our blog


.jpg)

.png)


.png)
.jpg)
.jpg)
.jpg)
.jpg)
.jpg)
.jpg)

.png)
.png)
.png)

.jpg)
.jpg)


.jpg)
.jpg)
.jpg)


.jpg)
.jpg)
.jpg)
.jpg)
.JPEG)
.JPG)