Showing posts with label rag quilting basics. Show all posts

The Easiest Way to Make a Baby Rag Quilt

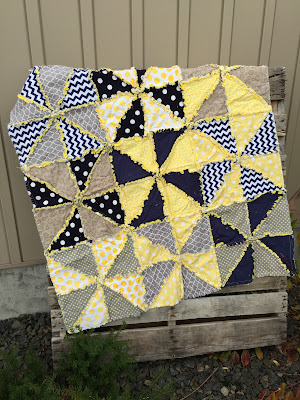
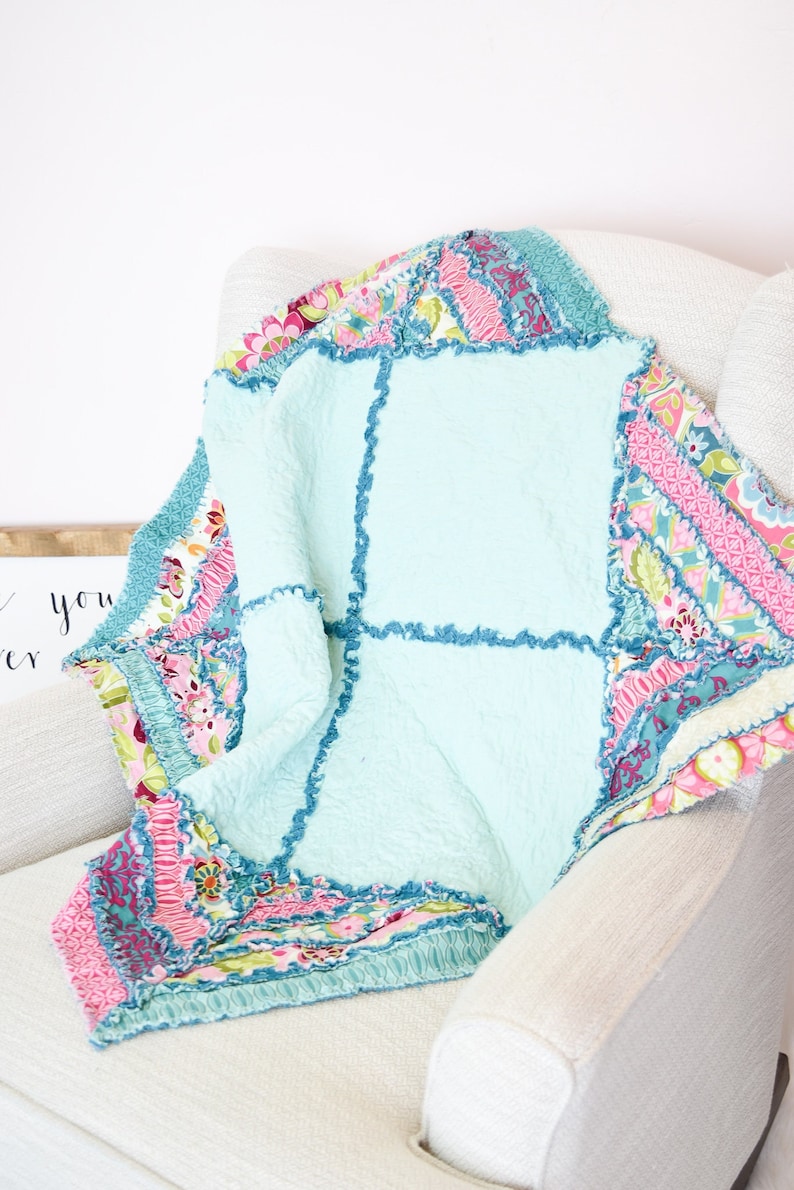
Rag quilting is one of the easiest and most beginner-friendly ways to create a beautiful, soft quilt for a baby. Whether you’re making one for your own little one or as a thoughtful handmade gift, this guide will walk you through the entire process!


Why Choose a Rag Quilt?

  • ✅ Perfect for beginners—no precise quilting skills required!
  • ✅ Soft, fluffy seams make it extra cozy.
  • ✅ Quick to sew—great for last-minute gifts.

Supplies You’ll Need:

  • Flannel fabric in 2-3 coordinating colors.
  • Sharp fabric scissors or rotary cutter.
  • Basic sewing machine.
  • Thread and pins.

Step-by-Step Instructions


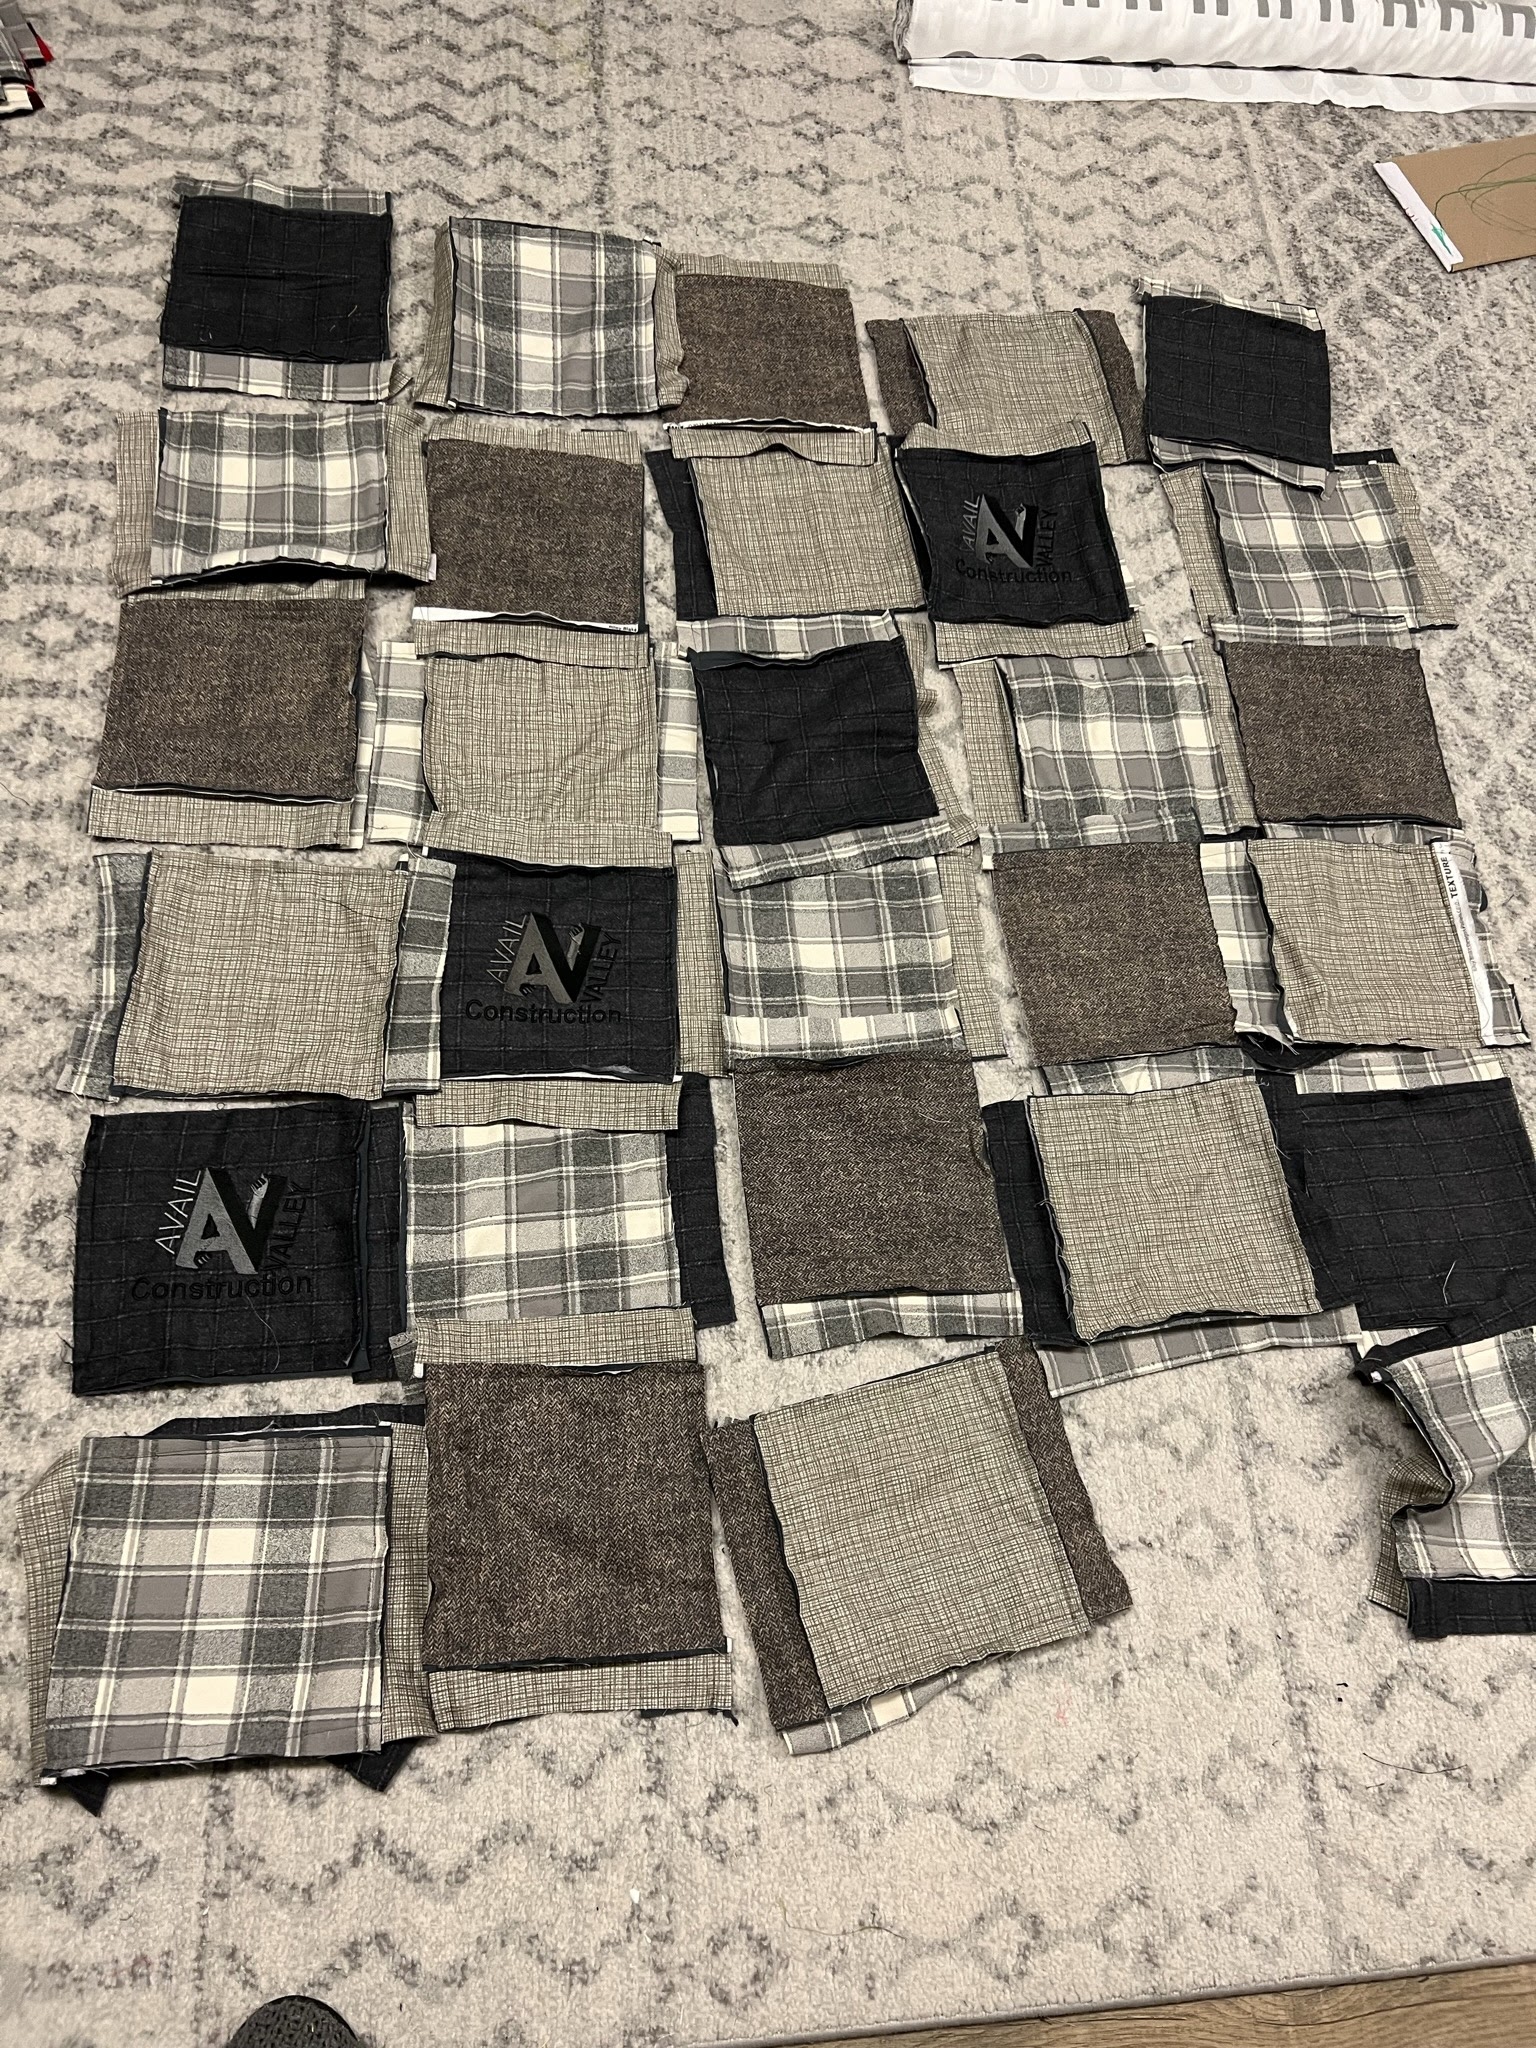
  1. Cut your fabric into squares. You choose the size of squares and quantity depending on the size of quilt. To determine how many squares you need minus 1 inch from the size of square you are using and divide it by the size of quilt you're wanting. (5" squares and a 40" square quilt gives you 10 squares by 10 squares {5-1=4. 40/4=10})
  2. Layer two squares together and stitch an X across them to secure.
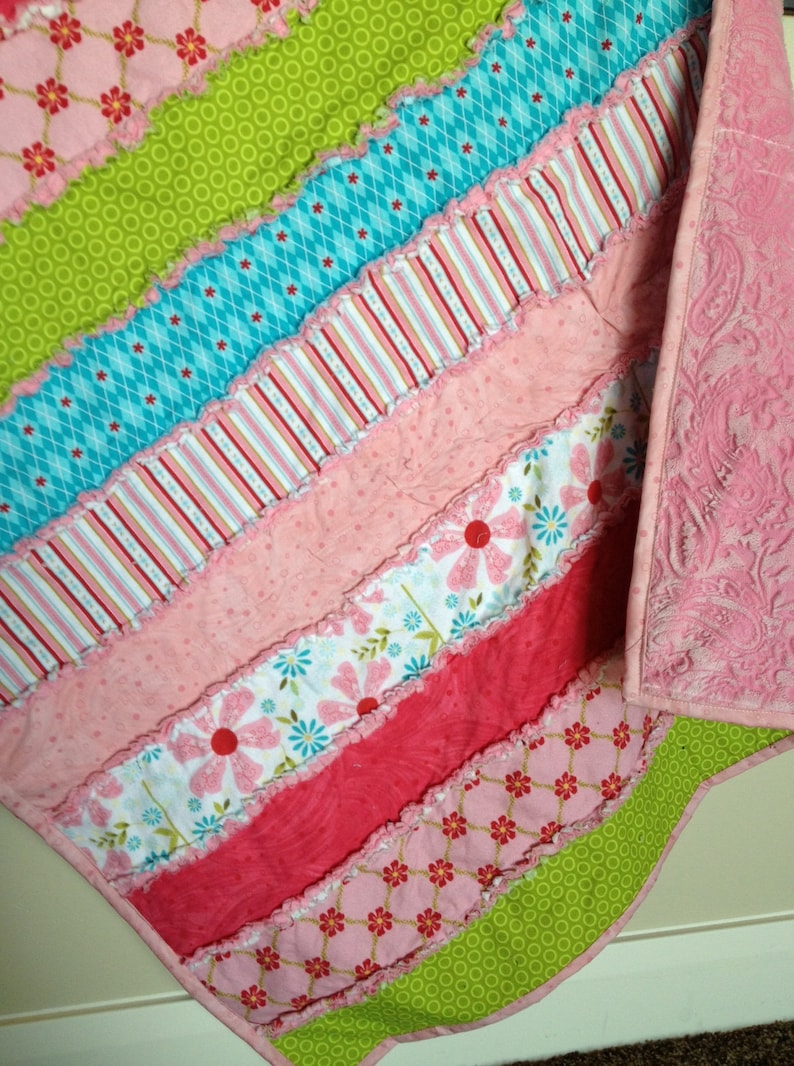
  3. Join squares with a ½” seam allowance, leaving edges exposed.
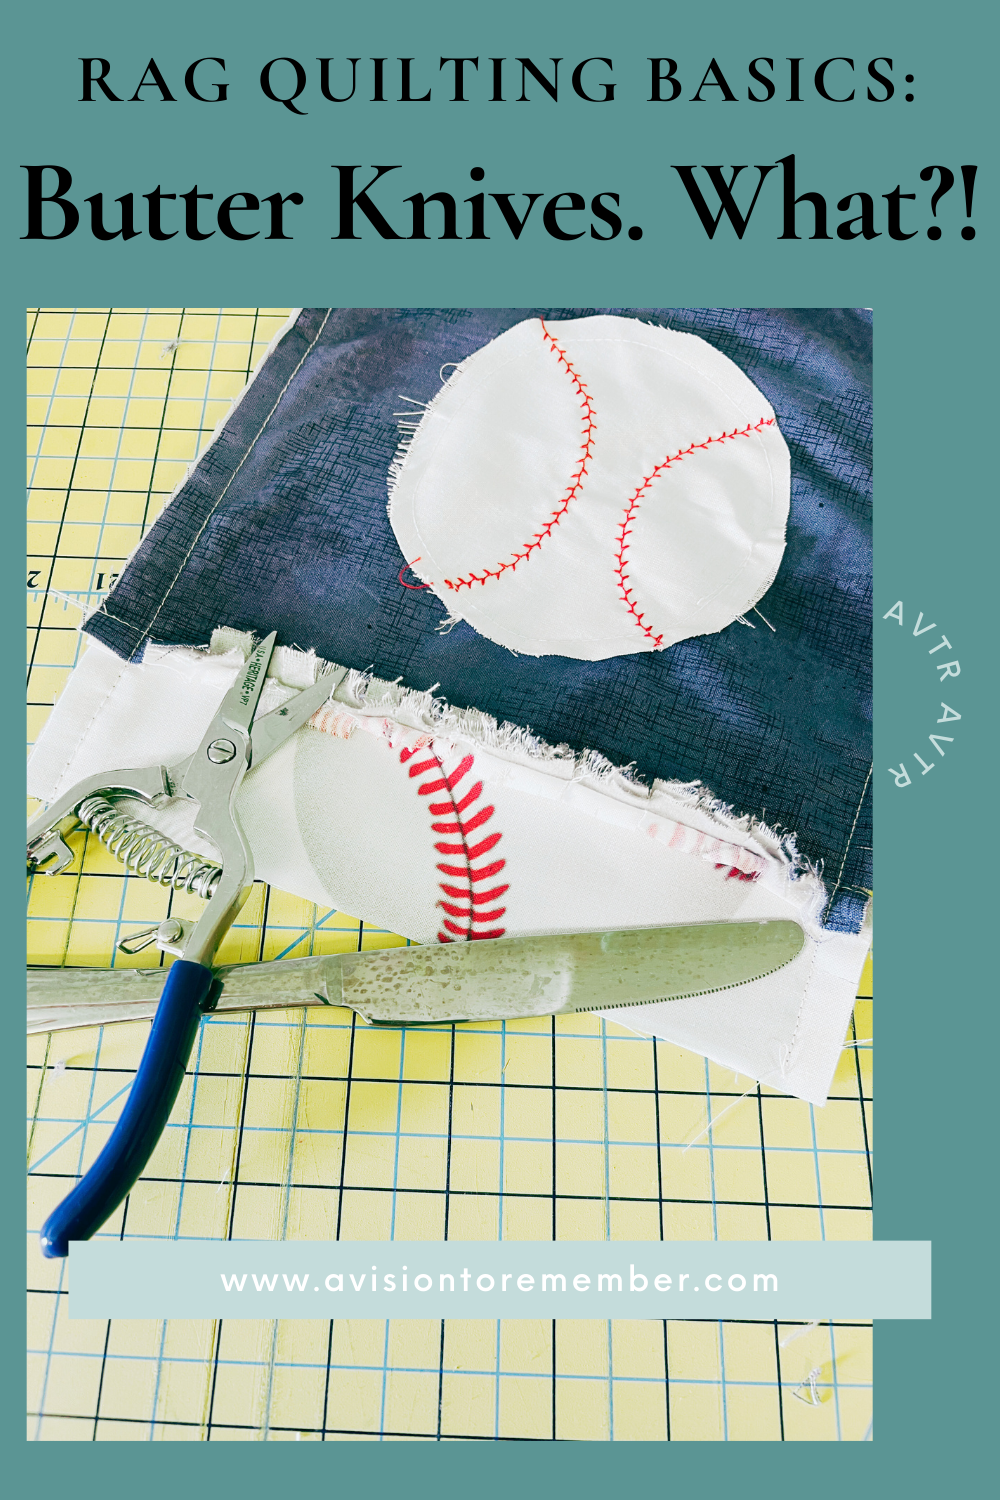
  4. Once the quilt top is assembled, snip along the raw edges every ¼” to create the rag effect.
  5. Wash and dry the quilt—this softens and frays the edges beautifully!

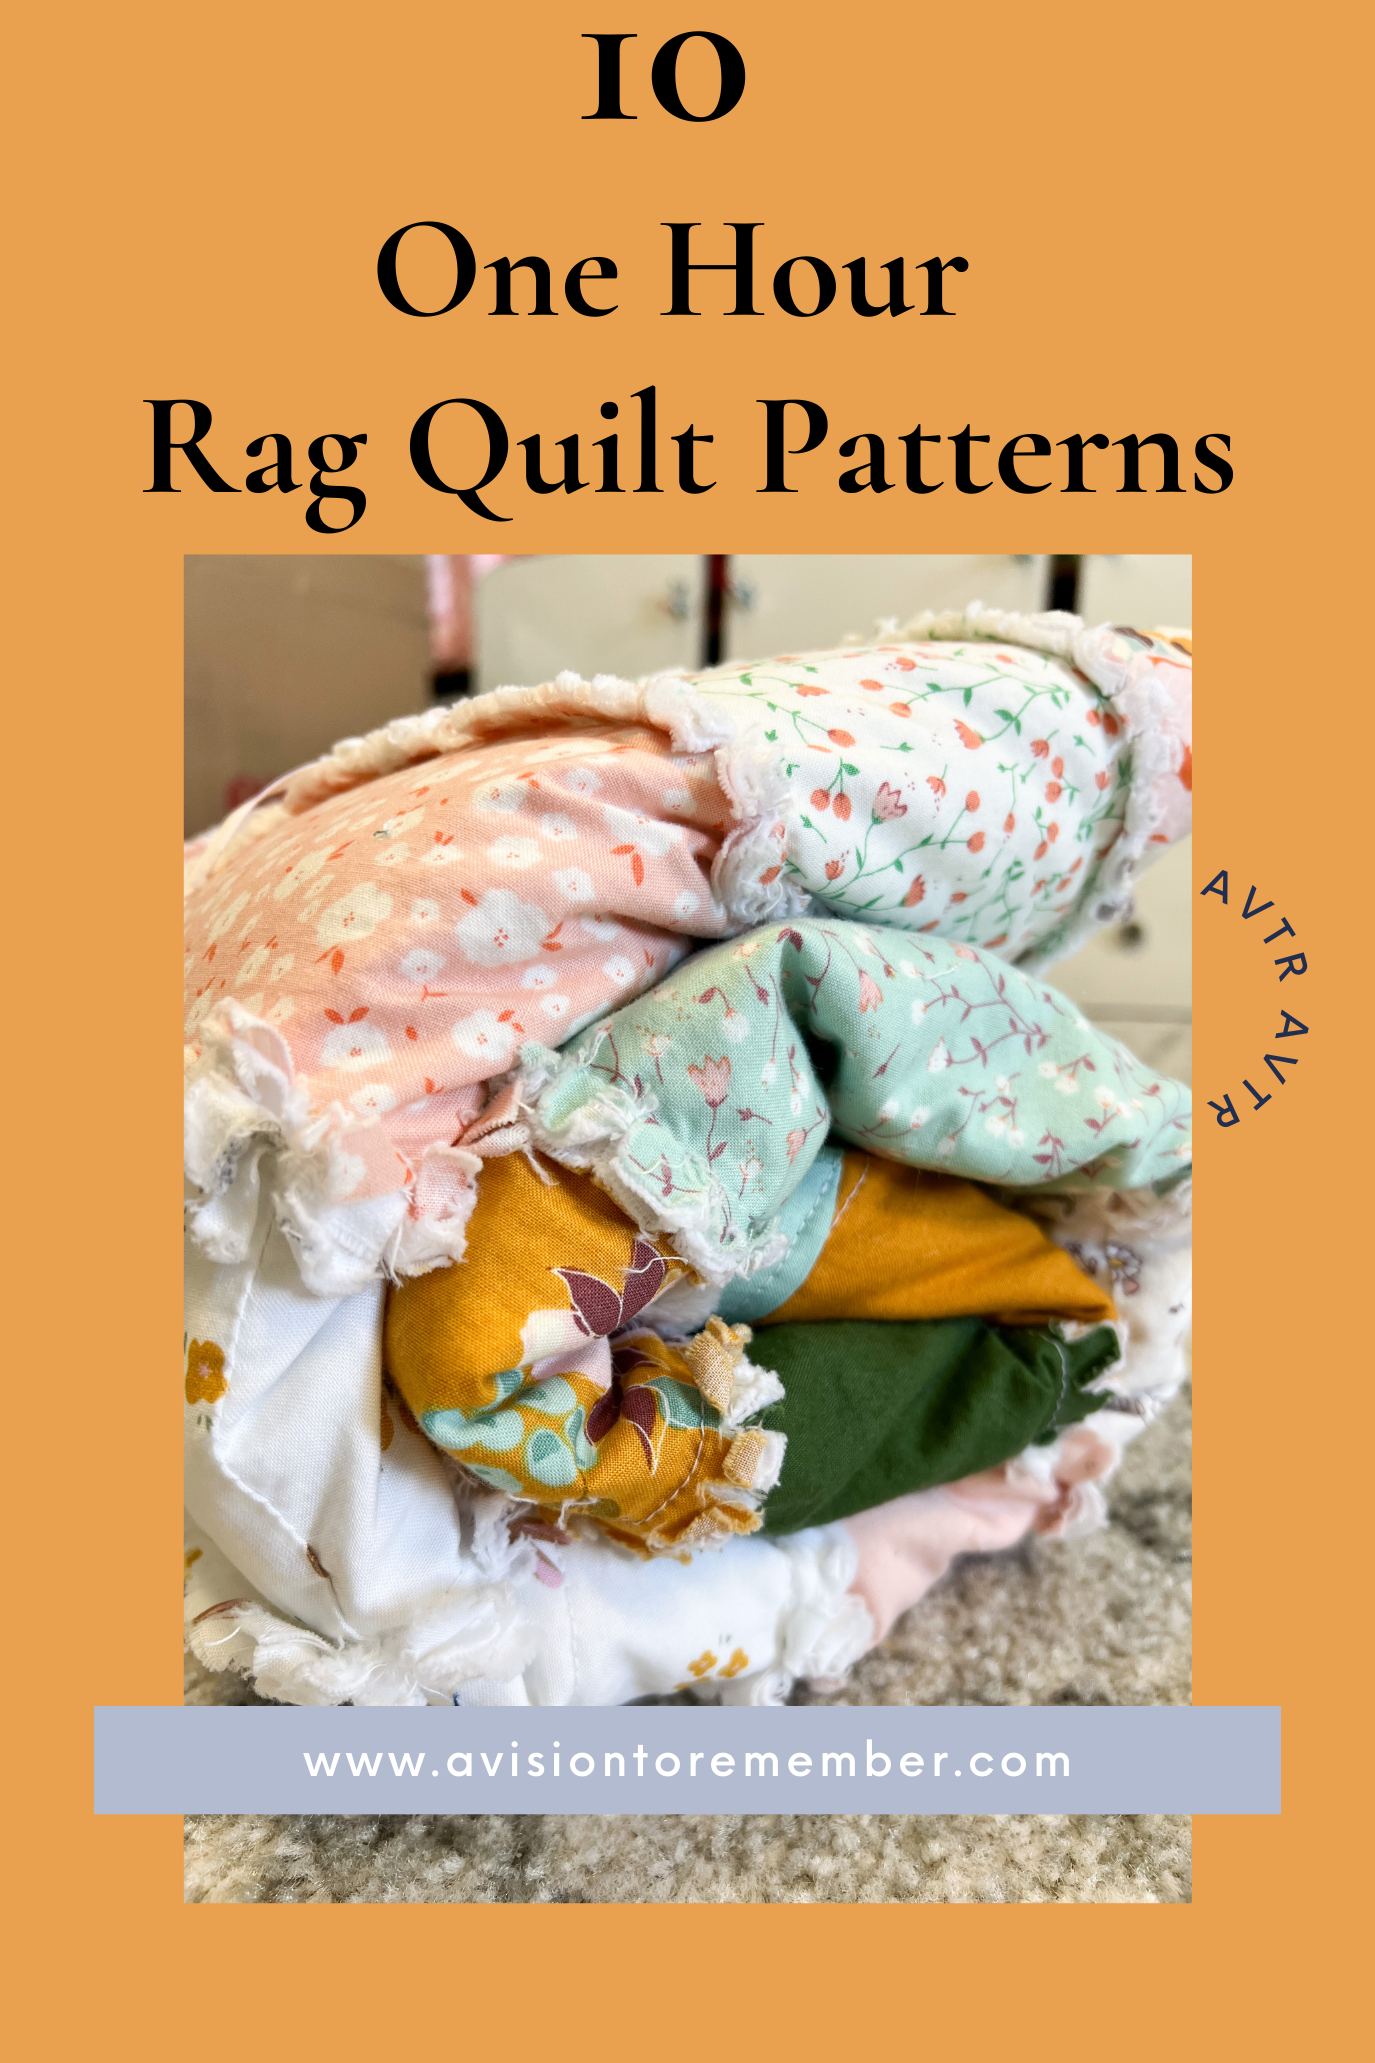
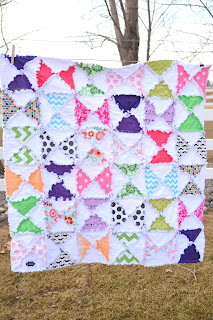
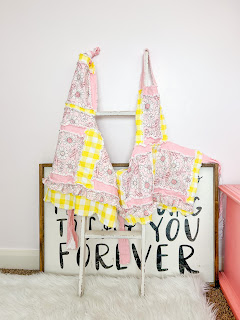
Looking for More Quilting Inspiration?


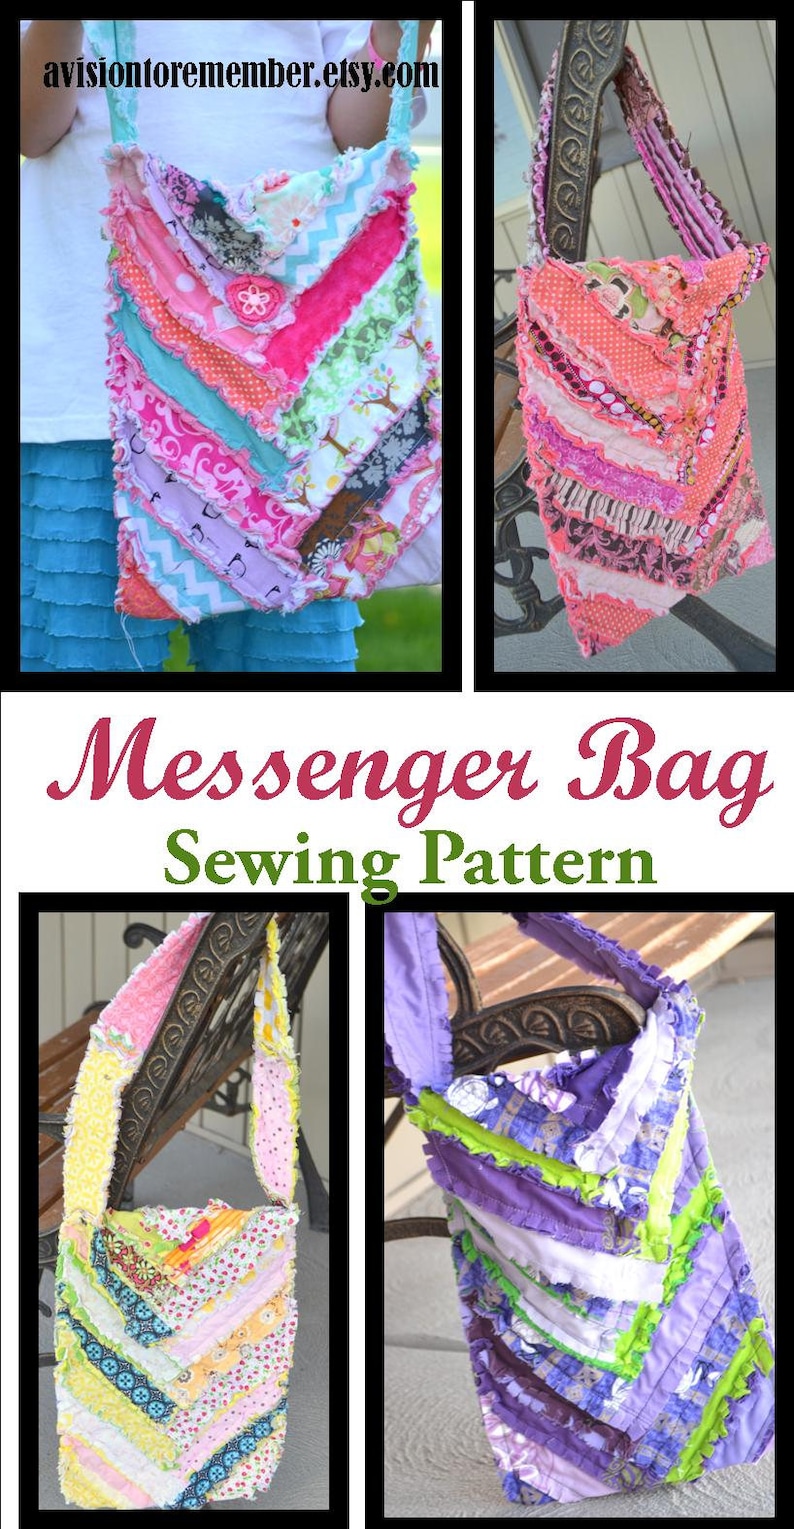
Check out our full collection of Baby Rag Quilt Patterns to find even more beautiful designs!

Join Our Community for More DIY Projects!

Sign up for our email list to get exclusive quilting tips, free patterns, and faith-based inspiration:

Follow us for more sewing and faith-filled inspiration:

Have you made a rag quilt before? Comment below and share your favorite fabric combinations!

A Warm and Cozy Guide: How to Make a Rag Quilt

Few things compare to the comfort and warmth of a well-made rag quilt. Rag quilts, characterized by their exposed seams and frayed edges, offer both style and coziness. Whether you're a seasoned quilter or just starting your journey, making a rag quilt is a satisfying and approachable project. In this comprehensive guide, we'll walk you through the step-by-step process of creating your very own rag quilt. From selecting fabrics to sewing the perfect seams, you'll soon have a beautiful and snuggly quilt to call your own.


Materials Needed

Before we dive into the actual crafting process, let's gather the materials and tools you'll need for this project:

  1. Fabric: The heart of any quilt is the fabric. For a rag quilt, you'll typically need two types: one for the quilt top (also called the "face") and one for the backing. Flannel, cotton, and fleece are popular choices for their softness and warmth.

  2. Batting (or flannel for batting): This layer goes between the top and backing fabrics to provide extra warmth and thickness to your quilt.

  3. Ruler and Rotary Cutter: These tools are crucial for precise fabric cutting.

  4. Scissors: For snipping seams and creating the signature ragged edges.

  5. Sewing Machine: While you can sew a rag quilt by hand, using a sewing machine will save you time and effort.

  6. Thread: Match the thread color to your fabric for a polished look

  7. Seam Ripper: Just in case you need to undo any stitches.

With your materials at the ready, let's embark on our rag quilt-making journey.


Step 1: Choosing Your Fabrics

The first step in creating a stunning rag quilt is selecting the perfect fabrics. Consider the following tips:

  • Colors and Patterns: Choose fabrics that match your style and the quilt's intended purpose. Solids, plaids, or themed prints are all wonderful options.

  • Texture: Opt for fabrics with a pleasing texture, as this will enhance the tactile appeal of your quilt. Soft, cozy materials like flannel or fleece work wonderfully.

  • Pre-Washing: It's a good idea to pre-wash your fabrics to prevent color bleeding or shrinkage after your quilt is complete.

  • Contrast: Ensure there's enough contrast between the fabrics for your quilt pattern to shine through. High contrast can create a striking, eye-catching design.


Step 2: Cutting Your Fabric

Now that you've selected your fabrics, it's time to start cutting. Follow these steps for precision:

  • Use your ruler and rotary cutter to cut identical squares or rectangles from your face and backing fabrics. These will be the same size since rag quilts are typically symmetrical.

  • Cut an additional layer of batting that's slightly smaller than your fabric pieces. This allows for a ragged edge to form around the quilt's perimeter.

  • To create the classic "frayed" look of a rag quilt, make small snips along the edges of your fabric squares, about 1/4 to 1/2 inch apart, being careful not to cut too close to the seam line.

  • Assemble your squares into pairs, with a face fabric square and a backing fabric square, and place a batting square in between.


Step 3: Sewing the Quilt Blocks

Now, it's time to start sewing your quilt blocks together:

  • Align the edges of your quilt block layers, making sure the batting is sandwiched in between the face and backing fabrics.

  • Use your sewing machine to stitch along the edges, creating a seam allowance of about 1/2 inch. You can choose a straight stitch or a decorative stitch, depending on your preference.

  • Continue sewing your quilt blocks together, creating rows and columns until you have the desired quilt size. Be sure to backstitch at the beginning and end of each seam for added durability.

  • Press your seams flat with an iron, ensuring that they lie in the same direction to reduce bulk.


Step 4: Assembling the Quilt

With all your quilt blocks sewn together, it's time to assemble the entire quilt:

  • Lay out your quilt blocks in the desired pattern, arranging them into rows and columns. Ensure the seams from adjacent blocks nestle together neatly.

  • Pin the rows and columns together using quilting pins to keep everything aligned.

  • Stitch the rows together, and then stitch the columns together, using a 1/2-inch seam allowance.

  • Once your quilt top is complete, trim any excess batting that extends beyond the fabric edges.


 Step 5: Clipping and Fraying

Now, let's create those charming frayed edges:

  • Use scissors to make small, close snips along the seam allowances, being careful not to cut through the actual seam.

  • The more snips you make, the fluffier and frayed your quilt will appear. You can adjust the density of snips to achieve your desired look.


Step 6: Washing and Drying

Give your rag quilt its signature look by washing and drying it:

  • Place your quilt in the washing machine, along with a few towels or sheets to help create friction.

  • Use cold water and a gentle detergent to prevent excessive fading.

  • After washing, tumble dry your quilt on low heat. The agitation and heat will encourage the fraying process.

  • Periodically check on your quilt during drying to ensure it doesn't become overly tangled.


Step 7: Enjoy Your Rag Quilt

Congratulations! You've successfully created a beautiful rag quilt that's not only visually appealing but also wonderfully warm and cozy.

Whether you're keeping it for yourself or gifting it to a loved one, your rag quilt is a labor of love that will provide comfort and style for years to come. Curl up with a good book or wrap it around yourself on a chilly evening—it's the perfect companion for relaxation and warmth.

Now that you've mastered the art of making rag quilts, you can explore different patterns, colors, and sizes to create a collection of these charming and timeless pieces. Enjoy your quilting journey and happy crafting!

 Image HTML map generator

10 One Hour Rag Quilt Patterns

Here are A Vision to Remember, we specialize in rag quilts. Especially making a quilt in an hour. Making a one hour rag quilt can really be done. 


Rag quilts are a popular choice for those looking for a cozy and rustic touch to their home decor. The technique involves using a layer of batting between two layers of fabric and then sewing the layers together with exposed seams that will fray over time. The result is a warm and cuddly quilt with a textured, frayed edge that's perfect for snuggling up with on a chilly day.

If you're looking for some new rag quilt patterns to try, here are ten unique designs that can be completed in just one hour each.

All of the quilt patterns include the following:

  • Instructions for cutting, piecing, and finishing your quilt
  • Hints and Tricks that I have learned along the

Suggested Fabric for the Rag Quilt Patterns:

  • Cotton
  • Flannel
  • Minky
  • Chenille

Apron Pattern for Women & Children

The rag apron is the perfect gift to create for your friend, mom, sister, aunt, or anyone that loves to be in the kitchen while still being stylish
 

Ashlyn Rag Quilt Pattern

The pattern is easy to sew and a great blanket for the beginner. It can be whipped up in just a few hours. Also, not pictured will be the instructions for making the blanket larger for crib size or basically any size you would like.


Disappearing 9 Square Rag Quilt Pattern


 The pattern is easy to sew and a great blanket for the beginner. It can be whipped up in just a few hours.

Patriotic Quilt Pattern - Flag Rag Quilt

Includes instructions on how to make the throw size quilt.


Pinwheel Rag Quilt Pattern


 Pinwheel Quilt Pattern for Baby is a quick and easy quilt pattern for any level of expertise. Beginner to advance. Complete your rag quilt in as little as an afternoon with our fun and simple pattern

Strip Rag Quilt Pattern


  The strip Rag Quilt Pattern for a throw size quilt and easy to sew and simple to follow.

Triangle Rag Quilt Pattern 


 The pattern is easy to sew and a great blanket for the beginner. It can be whipped up in just a few hours. Also, not pictured will be the instructions for making the blanket larger for crib size or basically any size you would like.

Around the World Rag Quilt Pattern


 Around the World Rag Quilt Pattern for Baby is a fun quilt to create for a baby shower gift, for your own little new one on its way, or to even create a queen size quilt. It is easy to sew and simple to follow.

Addy Mae Rag Quilt Pattern


 Addy Mae Rag Quilt Pattern for Baby Car Seat Cover to sew a great baby shower gift for a boy or a girl. The pattern can be used as a blanket or a carseat cover.  It is a great way to keep your baby germ free,

Diaper Bag Pattern Rag Quilt Style


 Diaper Bag Pattern Rag Quilt Style. The bag you create from the Instant Download PDF Pattern Instructions will be oversized, with pockets, and perfect!

BONUS: Butterfly Applique Rag Quilt Pattern


This Butterfly Applique Quilt Pattern - Instant Download blanket is so easy to sew and a great blanket for the beginner. It can be whipped up in just a few hours. This is one of my favorite patterns to sew because I can use the same basic building block in this quilt to make anything from a doll quilt to a kind size quilt and everything in between.

Make sure to check out all of the rag quilt pattern ideas we have here on our blog!


  Image HTML map generator

Using a Butter Knife While Making a Quilt? Weird...Nope!

Rag quilts are a popular style of quilt that feature exposed seams that are frayed to create a soft and cozy texture. While many quilters choose to fray the edges of their rag quilts by washing and drying them multiple times, there is another method that can be just as effective: using a butter knife.


Here's how to use a butter knife to fray the edges of a rag quilt:

  1. Start by clipping the edges of the quilt so that they are all even.

  2. Take a butter knife and run the blade along the edge of the quilt, pressing down firmly as you go. The goal is to loosen the weave of the fabric so that it will fray easily.

  3. Once you have run the butter knife along the entire length of the edge, use your fingers to gently pull the loose threads away from the quilt. You may need to go over the edge with the butter knife a few more times to get all of the threads to loosen.

  4. Repeat this process on all four sides of the quilt until you have the desired amount of fraying.

    Watch as we butter knife a quilt block over on our youtube channel

One advantage of using a butter knife to fray the edges of a rag quilt is that it allows you to have more control over the amount of fraying that occurs. With washing and drying, it can be difficult to predict exactly how much the quilt will fray, but with the butter knife method, you can choose to fray the edges as much or as little as you like.

Also, if you miss clipping a seam, and notice after washing, just use the butter knife instead of laundering again. 

Another advantage is that it can be quicker than laundering the quilt multiple times. While laundering the quilt is certainly effective, it can be time-consuming and may take several cycles to get the desired amount of fraying.

In conclusion, using a butter knife to fray the edges of a rag quilt is a simple and effective  

Check out more sewing tips on our blog

  Image HTML map generator

Jelly Roll Rag Quilt Pattern Ideas

Jelly roll rag quilts are a fun and easy project that can be made with a pre-cut jelly roll or by cutting your own strips. The ragged edges give the quilt a cozy, rustic look that's perfect for snuggling up on the couch. In this blog post, we'll explore some of the best jelly roll rag quilt patterns that are sure to inspire you.k.


Visit each pattern by clicking on the pictures below

Rail Fence Jelly Roll Rag Quilt The rail fence jelly roll rag quilt is a classic design that's easy to make and looks great in any color scheme. You'll need one jelly roll and some flannel to make this quilt.
 

The easy peasy rag quilt pattern is the perfect quilt pattern to use your jelly roll and fat quarter bundles together.

Sew girl rag quilt pattern uses a few jelly rolls which is a great quilt project to use up your scraps!

The rag quilt purse uses a few large blocks, but also some jelly roll strips too. Perfect for those random jelly roll strips leftover from other projects.

 
Chevron Jelly Roll Rag Quilt turned into a bag! Can be used to make a quilt as well.  The chevron jelly roll rag quilt is a modern take on a classic design.
 
Scrappy Jelly Roll Rag Quilt The scrappy jelly roll rag quilt is a great way to use up your leftover jelly roll strips.


 Jelly rolls on point rag quilt is a really fun scrap buster project. With quilted large squares for your to embroider, applique, or quilt your favorite designs.

In conclusion, jelly roll rag quilts are a fun and easy project that can be made in a variety of designs and color schemes. Whether you're a beginner or an experienced quilter, these patterns are sure to inspire you to create your own unique quilt. So gather your materials and get started on your next project!
 
Make sure to visit our blog for more Rag Quilting information including all of the basics you will need to know to complete your first (or 50th) rag quilt. 

Should You Use a Walking Foot to Sew a Rag Quilt?


I often receive this question: Should I use a walking foot to sew a rag quilt? 

{affiliate links included in blog post. Thanks for your support!}

Sadly, and like most things in life, its not a cut and dry answer.

There are several factors that run into my decision, and possibly yours, when choosing a walking foot over a regular sewing machine foot. 

Fabric chosen for rag quilt

If I am using cotton or flannel fabrics only, I opt to use a regular sewing machine foot. If I am using minky fabric, then I always use a walking foot. Cotton and flannel don't have a lot of natural stretch to the fabric, and minky is very stretchy and slick. The walking foot helps the fabric move through evenly

Machine used to sew rag quilt 

If I am sewing on my industrial Juki DDL 8700 I don't have a choice. No walking foot for me. If I am looking for speed and a better quality stitch then I am using the Juki. 

Seam Allowance on rag quilt


Using a 1/2 inch seam allowance is kinda annoying with a walking foot. The foot is wider and it seems to grab the fabric and fold it over as I am going. So often I get frustrated and switch back to my regular foot. Not all sewing machine feet are the exact same width. This may  not be an issue with your machine or where you're comfortable with your seam allowance on your rag quilt

In conclusion, it really is a personal preference whether a walking foot is for you or not. And just like most things in rag quilting, there really isn't a right or wrong way to do things. 

Give the walking foot a quick go, if you like it, keep it! No harm in trying

Rag Quilt Fabric Requirements

Are you planning on making a rag quilt but not sure how much fabric you need? We've got you covered! Here's a general guide on how many yards of fabric you'll need for each size of quilt.


Crib Size Quilt:


 For a crib size quilt, you'll need 2 yards of cotton for the top and 2 yards of flannel for the back. This will give you enough fabric to make a quilt that's approximately 36 inches by 52 inches. This size is perfect for a baby or toddler to snuggle up with.

Mini Quilt:


 If you're making a mini quilt, you'll only need 1.5 yards of fabric. This will give you enough fabric to make a quilt that's approximately 30 inches by 40 inches. This size is great for wall hangings or for a small lap quilt.

Baby Quilt:


 For a baby quilt, you'll need 1.25 yards of fabric. This will give you enough fabric to make a quilt that's approximately 30 inches by 30 inches. This size is perfect for a baby to use as a play mat or to snuggle up with.

Twin Size Quilt:


If you're making a twin size rag quilt, you'll need 7 yards of fabric. This will give you enough fabric to make a quilt that's approximately 70 inches by 90 inches. This size is great for a child's bed or for a smaller adult bed.

Of course, these fabric requirements are just a general guide. Depending on the pattern you choose and the size of your blocks, you may need more or less fabric. Always double-check your measurements and calculations before making your final fabric purchases.

In conclusion, knowing how much fabric you need for each size of quilt can help you plan and budget for your next rag quilt project. Whether you're making a small mini quilt or a larger twin size quilt, we hope this guide has been helpful. Happy quilting!

Image HTML map generator

Have you Ever...Wanted to Make A Rag Quilt Pillow?

Heres your chance to create your very own rag quilt pillow sham. We are creating it in a throw size pillow (16")


The simple instructions and cutting pieces are included in the video

Follow along as we create a rag quilt throw pillow sham to coordinate with our famous sports crib bedding

Of course if you don't want to create your own, we can help you create the perfect nursery for your little man. 

The pillow sham fits a 16" pillow form. Don't want to make your own? Check out our Etsy shop

Sewing a throw pillow with an appliqued football can be a fun and creative way to show your love for football. In this blog post, we will explore a step-by-step tutorial on how to create a rag quilt style pillow with an appliqued football on it.

First, let's gather our supplies. You will need:

For more information on our favorite sewing products visit our post about 10 essential sewing tools for beginners

Step 1: Cut the fabric from the pattern

To create the rag quilt style, you will need to cut the fabric. You can use any fabric you like, but a flannel  will give the pillow a cozy feel.

Step 2: Arrange the fabrics

Arrange your fabrics in a pattern that you like. You can mix and match different colors and patterns to create a unique look.

Step 3: Create the football applique

To create the football applique, draw a football shape on a piece of paper. Cut out the shape and trace onto brown fabric. Cut out the football shape from the fabric place on the backing fabric you have chosen for the pillow. Stitch around with an 1/4 inch seam allowance leaving a raw edge seam.

Step 4: Sew the fabrics together

Sew using a 1/2 inch seam allowance. We use fabrics from AVTRFabrics.com

Step 5: Clip the exposed seams

Once you have attached the football applique, clip the exposed seams with your favorite scissors the edges of the pillow to create a frayed look.

And there you have it - a cozy throw pillow with a football applique in a rag quilt style! This project is perfect for football fans and can be customized to any team's colors. Have fun creating your own unique pillow and show off your love for football.


Rag Quilt Style Womens Apron Pattern

One of our favorite patterns at AVTR is the rag quilt style women's apron. 


This patchwork style apron sewing pattern is for women. It was originally designed as part of a quilt line for home and can be used with any cotton fabrics. The finished dimensions are approximately 40 inches across the bottom edge and 30 inches in length from top to bottom hemline.

We recently had a wonderful custom return and ask if we could make her 7 breast cancer themed aprons as gifts for Christmas. 

We picked some fun and beautiful custom printed fabrics from Spoonflower


The apron is a fun and unique gift idea for Christmas, Birthday's, Mother's Day, and just because


The apron pattern is full of tips and tricks on how to complete your very own apron.

The ties are extra long so that it fits many different body shapes and sizes.
The apron is also easily customized for adults and children. We simply adjusted the number of squares in the apron!
It seriously is the cutest little apron for your little ones too


To make the apron, you will need:

To make the apron, you will need:

  • The apron pattern.

  • Fabric. As described on pattern cover at bottom of blog post

  • Sewing machine with straight stitch capability. If you have any concerns about your machine's ability to handle sewing curves (only for the scallop bottom edge), please test it before beginning this project!

  • Matching thread. I recommend using cotton thread because it won't snag easily when turning corners when topstitching.

  • Rag quilt scissors . These scissors have blunt tips so they don't slip and slide as much when cutting through layers of fabric like denim or twill.* Rotary blade , cutting mat , ruler highly recommended!


Sewing machine and matching thread

The first step to making a great apron is to get your sewing machine ready. You'll need:

  • A sewing machine. Any general-use sewing machine will work, but if you want something that's extra durable, opt for an industrial-strength model.

  • Needles and thread that match your fabric type (most often polyester). We recommend using the same brand of both so that your stitches won't unravel—and make sure they're compatible with your sewing machine!

  • A walking foot attachment (recommended). This will help keep the layers from shifting during stitching and prevent uneven seams from forming where you don't want them to be!


This is a patchwork style pattern for women wanting to reproduce the style for themselves

The apron pattern is easy to follow, and the instructions are clearly written. You can easily modify this pattern to fit your own size and style. The fabric requirements are listed at the top of each page.

If you have any questions about this pattern, don't hesitate to contact me!

Conclusion

This is a patchwork style pattern for women wanting to reproduce the style for themselves. Sewing machines can be purchased from many sources, including local fabric and craft stores as w


Helpful links:

Rag Quilt Seam Allowances

Best Fabrics for Rag Quilts

Best Gift ideas for Seamstresses

Image HTML map generator

Subscribe

Enter your email address:

Delivered by FeedBurner

Let's Get Social

Image HTML map generator


Featured Post

Where Can I Buy Personalized LDS Baptism Gifts Online?