Log Cabin Rag Quilt Pattern

The log cabin quilt block is one of the most popular and versatile quilt blocks out there. So we decided to try our hand at creating one in our style. Rag Quilt style that is. 

(clicking on any picture will take you to the rag quilt pattern available on our website AVTRBoutique for purchase. Thank you for supporting our small family business)

We love that rag quilting is quick project friendly. This quilt was made in an afternoon. Clipped in a couple hours. Then washed and ready to be snuggled with.

We centered the quilt around Riley Blake Designs Cottage Core fabric line, then mixed in a few other fabrics (all from Riley Blake...They're our favorite!)

Then we added Shannon fabrics Lux Minky to the back of the quilt after we had created the rag quilt. Followed by a binding in a soft mint green.

We love the way this quilt turned out. Its such a fun quick project with a huge impact. Perfect if you're wanting  a quick project, a gift for someone special, or just because!

You can find the direct link to our shop by clicking on any picture to purchase the quilt pattern


Quilting goodness in a roll. 


Image HTML map generator

Barn Style Shed Built from the Ground Up, 8x16 Shed

 Remember the beautiful pallet chicken coop we built a few years ago? 

Remember the matching (un)treehouse we built a few years later? 

Surprisingly (ok, not really) we've got a MATCHING shed. You heard it...a matching shed.  

The shed is also barn style, and we built it from the group up. We also chose to put it on a platform instead of directly on the ground for several reason. One major one was to avoid getting a building permit. Building off the ground and not on a pad allowed us to avoid that small fee. 

See the cute little chicken coop in the corner?

Image HTML map generator

To get us started off, we rented a sod cutter and went to town cutting out sod. We didn't just want the shed, but also a couple of planter boxes for raspberries and strawberries. Where the rocks and the cement stands are is where the shed would sit

My husband carefully (he's the perfectionist in our family) built the platform on a cement pad. For a couple reasons, but most importantly so that it would perfectly level and square. So important for building the walls and roof later on. 

I don't have any of the specific measurements or plans of the process. Dillon is a pro at figuring out the measurements as he goes, but doesn't write any of it down.

Thankfully we had a skid steer that was able to safely move it from the cement pad to the platform pad we had made. 

Walls are going up, complete with cute little windows. 

The frame of the shed is lean to style. It was easier than building trusses for the shed.

Walls done, windows installed. Checking out our cute little barn style doors to complete the shed, but not installed yet. We ordered the barn doors online, but the company is no longer online.

Then we got to painting. First we prime. Families that prime together, stay together. Right?!

All painted and primed. Ready for trim and doors to be installed. Of course we used the same paint as the chicken coop (appropriately named) Barn Paint

Trim makes all the difference! Slowly but surely we're getting there.

Installed the barn style doors just in time for winter to set in

The Dream Treehouse Without a Tree

Our kids have begged for years for us to build a treehouse. 

The only problem is that we didn't have any trees big enough for a treehouse. We built our home 11 years ago and have struggled with growing trees as it is. But even with 11 years, a tree in Idaho isn't going to big enough or strong enough to host a treehouse. 

So my husband dreamed up this beautiful (un)treehouse. 

The basic specs: 

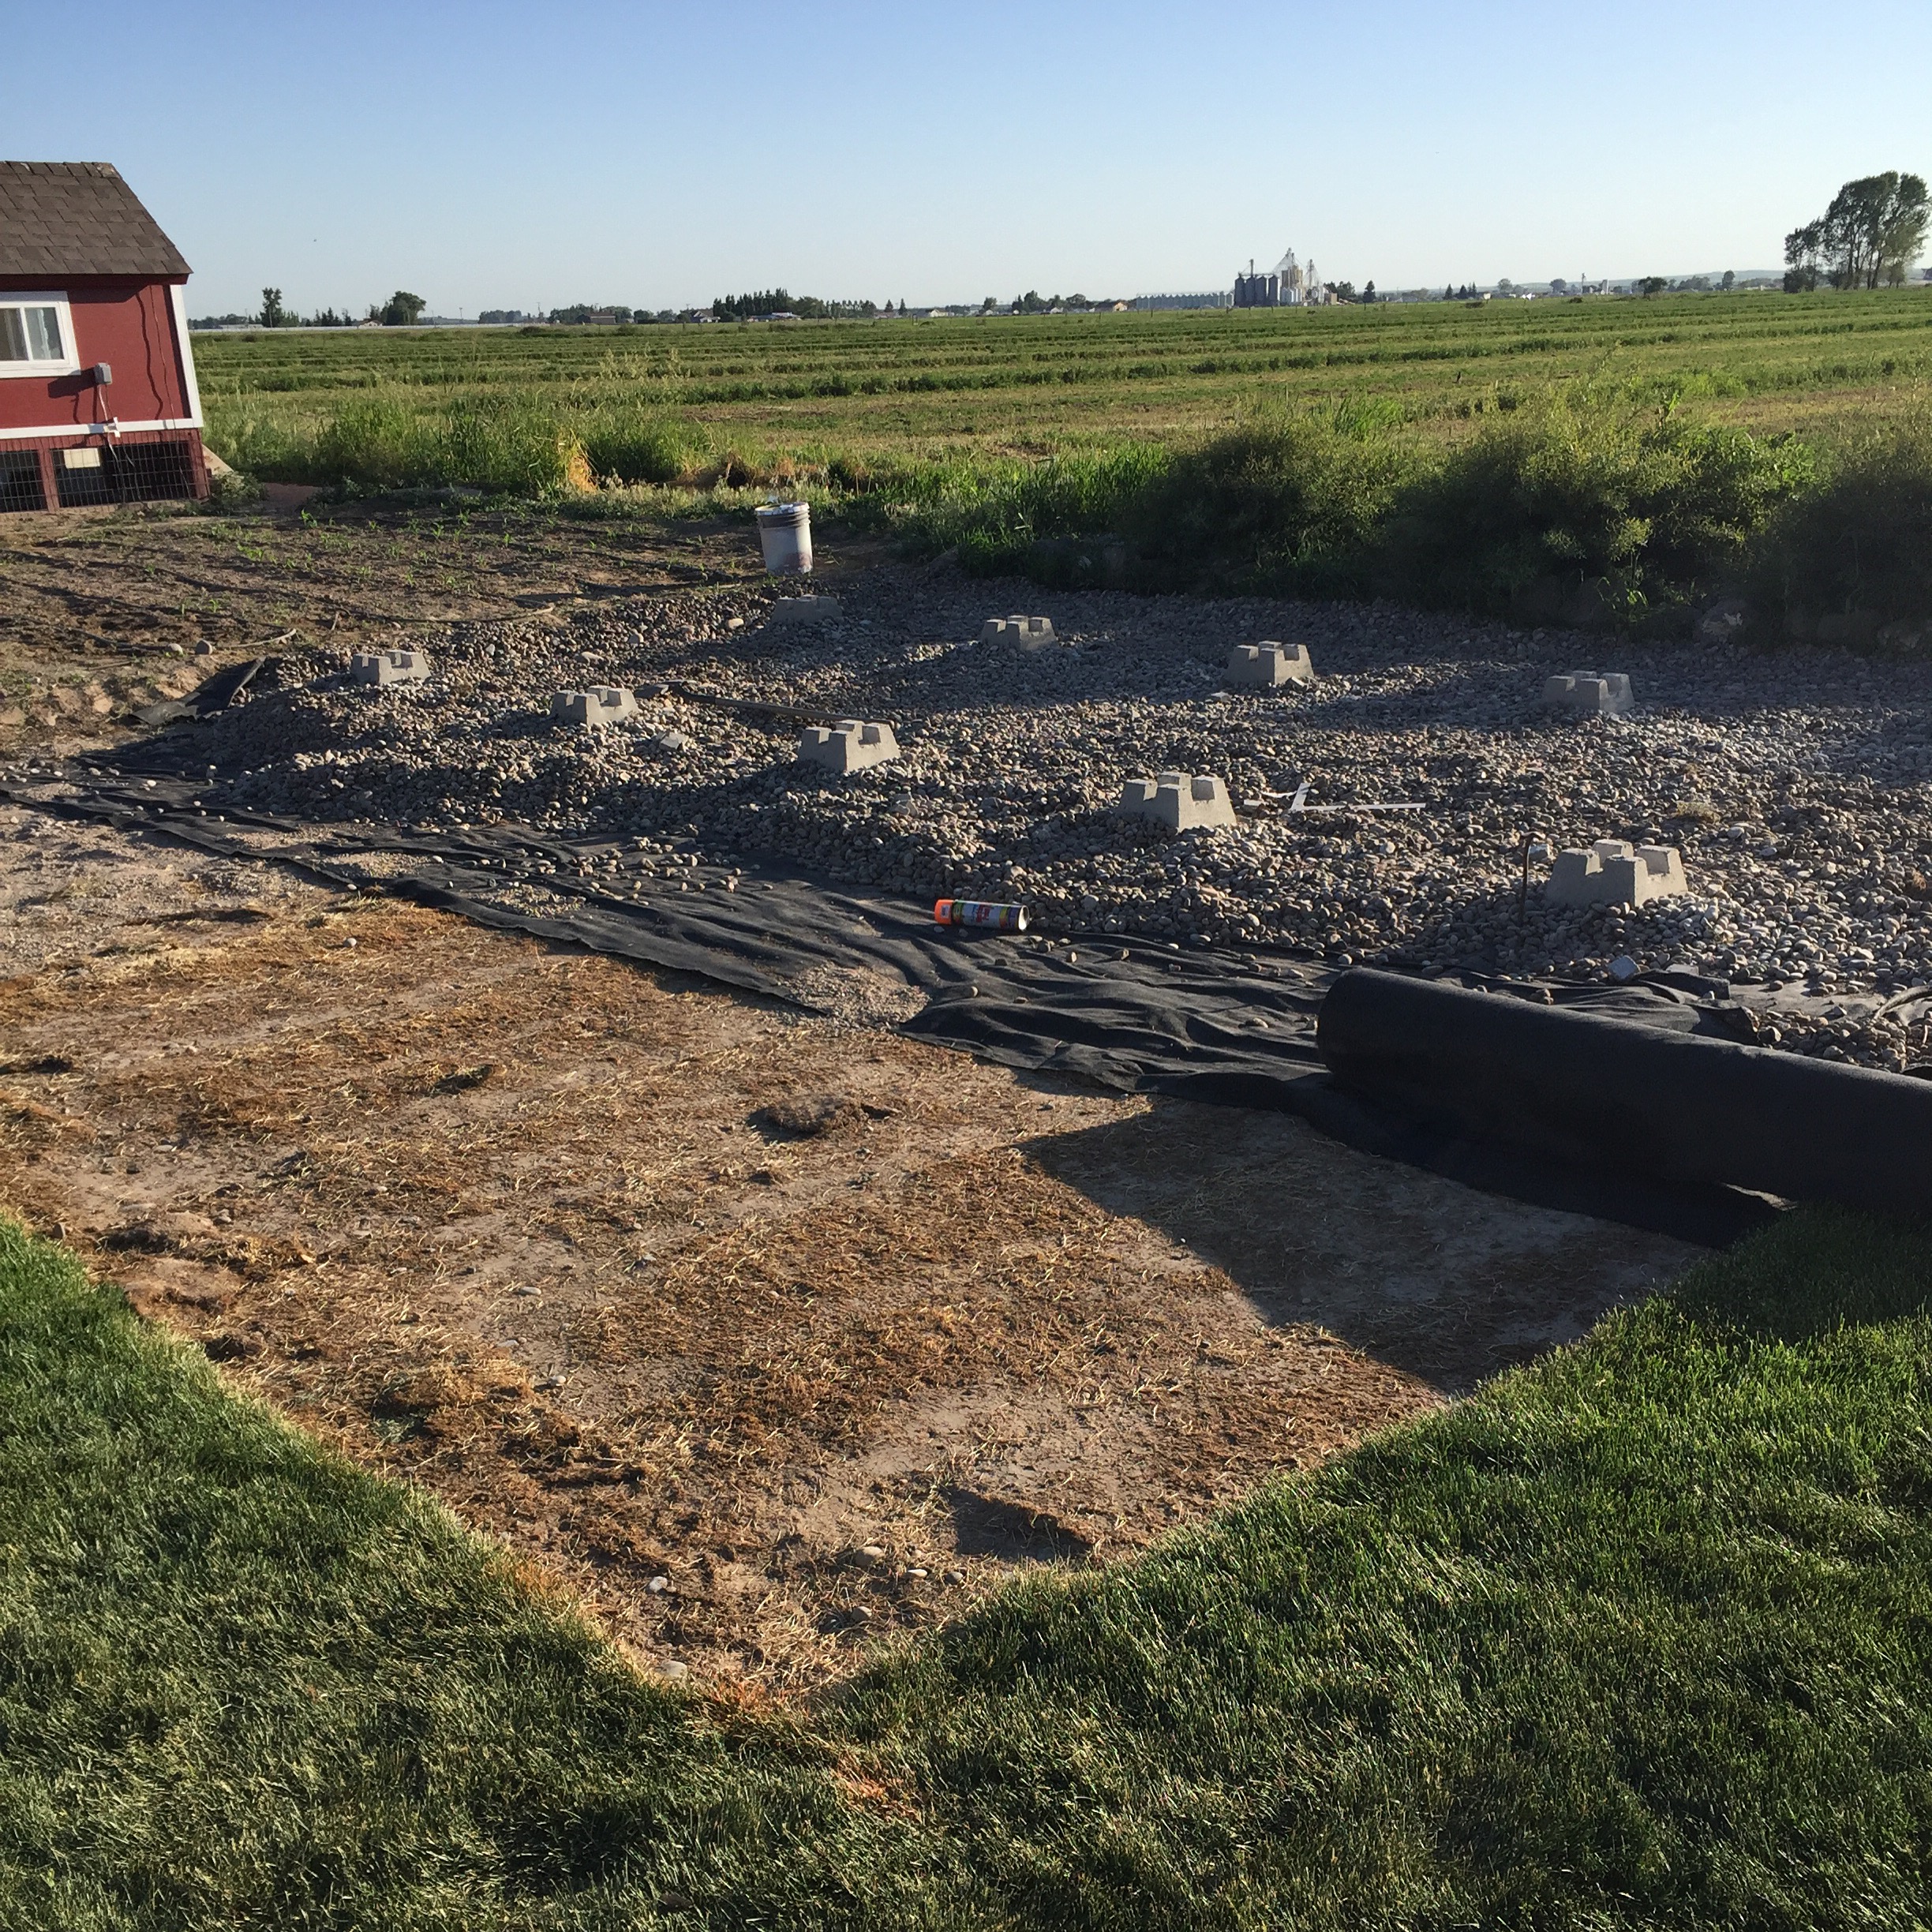
Posts are 12" square. Platform is 10 feet off of the ground and measures about 12 feet on each side

We didn't use any plans. Dillon is really good at having a plan, drawing it out, one step at a time, and executing it.

We painted the platform before proceeding with building the walls. We figured it would be easier to paint now instead of trying to trim out with the walls on. We also painted the underneath part of the platform and around the edges. But not the pretreated posts.


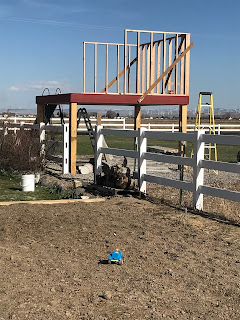
First walls are going up. If you see that cute little vintage metal slide behind the platform. We used the slide stairs for the ladder to get onto the platform, and attached the slide to the other side to create a "Playground"

 Next walls going up. Doorway. Check. Window boxes will be going in the next steps

Image HTML map generator

In the middle of building, Dillon missed a box jump at Crossfit and landed on his shoulder and broke the shoulder blade. This made for some interesting building, and lots of me lending my (not as useful) muscles to the project. But we both powered through and are so proud of what we were able to build. 


Window boxes and wall sheeting up next.


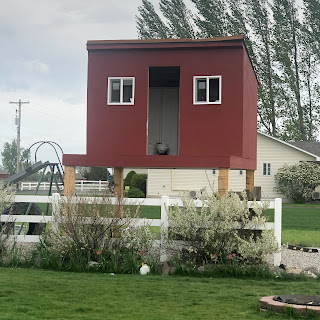
The inside wasn't as pretty as...you know..we would like. So a quick coat (3 coats later) of barn paint inside, with all hands on deck (even the 2 year old). It turned out beautifully 

Front almost done. Just needs a little bit of trim. If you look in the doorway you can see a sneakpeak of a fun feature we added to the treehouse. 


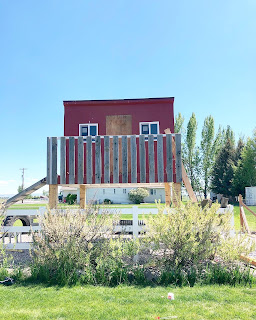
Railing coming up next. Gotta make it safe for the kiddos (and adults!)

We used metal tubing and angle, welded together to create one very strong rail. 

The weathered wooden fencing that we used on the railing (and as the surprise inside) came from Dillon's grandpas fence that was torn down. I love that there is some sentimentality involved in the project. Great Grandpa's fence, Grandpa's hands helping to build (in the hat below), and dad. All working together to create something lasting and beautiful.

Railing done, and it has the nephew's approval. Slide and stairs have been attached.

We just have a few more finishing touches. The project took all summer, plus a broken bone, and a few scrapes and bruises. But we are in love

Just needs a little trim work and the door


Now for the surprise. After getting the inside all painted...we added a fun detail to the ceiling of the treehouse. The wooden fence from Grandpas...we screwed to the ceiling. I love the detail and that little reminder of him. 

Treehouse is all done. Completed with our favorite American symbol...the US Flag and our cute barn quilt. 

I love the metal slide too. It came from an old school down the road from where we live. It's gotta be over 100 years old and still loved by many

Front shot! Love the detail of the railing, the trim, the slide. I just love how it turned out. It was a hard project, but worth every minute of it.


We added a couple little embellishments underneath. A plastic culvert for climbing through, and an old tire we found down the field abandoned. 


Make sure to checkout our matching chicken coop made out of pallets. You won't want to miss it!

Subscribe

Enter your email address:

Delivered by FeedBurner

Let's Get Social

Image HTML map generator


Featured Post

How to Memorize The Living Christ - Simple and Easy